Since ConfigMgr CB 1606 the ability to install the OSM connector has been available as a pre-release option. Installing the connector, will make data from your ConfigMgr hierarchy available in the OMS portal. I’ve just had the chance to enable this option in my site. so I thought it would be worth blogging the experience.
As this is a pre-release feature, then the first thing you will need to do in your hierarchy, if you haven’t already, is enable the ability to switch on pre-release features and then enable the feature itself. So let’s take a look at how this is achieved.
Enable pre-release features
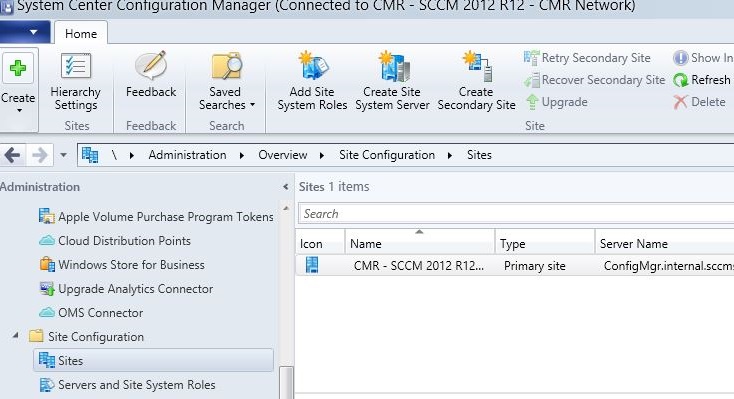
Navigate to Administration\Overview\Site Configuration\Sites and highlight your site, primary, or CAS if you have one. Click the Hierarchy Settings button in the ribbon.
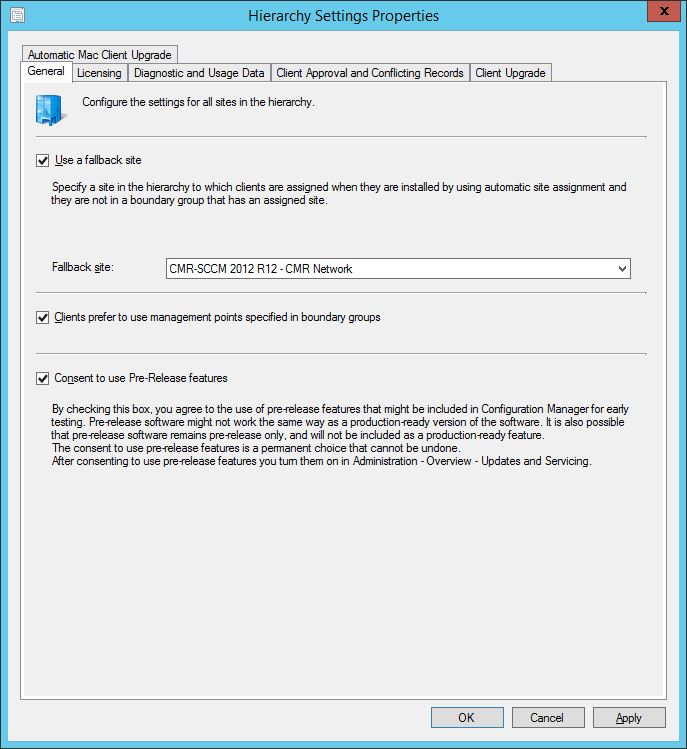
In the Hierarchy Settings General tab, click the Consent to use Pre-Release features and click OK to confirm.
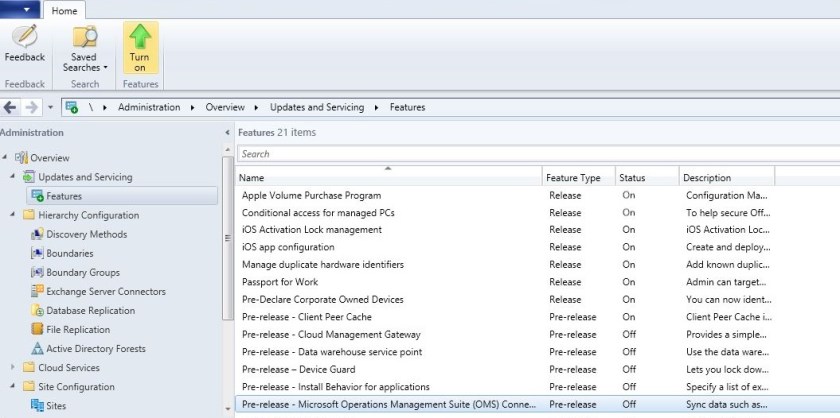
Navigate to Administration\Overview\Updates and Servicing\Features and select the Pre-release – Microsoft Operations Management Suite (OMS) Connector feature. Either right click and choose Turn on or select the Turn on arrow icon from the ribbon.
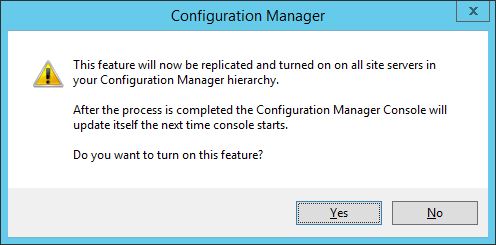
Confirm to turn on the feature by clicking Yes.

Register ConfigMgr as a Web Application
For the next set of steps we need to log into the Azure Management Portal at https://portal.azure.com with an admin account that is able to register an application in the portal.
From the menu, select Azure Active Directory.
Choose App registrations.
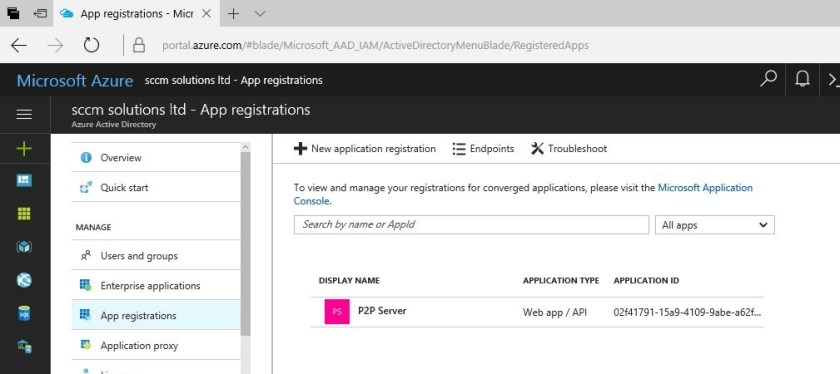
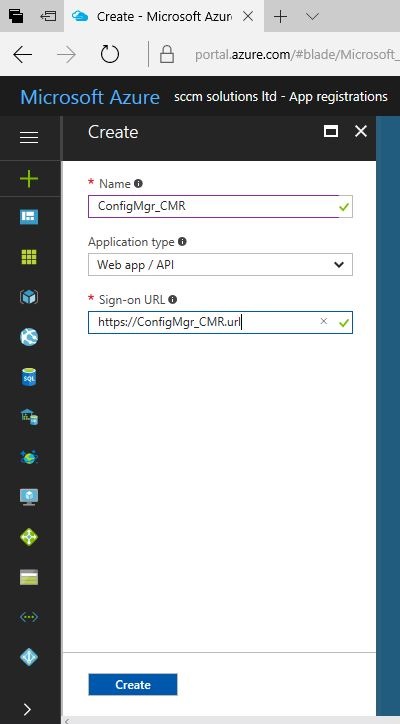
Enter a Name and Sign-on URL for the web application. The Sign-on URL name will not be used publicly so this can be anything relevant to yourself. I have entered https://(name).url. Ensure the Application type is Web app/API. Click Create.
You’ll receive an alert to confirm the web application has been created.
Now we will gather the application, or client, ID for the web application, along with the authentication key for the app. We will need this information later when we install the OMS connector in the ConfigMgr console.
You’ll notice the Application ID is listed next to the web application. However we need to click into the app to get the full information.
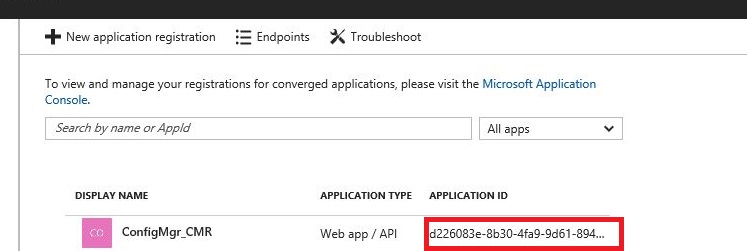
Once clicked into the app you can copy the application ID, make a note of this somewhere.
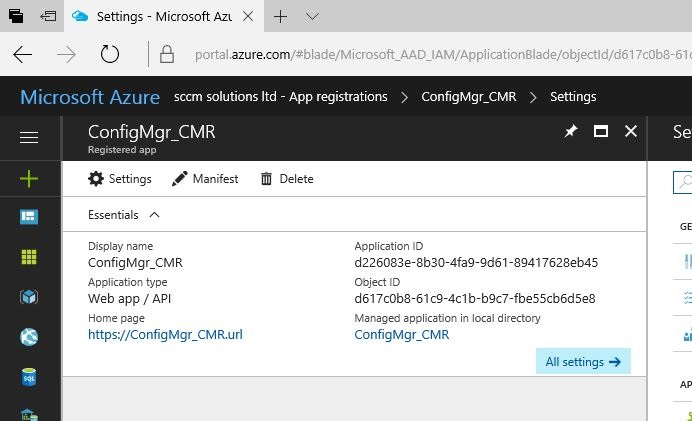
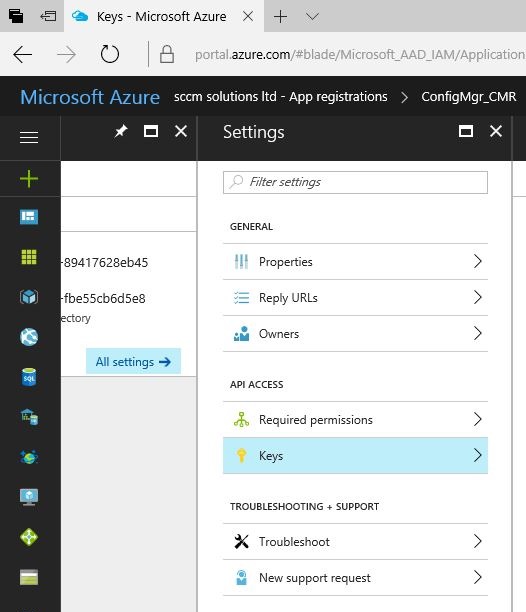
Next we need to generate the authentication key. To do this click Keys from the Settings menu.
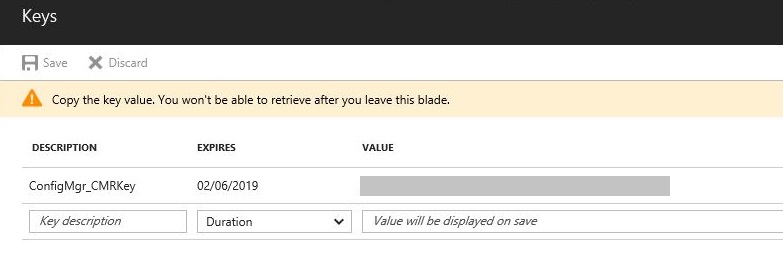
Enter a name for the key and a duration for it. Then click Save. Note that you must make a note of the key generated once Save is clicked as you cannot retrieve this key after clicking away.

Provide ConfigMgr with permission to OMS
The Contributor role must be assigned to allow the Azure Management Portal to connect Configuration Manager to OMS.
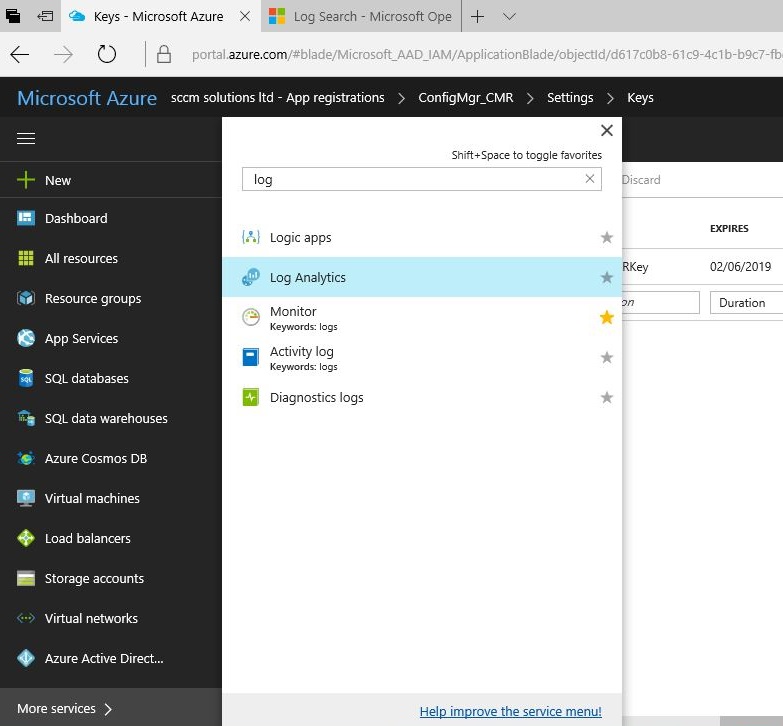
From the main Azure menu, select More services. In the search box, search for Log Analytics and then select from the results.
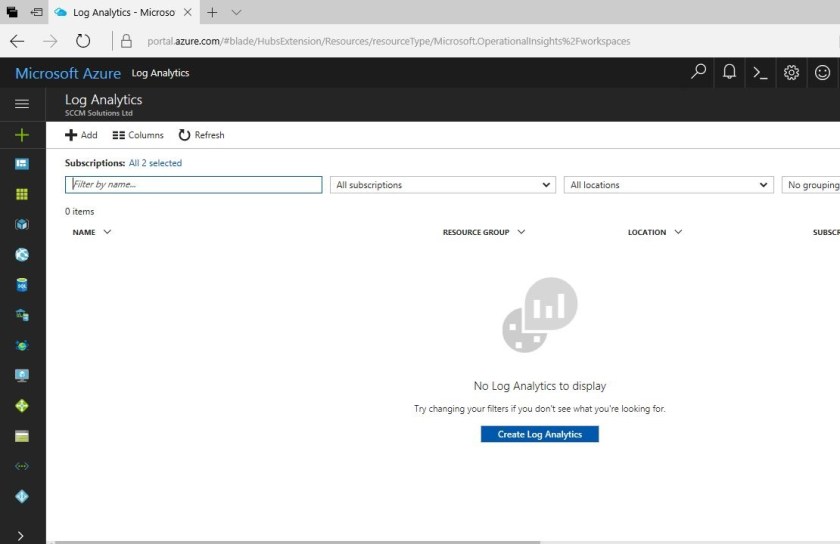
Click the Create Log Analytics button.
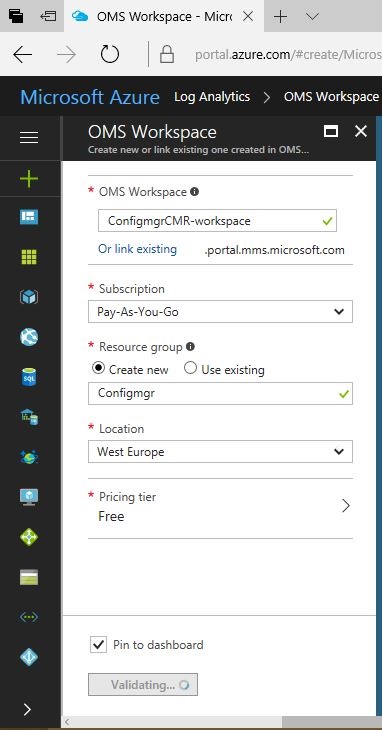
The following information needs to be entered to create an OMS Workspace:
- OMS Workspace
- Subscription
- Resource group
- Location
- Pricing tier
Click OK once entered and this information will be validated.
From the main menu, select the Resource groups icon to open the Resource groups blade. Click the Resource group created when configuring the OMS Workspace. For me this would be Configmgr.

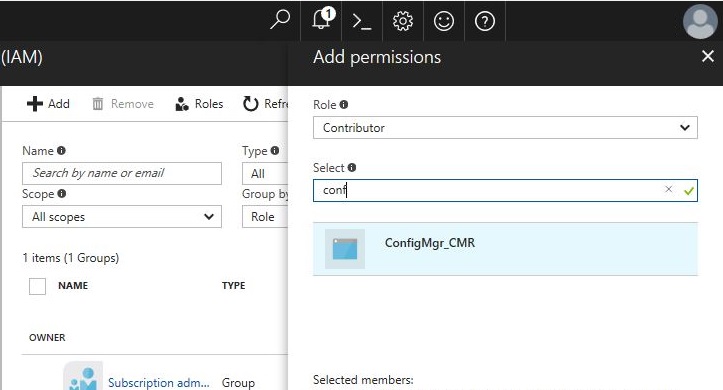
Select the Access Control (IAM) from the menu. Click the Add button. From the Add Permissions section choose the Contributor role from the drop down list.
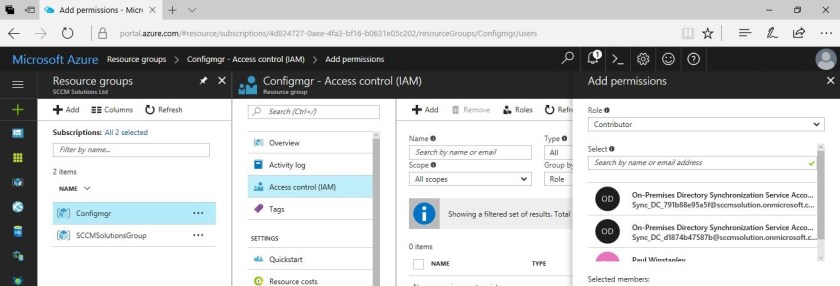
At this stage we need to add the Contributor role to the web application we created earlier. Note that you won’t see the web application listed in your list of users so start to search for the web application by name and it will appear.
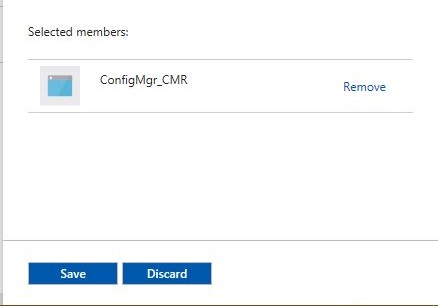
Once selected click Save.
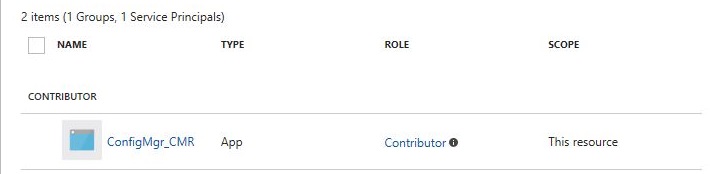
The role will be assigned.
Install the OMS Connector in ConfigMgr
With the pre-release feature enabled, you will need to restart the ConfigMgr console for the OMS Connector feature to appear.
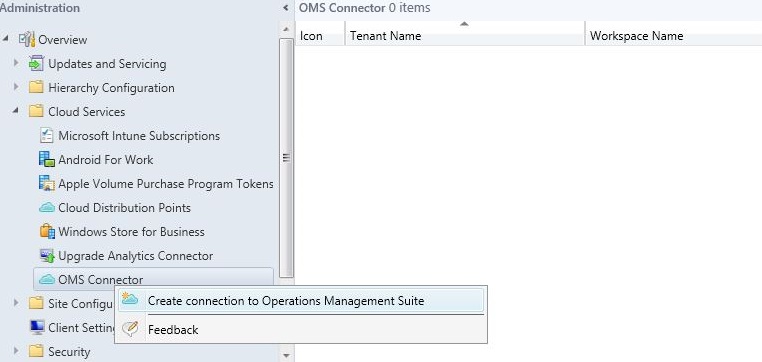
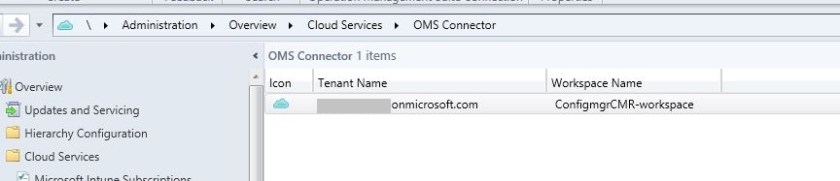
You can find the connector at Administration\Overview\Cloud Services\OMS Connector.
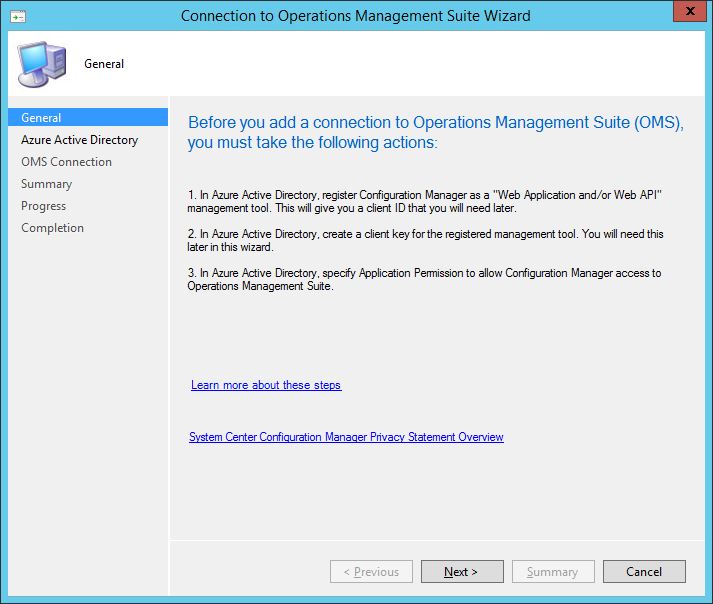
Right click the OMS Connector and select Create connection to Operations Management Suite.
Follow the wizard to configure. Click Next.
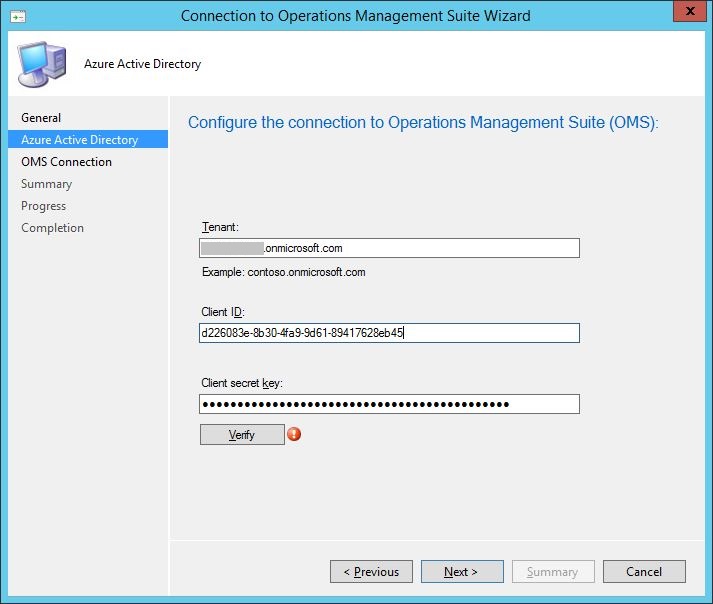
At this stage we need to enter the information collated when creating the web application, enter the Tenant name, application/client ID and the authentication key. Then click Verify. Once successfully verified click Next.
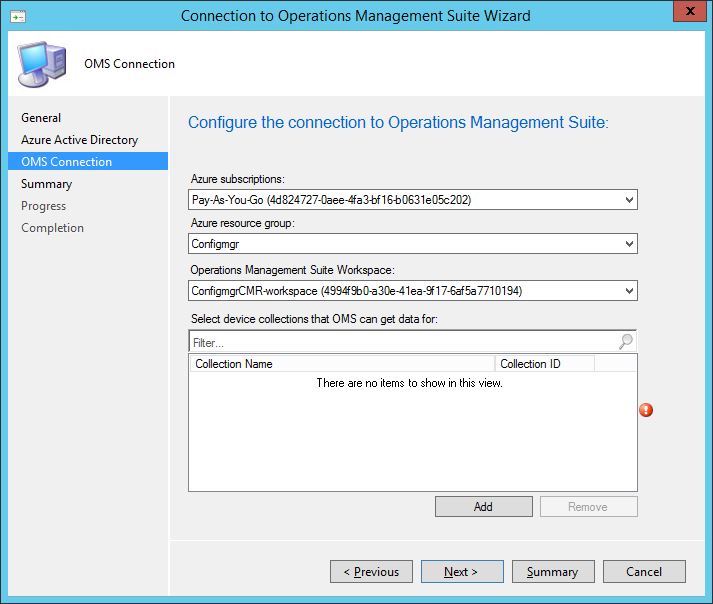
All the details below will populate, but you will need to click the Add button to select collections that will be used to collect data for OMS.
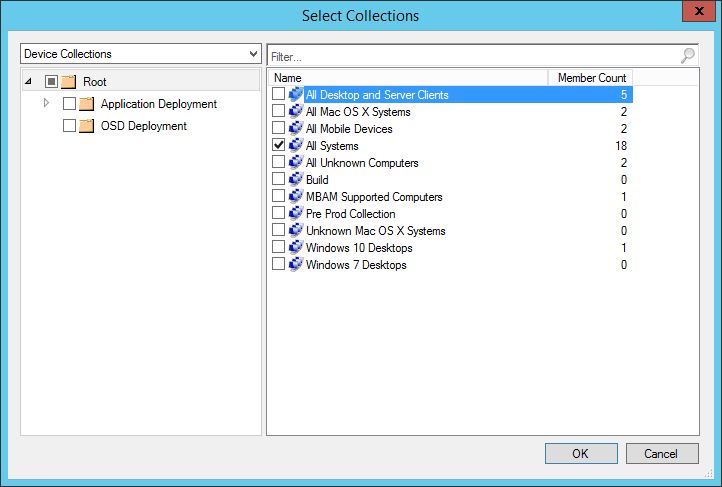
Select the relevant collections from your ConfigMgr environment and click OK.
Click through to the end of the wizard. The connector will be created.
Install the OMS Agent
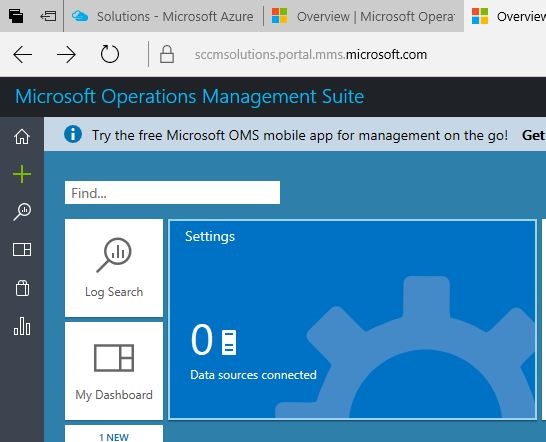
At this stage you will need to access the OMS portal at https://www.mms.microsoft.com. If you don’t have an account then sign up and link this to your Azure account.
When up and running, click the Settings button.
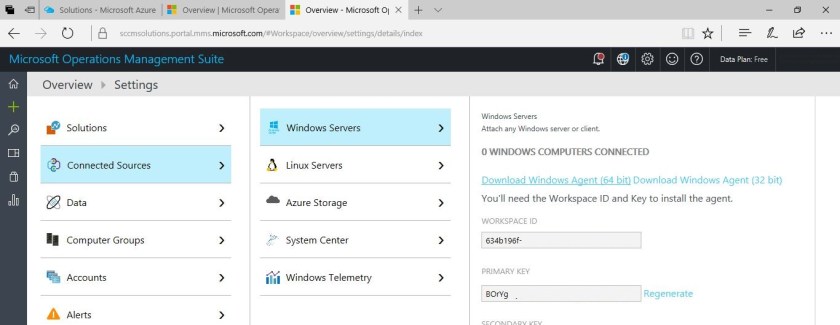
Select Connected Sources>Windows Servers and download the relevant Windows Agent. We will install the OMS Agent on the server running the OMS Connector, e.g. the site server, which will require the 64bit agent. Make a note of the Workspace ID and Primary Key details as these will be needed for the agent install.
Once downloaded, run the agent install on the device running the OMS connector. Click Next.
Accept the licence agreement by clicking I Agree.
Select the installation folder and click Next.
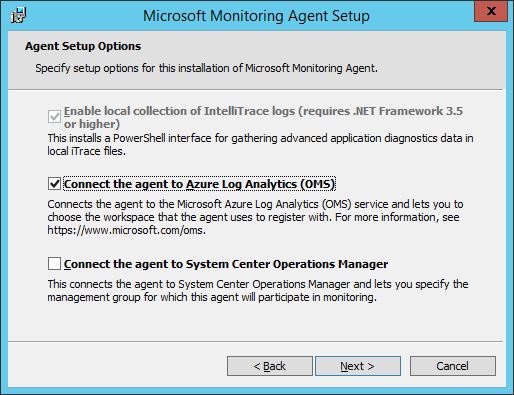
Choose the option Connect the agent to Azure Log Analytics (OMS) and click Next.
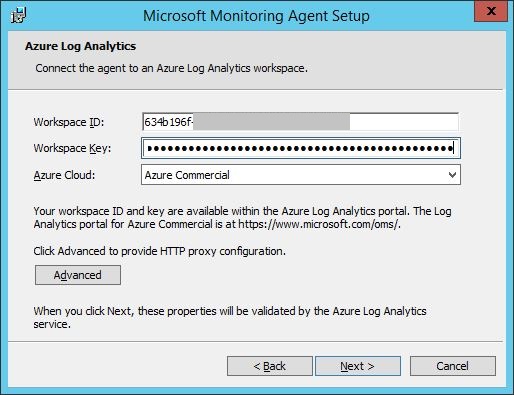
Enter the Workspace ID and Workspace/Primary Key details collated and click Next. Enter any proxy details here, if required.
Click Install.

Click Finish to complete the installation.
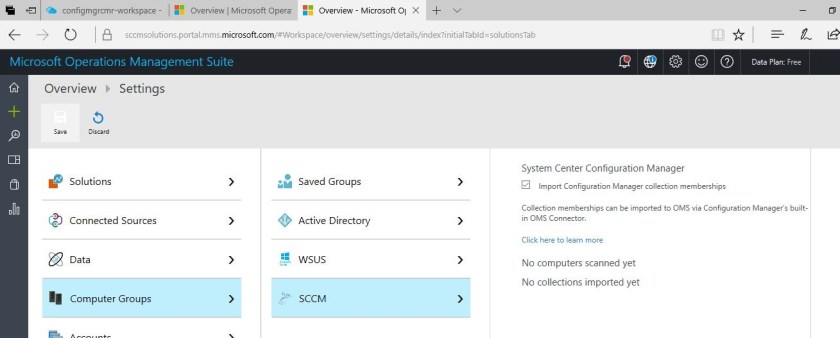
With the agent installed, head back to the OMS portal and in the Settings menu choose Computer Groups>SCCM and tick the Import Configuration Manager collection memberships checkbox.
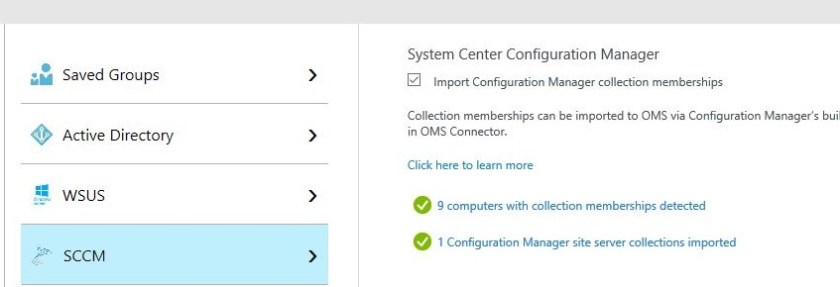
After some time devices and information about them will start to import into OMS.

super! Much appreciated