It’s really simple to get started with setting up a Windows 10 kiosk/signage device via Microsoft Intune.
With Windows 10 1803, new features have been added to kiosk mode, these include:
- The ability to support multiple screens
- Enforcement of MDM policy prior to allowing assigned access
- A simplified process to create an auto-logon account, to return a device to a chosen state post reboot
- Configuration of the Kiosk Browser to a default URL, without displaying a UI
You can create a kiosk using the following editions of Windows 10:
- Windows 10 Pro
- Windows 10 Enterprise
- Windows 10 Education
The kiosk can run either Universal Windows Platform (UWP) app or classic Windows applications.
Kiosk mode is a preview feature so expect things to change or be added over time.
Let’s take a look at how we can quickly set one up.
Go to the Azure portal and go to More Services\Intune.
Select Device Configuration from the menu.

Choose Profiles

Now we need to create a new profile. Select Create profile.

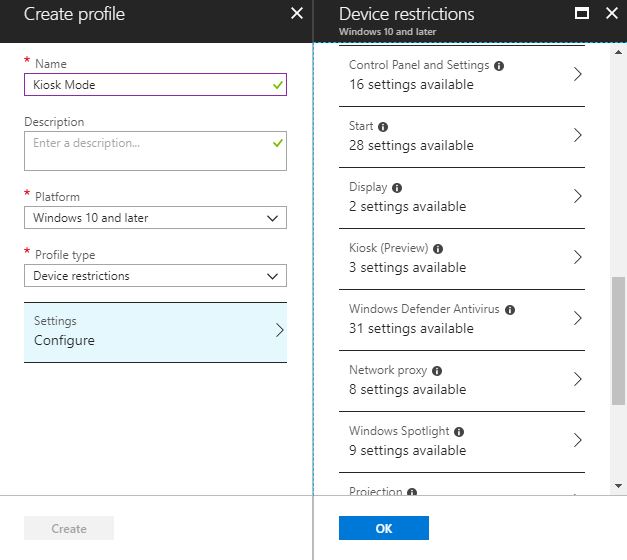
From the profile section, enter a Name, select Windows 10 and later for the Platform and choose Device restrictions from the Profile type. Next select Kiosk (Preview) from the Device Restrictions blade.
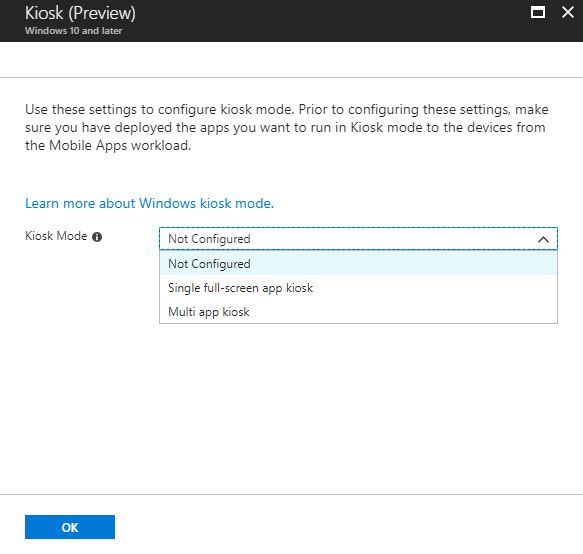
From Kiosk (Preview), select the Kiosk Mode that you require. I’m going to try out a Multi-app kiosk.
Click the Add button.

At this stage, we have some kiosk configuring to do. We have multiple options available to us.
I have entered a name for the Kiosk configuration name.
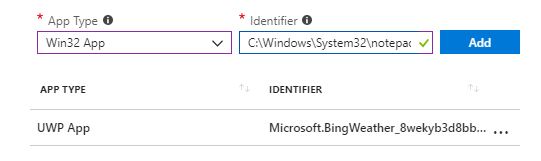
From the App Type menu, I am going to choose UWP App for my first application. Note the Identifier field. The ! symbol gives us more information on what we need to enter here.

On clicking the ! symbol I can see that I must get the AUMID for an UWP App. How do I do this? Well I can use PowerShell to gather than information.

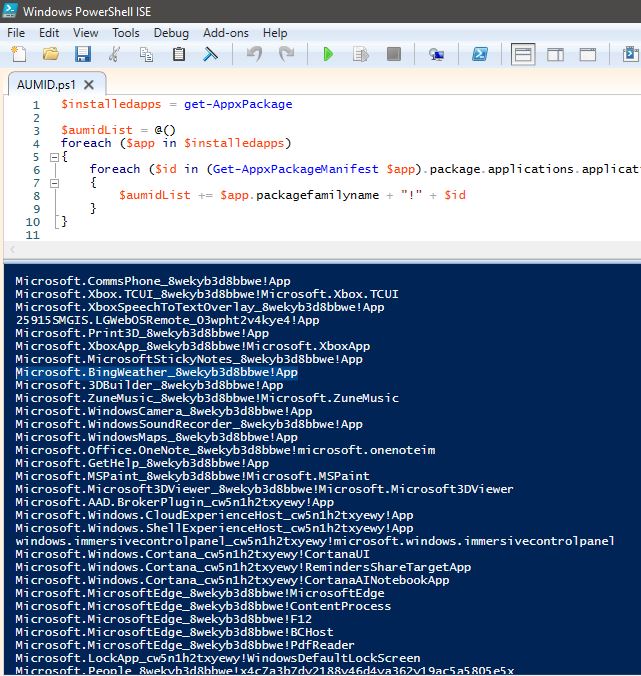
On a Windows 10 device, run PowerShell. Enter the following code, or save as a ps1 file and run in ISE.
$installedapps = get-AppxPackage

$aumidList = @()
foreach ($app in $installedapps)
{
 foreach ($id in (Get-AppxPackageManifest $app).package.applications.application.id)
 {
 $aumidList += $app.packagefamilyname + "!" + $id
 }
}

$aumidList
The results of the script give me the information I need. For my example, I am going to use Bing Weather. This has the AUMID of Microsoft.BingWeather_8wekyb3d8bbwe!App
Back in the Azure portal, add this identifier to the UWP App and click Add.

Since I have gone for a multi-app Kiosk, I am going to also add in a Win32 App, in this example everyone’s favourite, Notepad. If you noted on the ! screenshot, we use the full path to the Win32 app, so C:\Windows\System32\Notepad.exe. Click Add again.
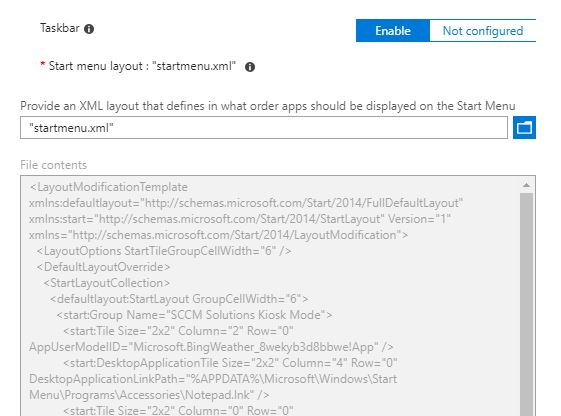
For a multi-app kiosk, we will need to define a startmenu xml layout that we can import in.
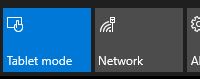
Since this will be a multi-app kiosk, we need to define this in Tablet Mode on the device. Go to the Action Center and choose Tablet Mode.
Define your look and feel.
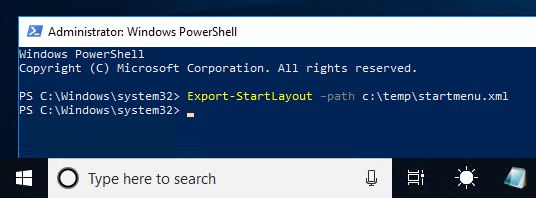
Once complete, in PowerShell, as administrator, run the command
Export-StartLayout –path <path><file name>.xml
Copy the xml file to a location you can upload into the Azure Portal. Enable the Taskbar option and upload the xml file.
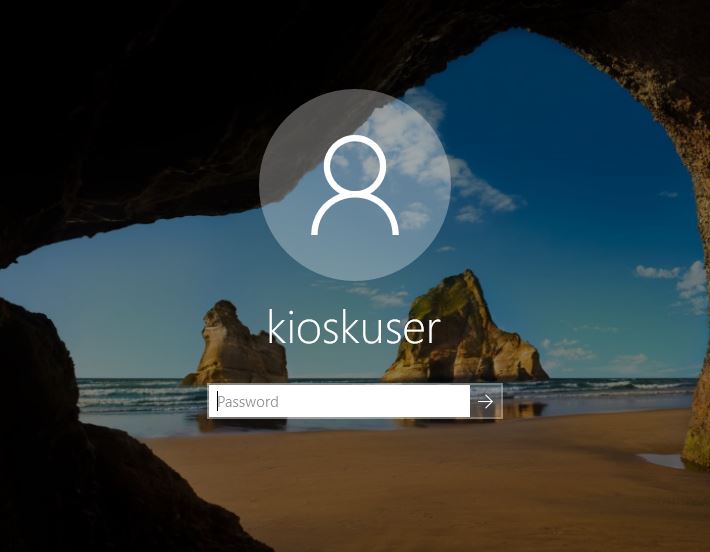
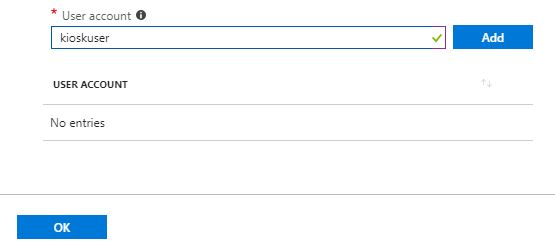
Next, we need to add in a user account that is going to be associated with the Kiosk mode. You can use a local standard user account, a local administrator account, a domain account, or an Azure Active Directory (Azure AD) account. It is recommend to use an account with the least privileges on the device. I have chosen to use a local standard account, called kioskuser. Click Add and then click OK twice.
Complete set up of the Kiosk profile, click Create.

The profile needs to be assigned to a device, or set of devices. You’ll need to create a group to assign the profile to.
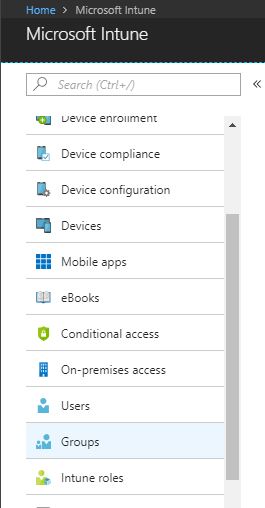
Return to the root of the Intune blades, select Groups.
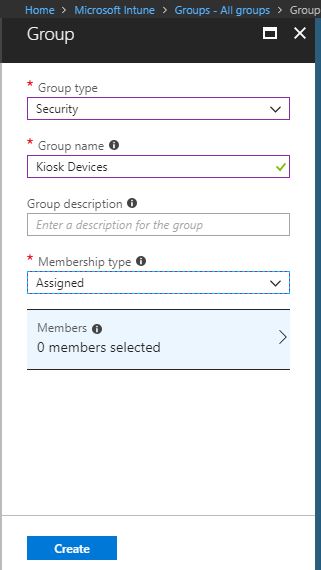
Create a New group.

Choose Group type as Security, create a Group name and for this example I am setting the Membership type to Assigned. Next click Members.
Select the device/s you wish to add to the group. Choose Select and then click Create.

With the group created and populated, we can now return back to Microsoft Intune>Device configuration>Profiles>Kiosk Mode and click Assignments to assign the profile.

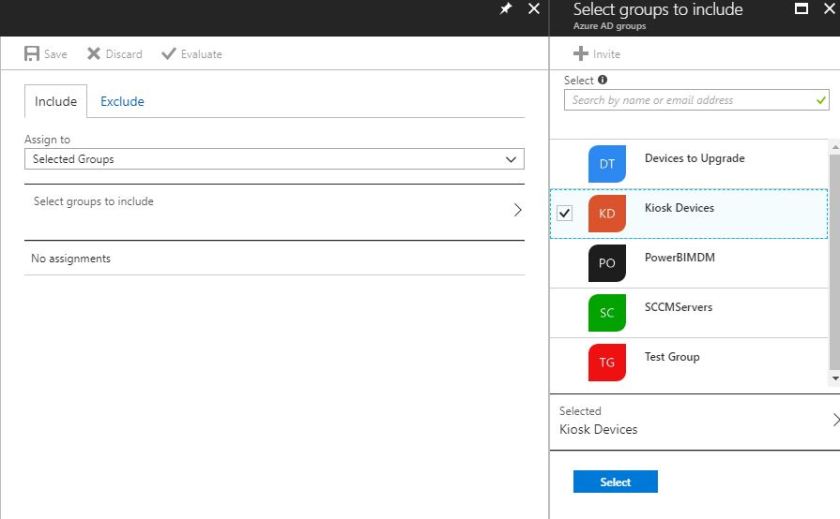
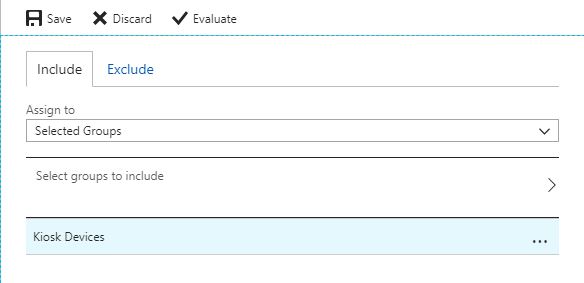
From the Assign to drop down choose Selected Groups. Click Select groups to include and choose the group created previously. Click Select.
Save the assignment.
With the assignment in place, make sure the targeted device is syncd with Intune to pick up the assignment.
Once ready log in with the kiosk user you have assigned.

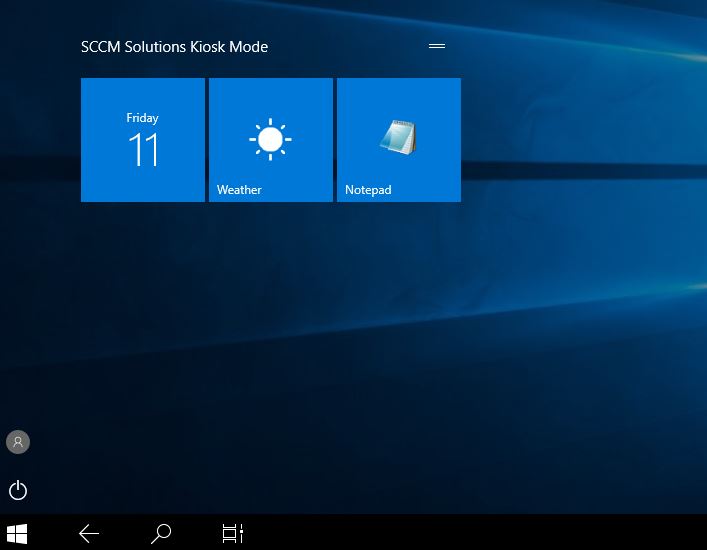
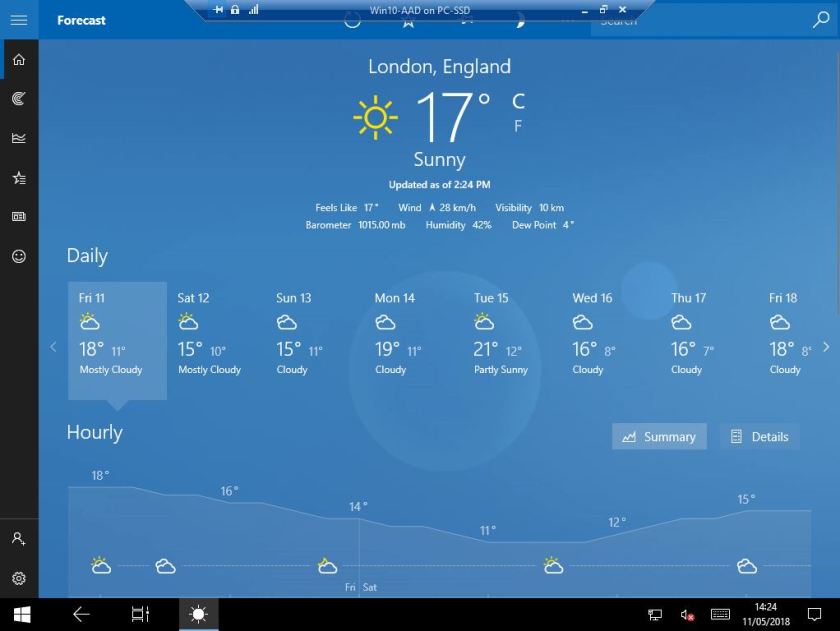
Once logged in, hey presto a Kiosk device.

Here’s my Bing Weather app running nicely.
Notepad is looking good as always.

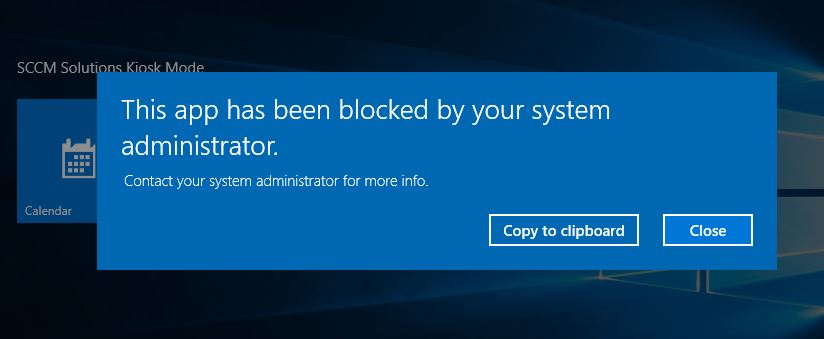
I also added in the Calendar app. Here’s what happens if I attempt to launch it, based on the fact that it’s an app that hasn’t been defined in our Kiosk apps list.
You can set up a Kiosk in no time. Give it a go.

It appears that once Kiosk mode is enabled, it does not revert if the policy is removed/disabled. Any experience with this and looking for suggestions on how to exit or bypass Kiosk mode.
I removed policy and this removed restrictions. Obviously the applied XML persisted.
Great Article! Thanks!
Kind Regards,
Niels
Actually, we are using MobiLock Windows 10 kiosk mode feature to lockdown our PCs & Laptops to limit users access limit.