This blog post takes a look at sensitivity labels in Microsoft 365 which are used to classify and protect documents and emails. You can also use sensitivity labels to protect content in Microsoft Teams sites, Microsoft 365 groups, and SharePoint sites.
My focus, in this post, is on document labelling and how to quickly set up a couple of labels to protect documents, one classed as Public and another classed as Internal.
Obviously, for the Internal document we want to protect this data, ensure that if it leaves the business it can’t be opened. For public docs, we don’t mind that these get forwarded on and accessed.
How you apply the settings for your sensivity labels should be discussed with the business, you can add extra labels such as Confidential, where only a subset of users are allowed access. After discussions with the business you want to be able implement the configuration within Microsoft 365.
Let’s take a look at how we can apply Internal and Public labels to our documents.
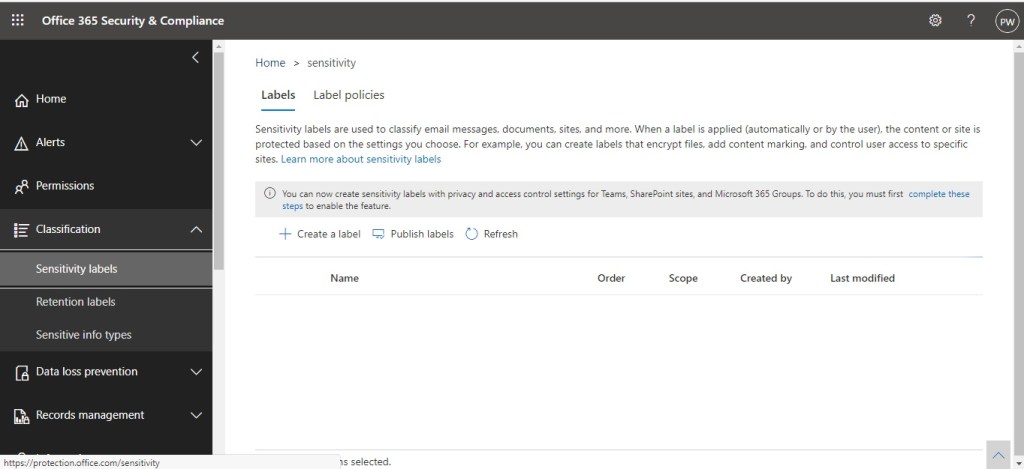
In the Office 365 Security & Compliance Center
In the Office 365 Security & Compliance center, go to Classification\Sensitivity labels.
Click the Create a label link.
Creating the Internal label
First up I’m going to create my Internal label. So the settings here should reflect how the Internal label is handled.
Enter a Name and Description for users. The description is important as users will see this displayed in their Microsoft 365 app. Click Next.

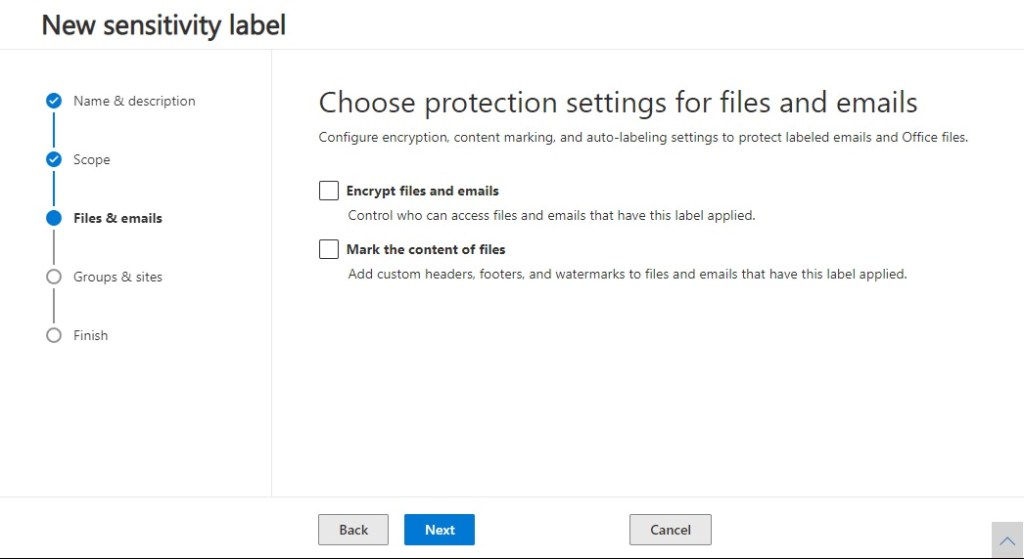
As mentioned, the focus here is on protecting documents, so select Files & emails. Groups & sites is for use with Microsoft Teams sites, Microsoft 365 groups, and SharePoint sites. I have not enabled this functionality as yet so this is greyed out. Click Next.

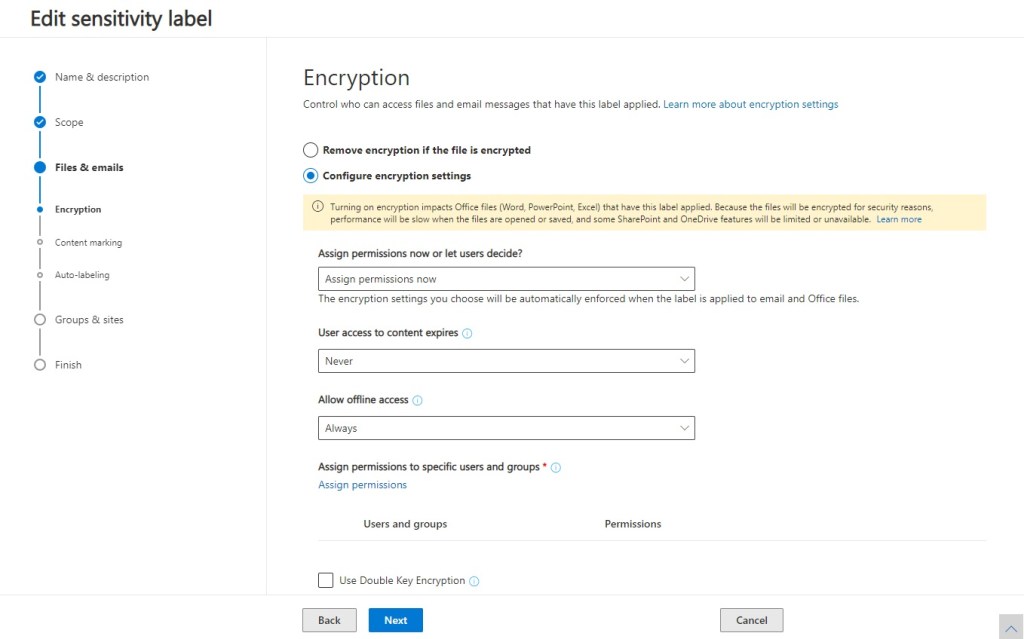
Since this document is going to be Internal, I’m going to select Encrypt files and emails and I’m also going to apply a watermark to the document, so select Mark the content of files. Click Next.

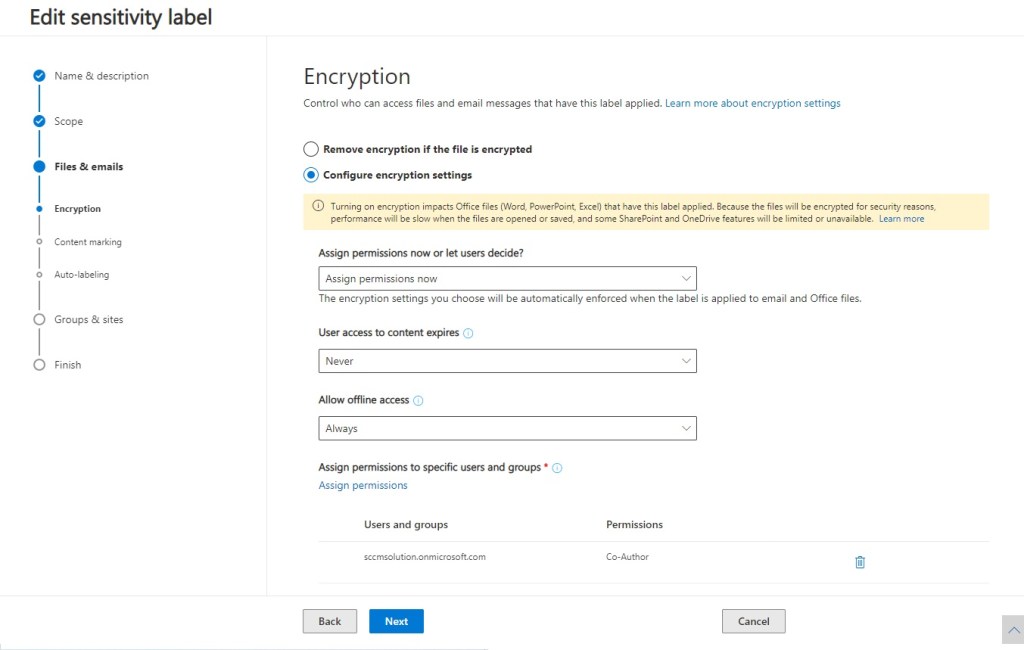
At this stage, I need to select who will have access to the encrypted document and I want to allow users to assign permissions to the doc or have this handled automatically.
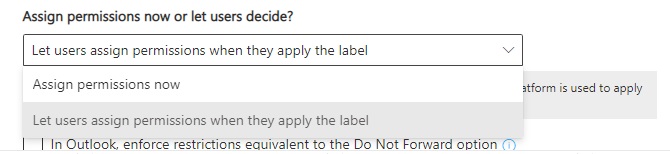
In the Assign permissions now or let users decide? dropdown I have configured it to Assign permissions now so this will be automatically applied for me, but I could select Let users assign permissions when they apply the label as in the second screenshot.
I have set the content to never expire and allow offline access but these may be configured differently depending on your business needs.
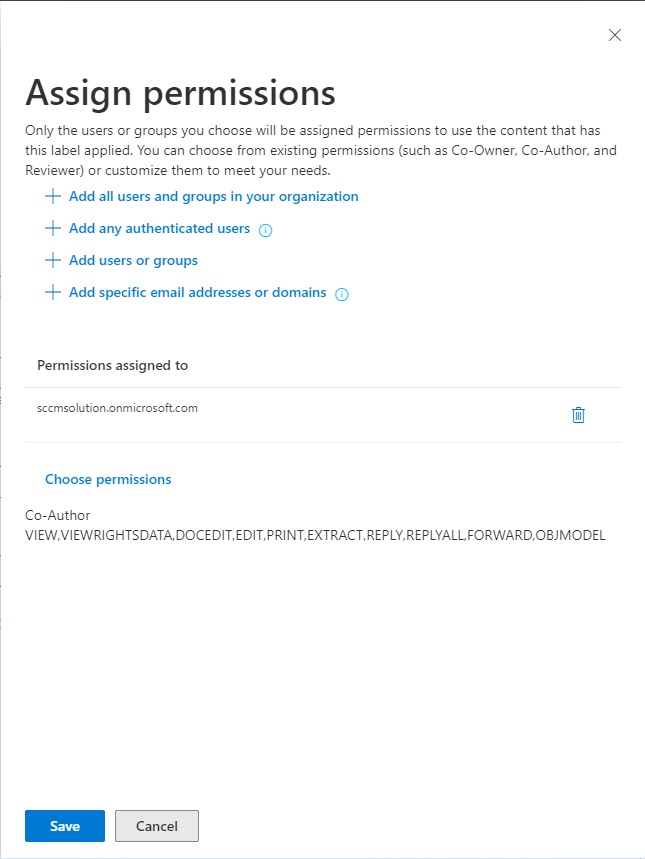
Now we need to apply the permissons for the label so click the Assign permissions link.
Since I am classing the document as Internal, I want to add in all users in the business to have access, so click the Add all users and groups in your organization, this will add the org in the Permissions assigned to section.
The default permissions will be assigned and you can change these to specific roles or make custom permission sets using the Choose permissions link. I’m going to leave with the default. Click Save.
Click Next.
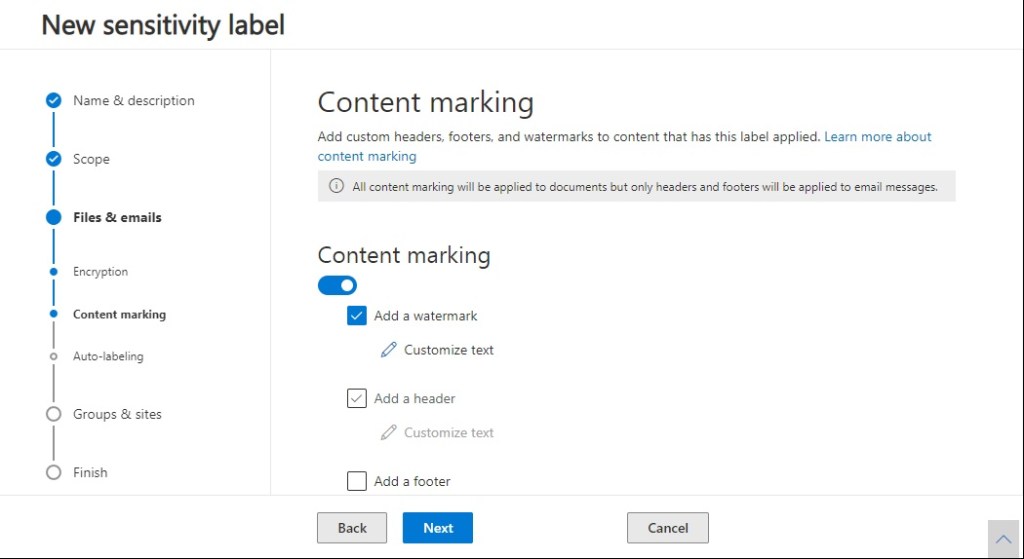
Now we can specify whether to add content marking to document. For an internal document you probably wouldn’t normally, this would be reserved for more confidential documents. However, for the purposes of demostration I will add a watermark to the document.
Enable Content marking and select the Add a watermark checkbox. Then click Customize text.
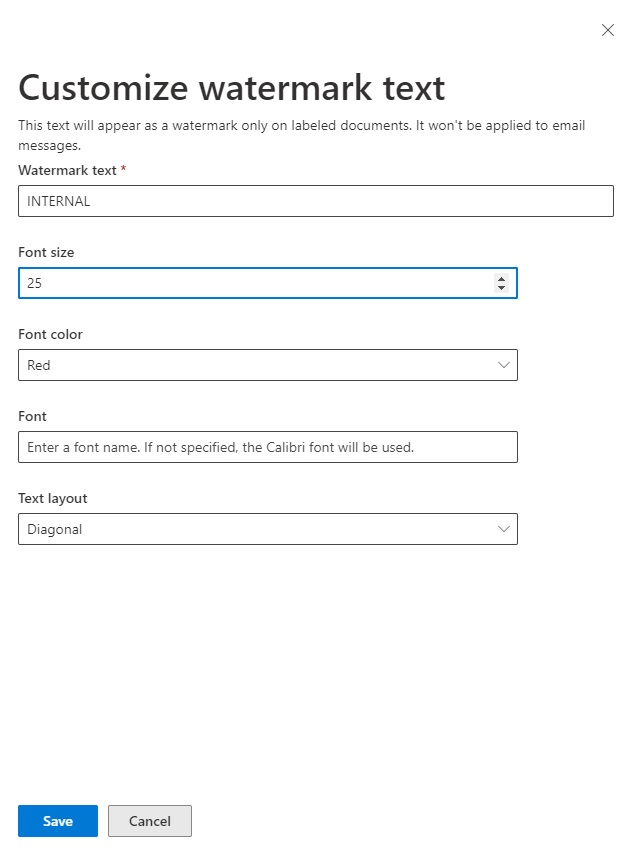
Enter the Watermark text and apply any formatting for the watermark on this screen. Click Save and then Next.
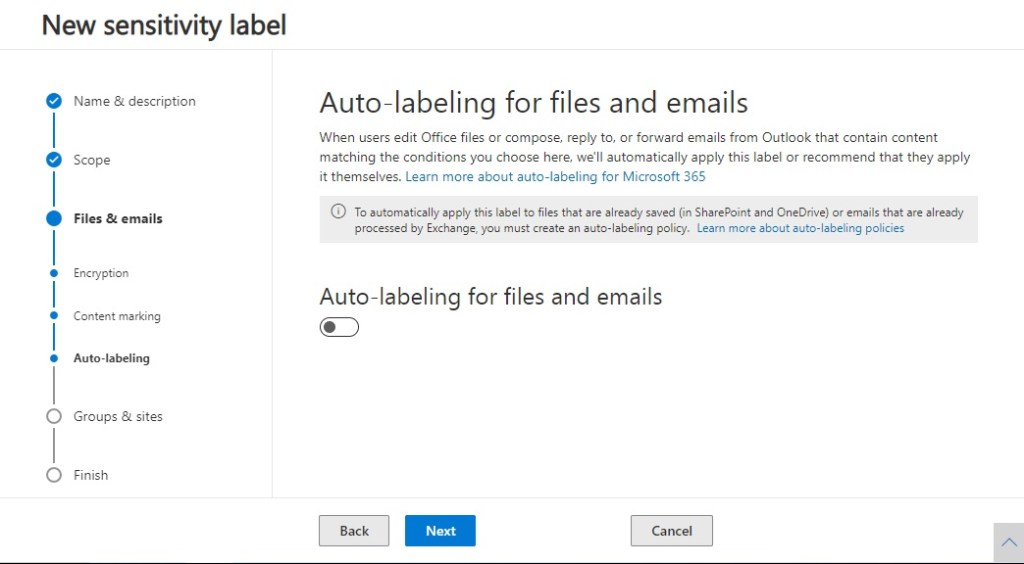
I’ve left the Auto-labeling for files and emails unselected for this demo. Click Next.
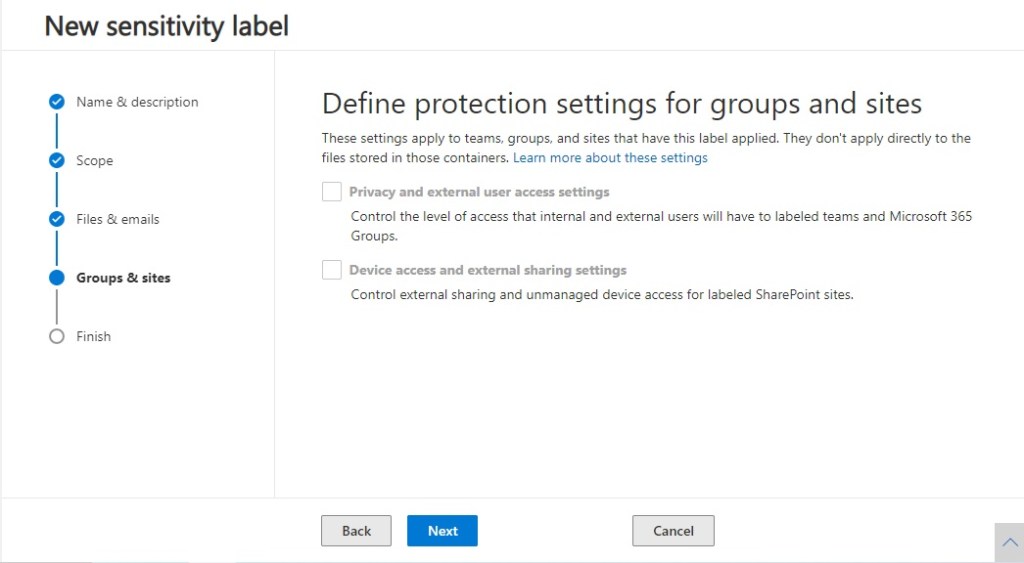
Define protection settings for groups and sites is unavailable to me since I haven’t enabled the feature. Click Next.
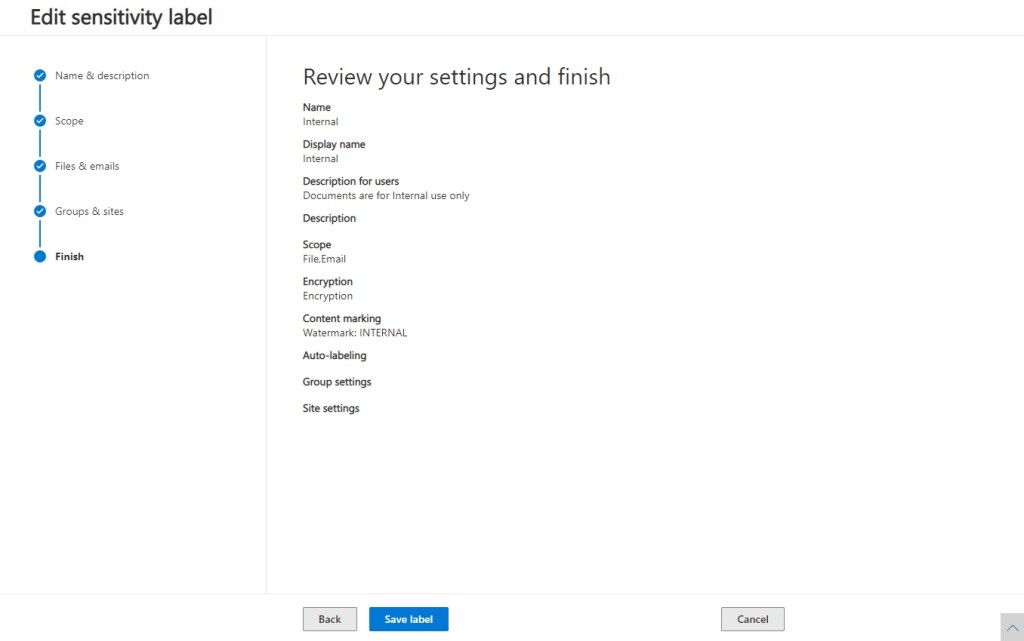
At this stage we can review our settings before clicking Save label.
Click Done when created.

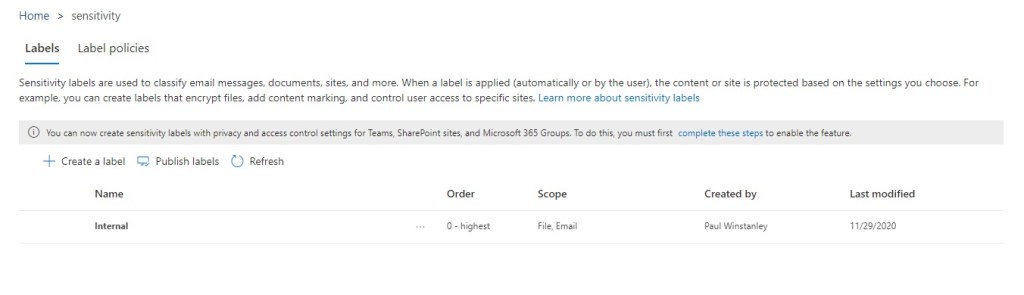
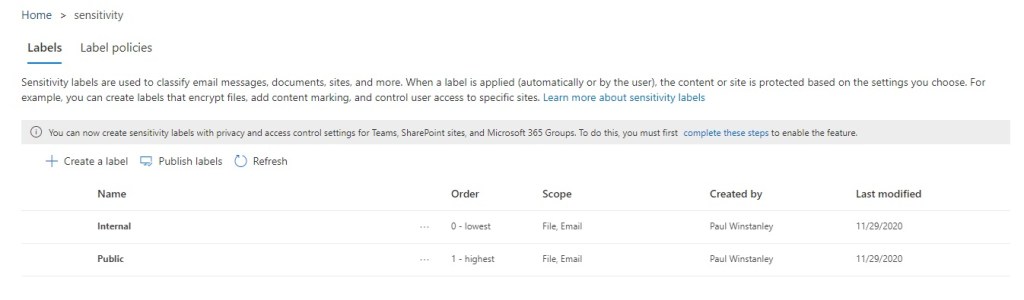
Our newly created label will appear in the list of labels.
Creating the Public label
Now we are going to create our Public label. So click the Create a label link.
Enter a Name and Description for users and click Next.

Follow the wizard through as before but this time at the Files & emails section we are not going to encrypt or mark the documents for our external recipients.
Click through to complete the set up of the External label.
You’ll now have two labels listed. As you can see the labels are ordered with a priority. The order of the labels is important because it reflects their priority. You want your most restrictive sensitivity label, in our case Internal, to appear at the bottom of the list, and the least restrictive sensitivity label, Public, to appear at the top. This is important if you implement the option that requires users to provide a justification for changing a label to a lower classification, the order of this list identifies the lower classifications.
To change the priority, click the … next to label and either Move up or Move down.
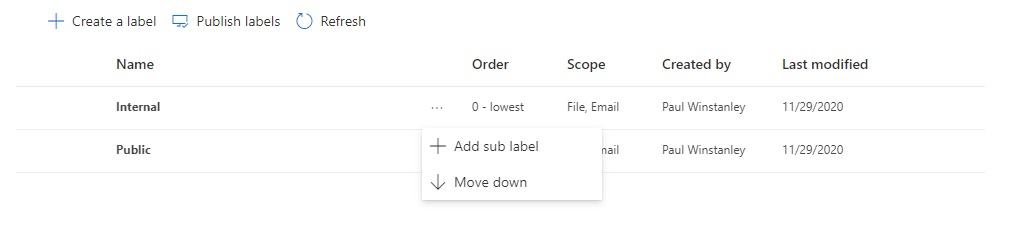
This will reorder the priority accordingly. Now my priorities are set to reflect the restrictions.

Publishing the labels
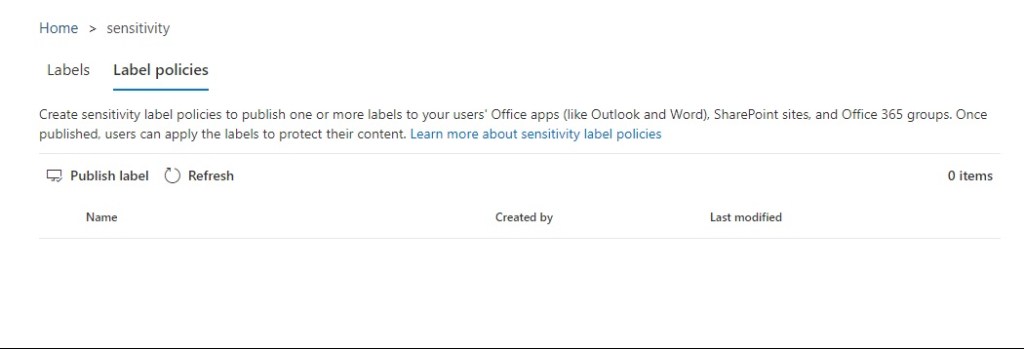
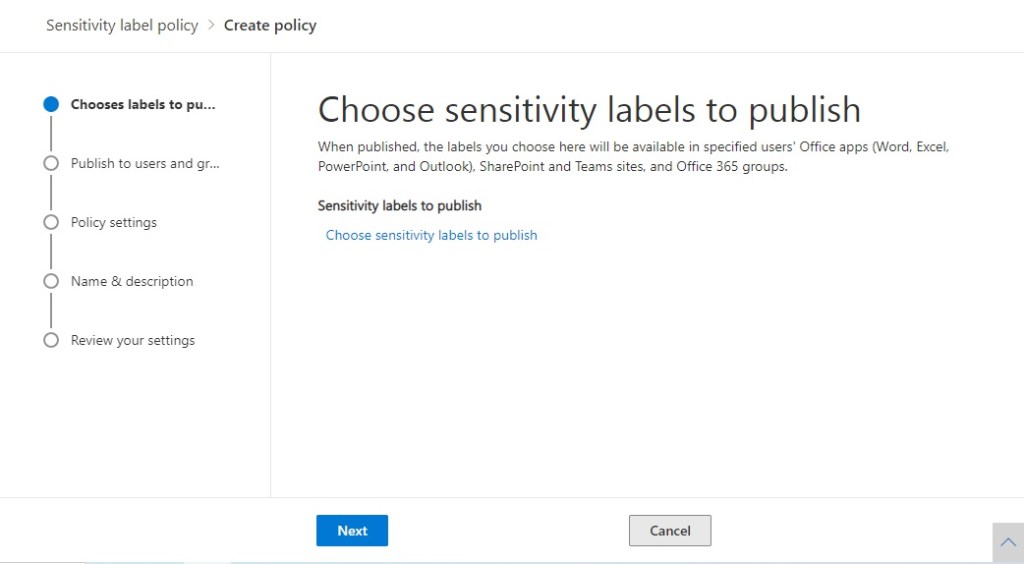
With our labels now defined, we want to publish these out to our users. Click the Label policies link and then Publish label.
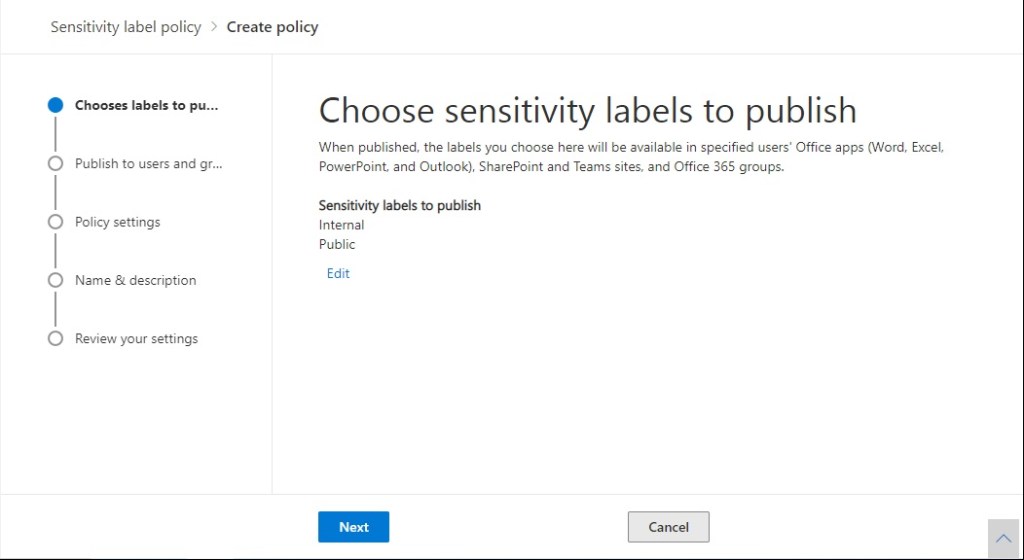
We need to choose which labels to publish, so select the Choose sensitivity labels to publish link.
Since we want to publish both policies we can choose Select all. Click Add.

Click Next.
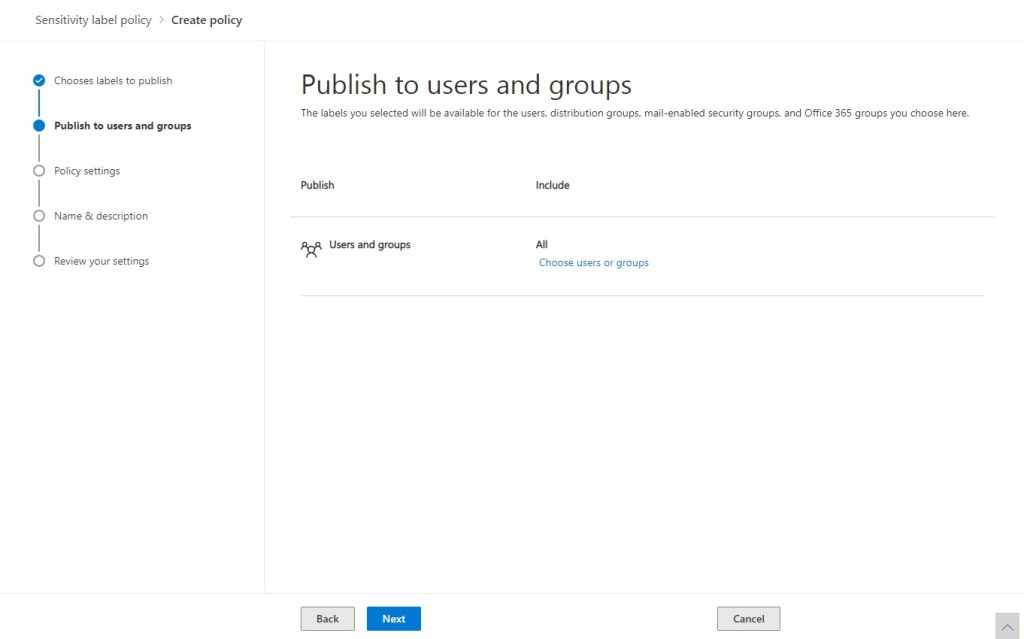
We want the published labels to be applied to all the users in our business so click Next to continue.
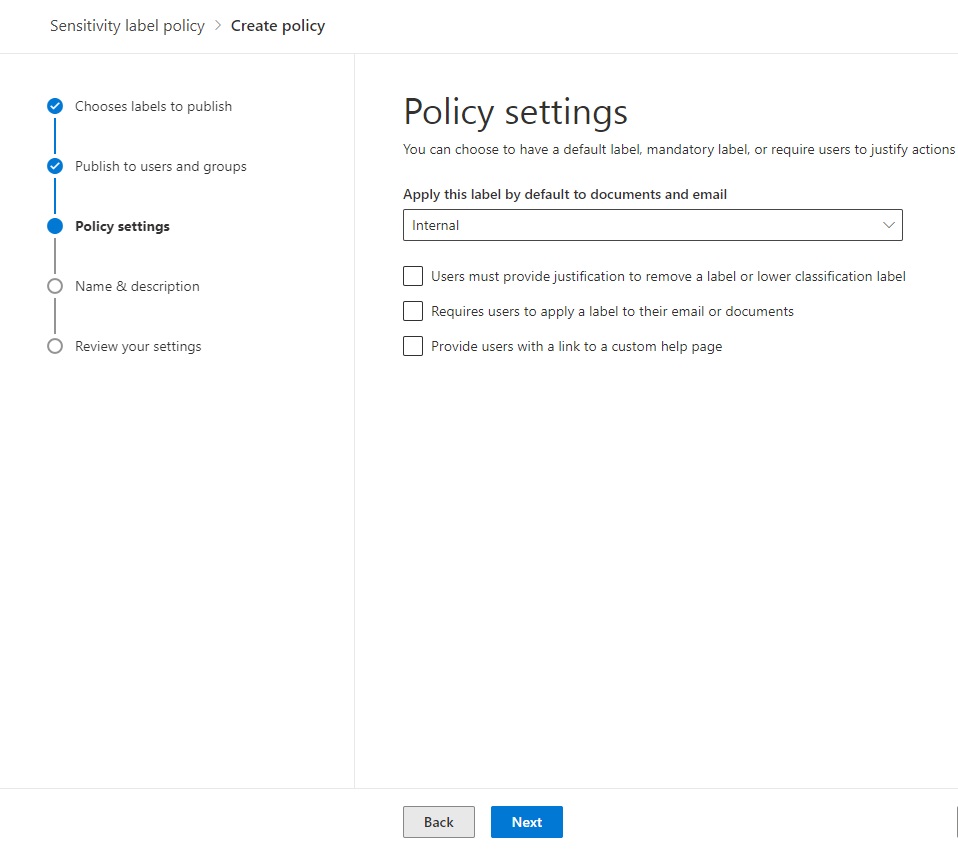
Now we can say if we want to apply a specific label to all our documents in the Apply this label by default to documents and email dropdown.

I have selected to have the Internal label as a default on all my documents. I haven’t specified Users must provide justification to remove a label or lower classification label so I’ll be able to change the label without issue for the purposes of the demo.
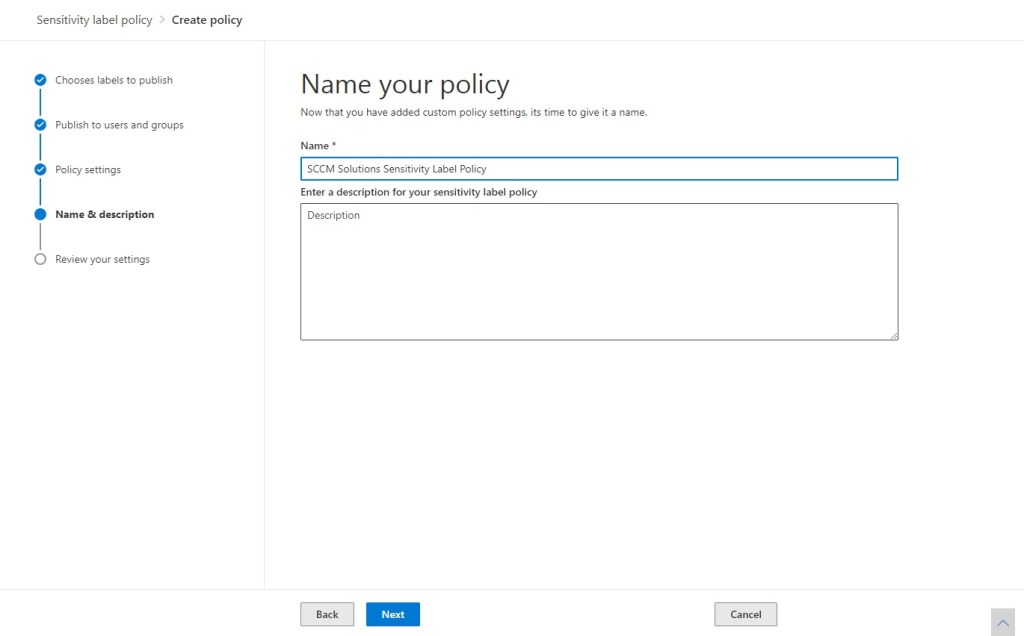
Enter a name for the policy and click Next.
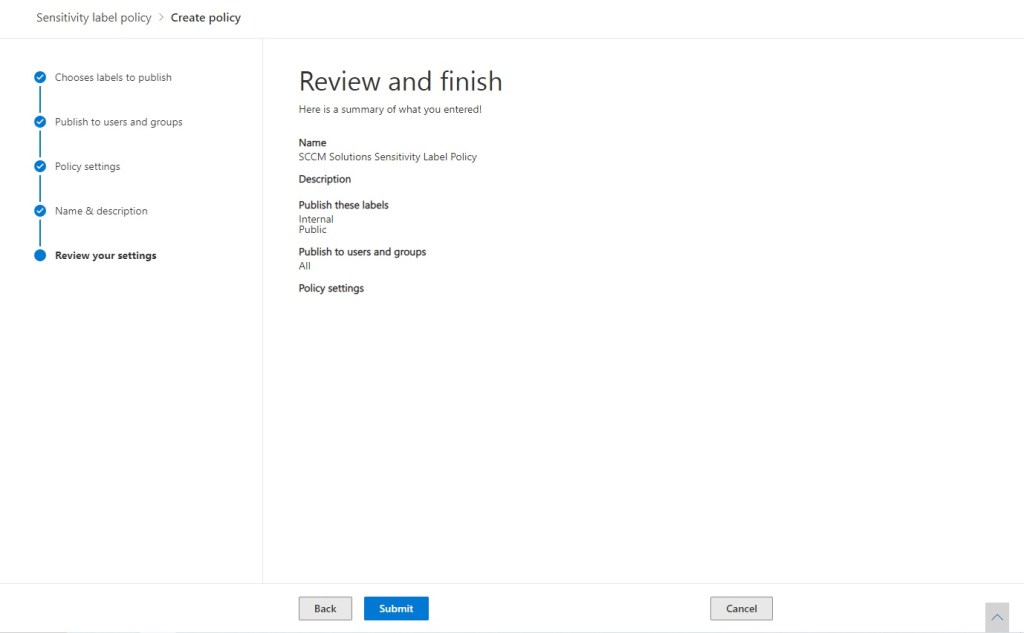
Review your settings before clicking Submit.
Click Done.
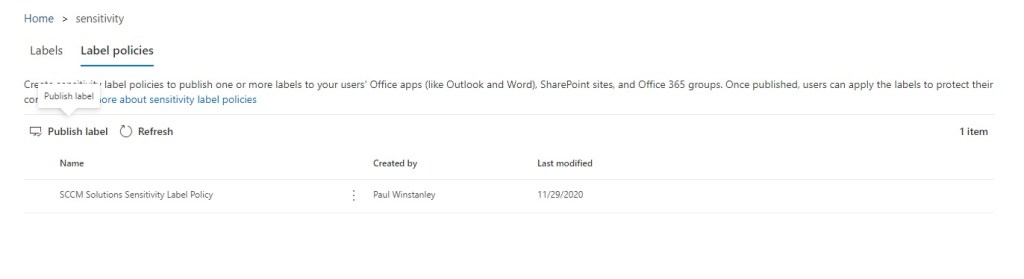
Your policy will appear in the list of policies.
Download and Install the Azure Information Protection unified labeling client
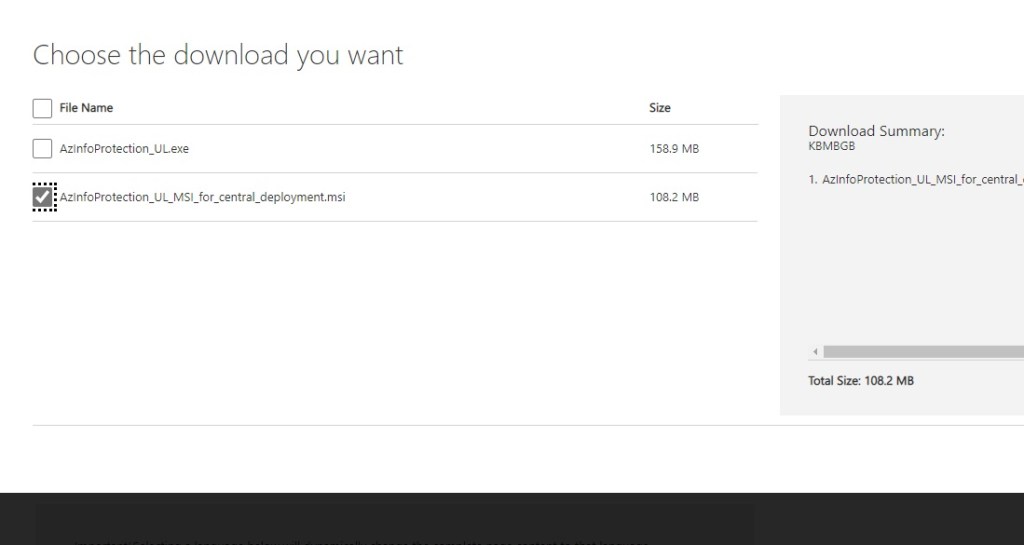
For watermarks to appear in documents, and for some extra functionality, you need to download the Azure Information Protection unified labeling client.
This can be downloaded from the Official Microsoft Download Center.
Make sure you grab the AzInfoProtection_UL_MSI_for_central_deployment.msi
To package this up for Intune I recommend taking a a look at this great blog post which covers the process of creating the intunewin file and Win32app – Using Intune to Deploy the Azure Information Protection (AIP) Unified Labeling Client (Win32 MSI)
On the endpoints
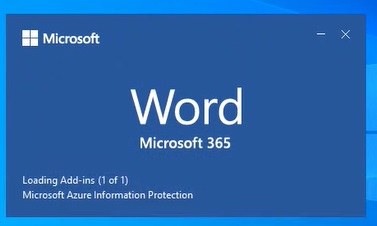
With the Azure Information Protection unified labeling client deployed, you will notice Word loadf the Microsoft Azure Information Protection add-in at start up.
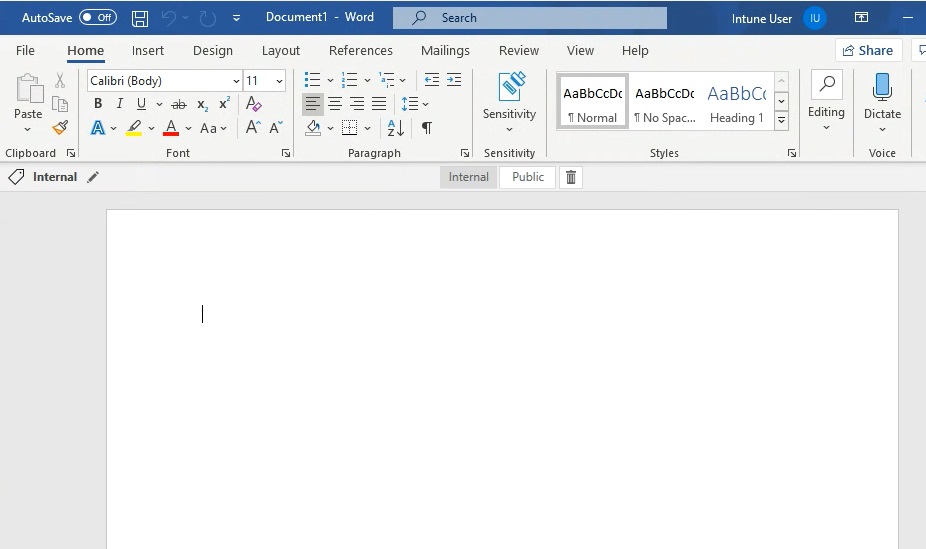
Since the label policy is deployed, the Sensitivity icon in the ribbon is no longer greyed out in Word. If you select it, both our labels will be listed.
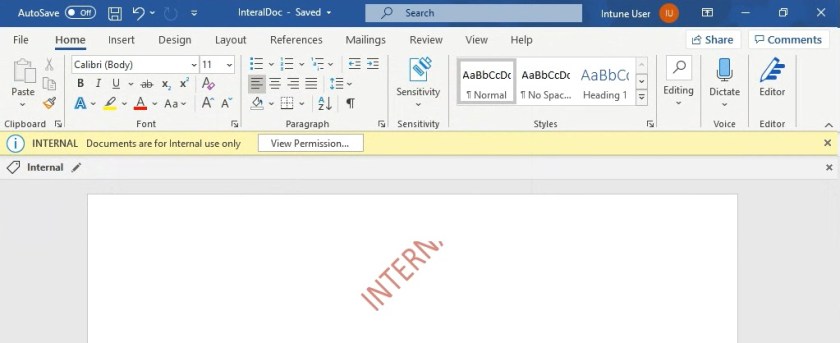
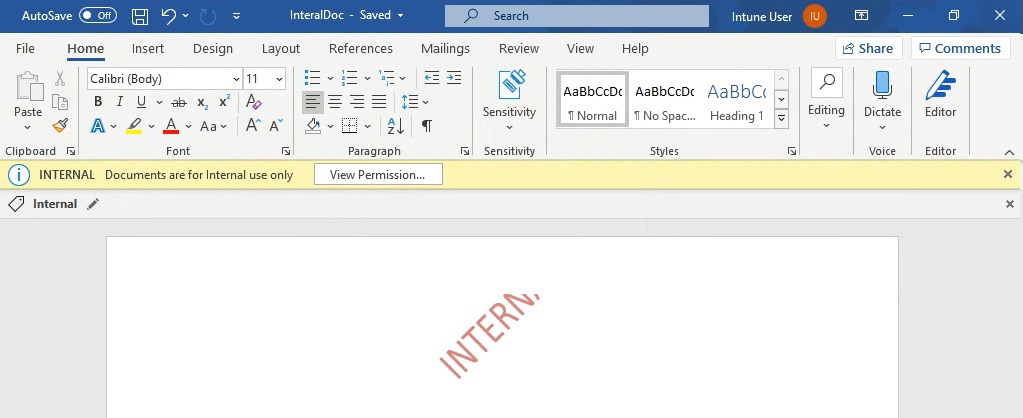
As we set our documents to be marked as Internal by default, this will be automatically selected. The Show Bar option sets a bar within Word so you can switch between labels (see below).

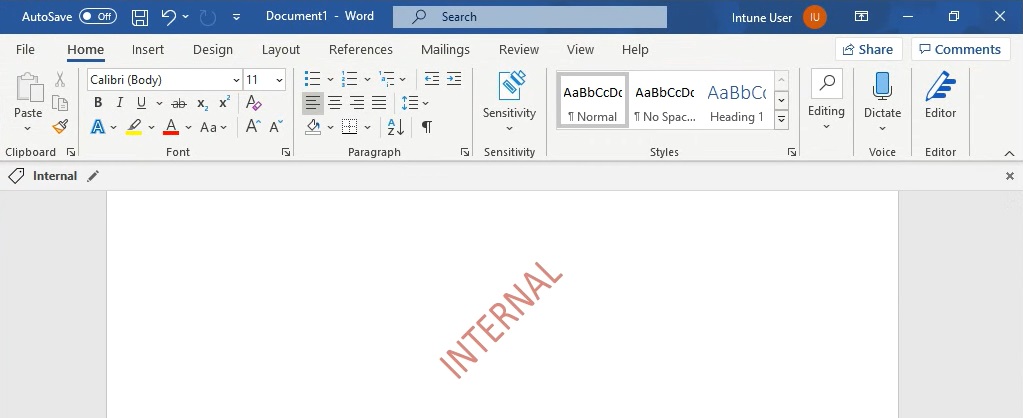
As the default policy is Internal, the watermark, configured earlier, is displayed.
When the document is saved, a new information bar is displayed which tells me the document is Internal and I can click View Permission which tells me what I can do with the document with this label applied.

If I send the document external to the business, note that you can apply a Sensitivity label to the actual email. The default label of Internal will be applied.

When clicking Send, I will get a ‘Only file attachments that support rights management will automatically have their permission restricted to match the restrictions on this e-mail. All other file types are attached unprotected.‘ Click OK.

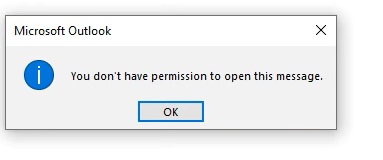
In the external recipients email, they’ll receive the following when clicking on the email. ‘This message with restricted permission cannot be viewed in the reading pane until you verify your credentials. Open the item to read its contents and verify your credentials.‘

When attempting to open the email a ‘You don’t have permission to open this message‘ message will appear, blocking the attempt to access and protecting the contents.
Now if I create a new email and set the Sensitivity label on the email to Public and send the document external, the behaviour will be as follows:
The email will be visible to the external recipient.

However, since the document is classed as Internal, when they attempt to open it they won’t be able to and the content is safe.

So why the Public label?
As you may have noticed we created the Public Sensitivity label. When we configured this we didn’t set any encryption, permissions or watermarks on the label. Therefore, if we applied this label this would effectively be a standard document with no restrictions when emailed over to external recipients. So we would apply this label to our docs when we want to send them out of the business.
I hope this gives you an nice introduction to the use of Sensitivity labels and how they can be utilised to protect your data via Micrsoft 365.
