Part 1 of the SCCM 2012 Step by Step Installation Guide showed you how to extend the schema, address any pre-requisites and install SQL Server on your SCCM box. In Part 2 of the guide I will show you how to install SCCM 2012 upgrade to SP1.
Run SCCM 2012 Server Readiness Check
Insert the SCCM media and run ‘Assess server readiness’.

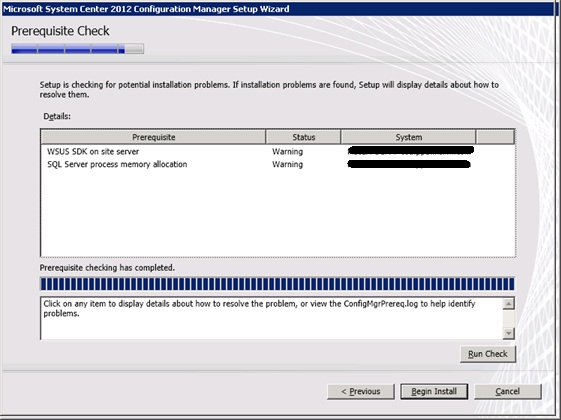
This will identify any pre-requisite installations that SCCM 2012 needs in place before the Site Server install.
The following messages can be ignored at this stage.

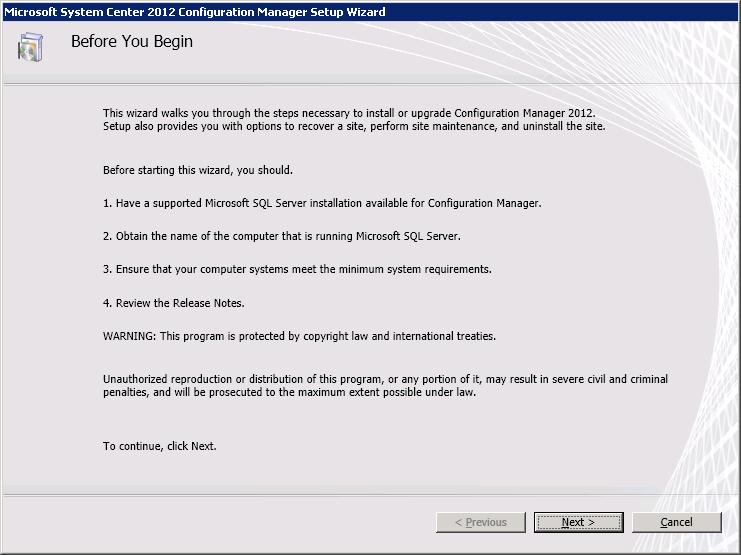
Install SCCM 2012
Click the Install option on the main splash page. Click Next
Choose to install a primary site

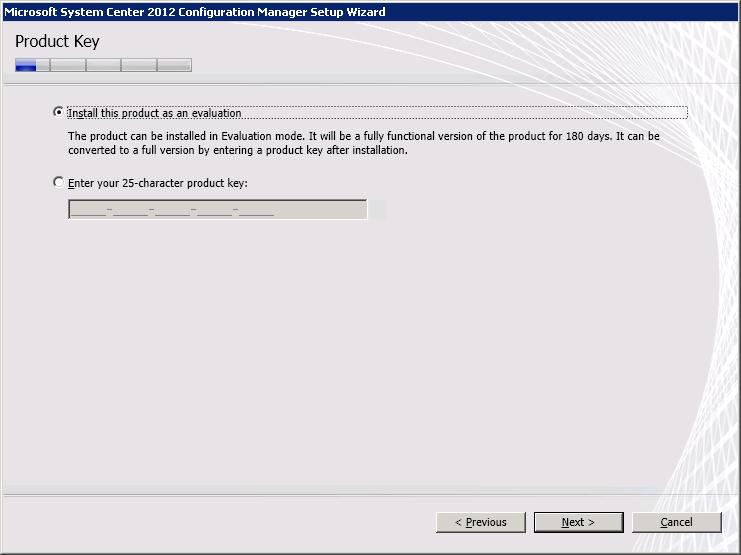
If you have a product key insert this now or run in Eval mode.
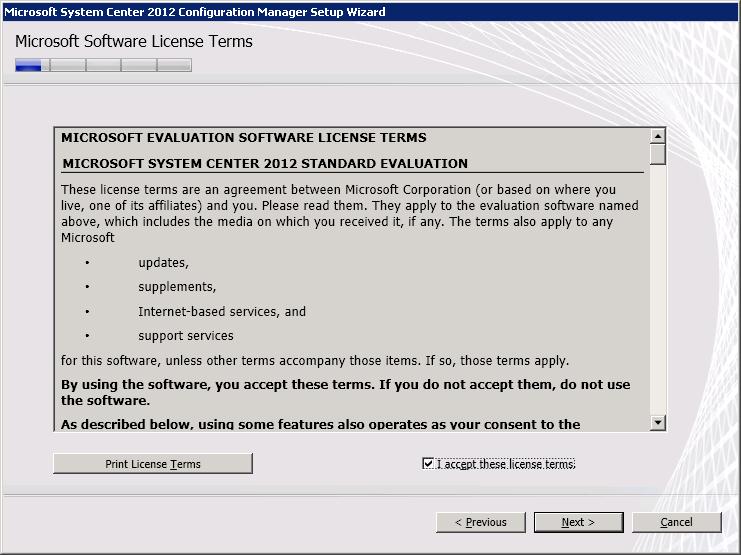
Accept the licence agreement.
Accept all the pre-req licence agreements.

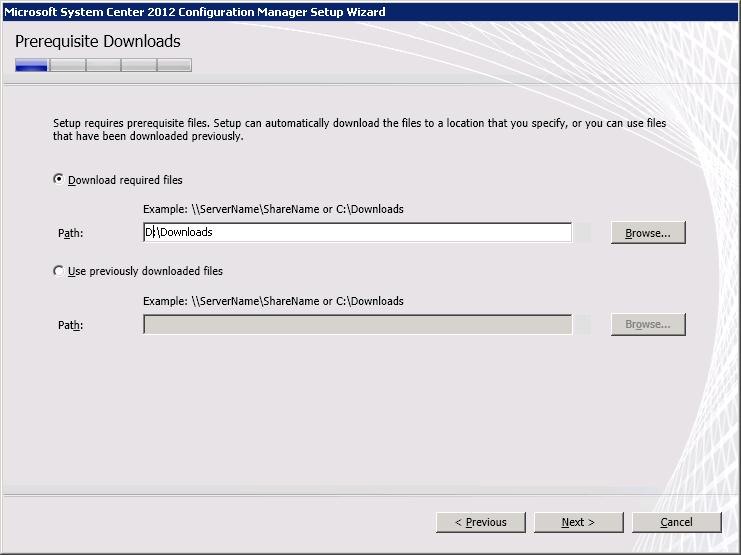
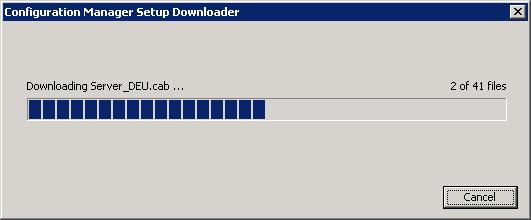
Create a folder to download SCCM pre-req files and point the SCCM install to the folder.
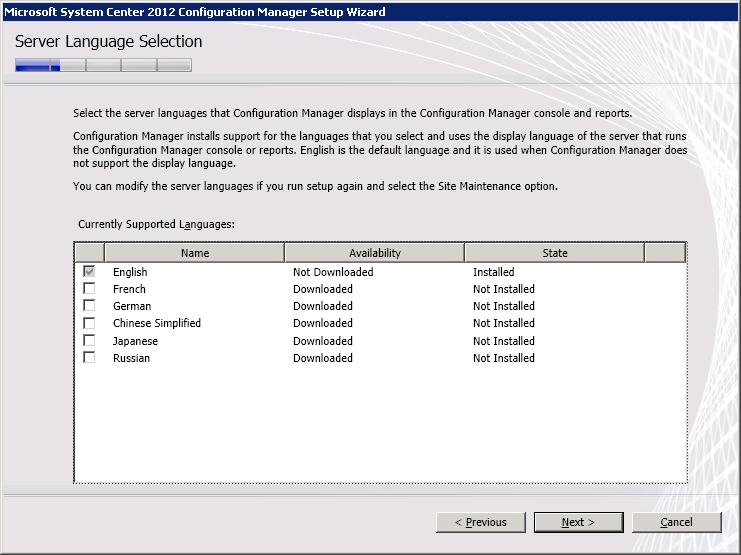
Click Next at the language selection screen to accept the English language or change the language to your desired.
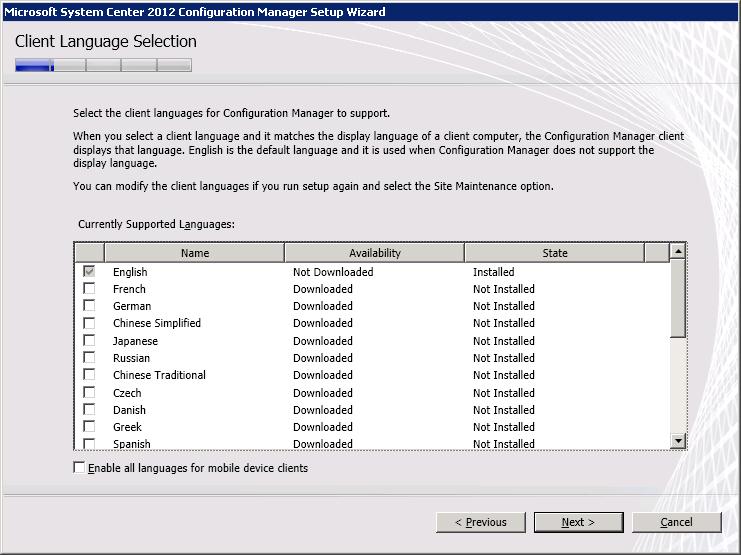
Click Next at the Client Language selection screen or select appropriately.
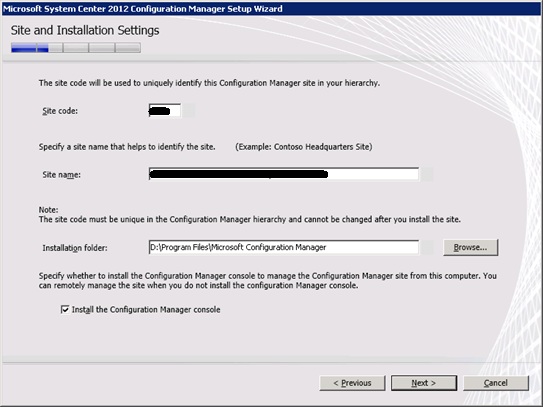
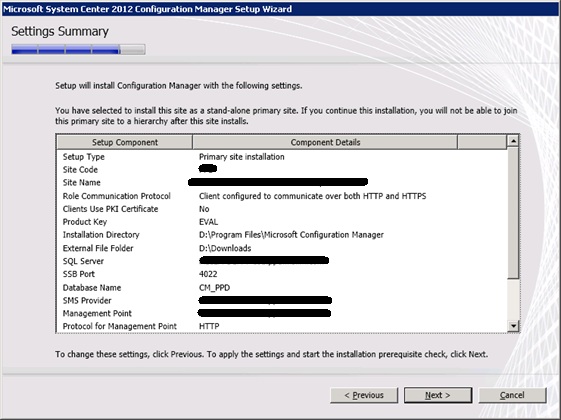
Enter a three character Site Code and Site Description and enter the installation location for SCCM.
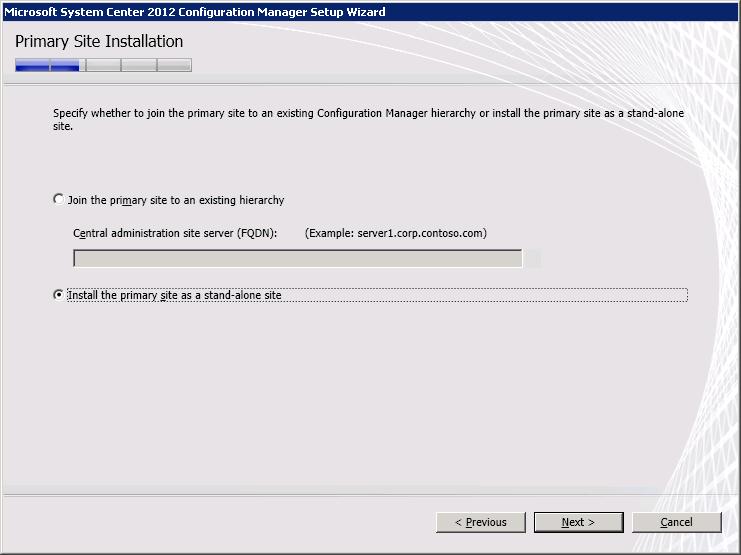
Install as a Stand-alone SCCM Site.
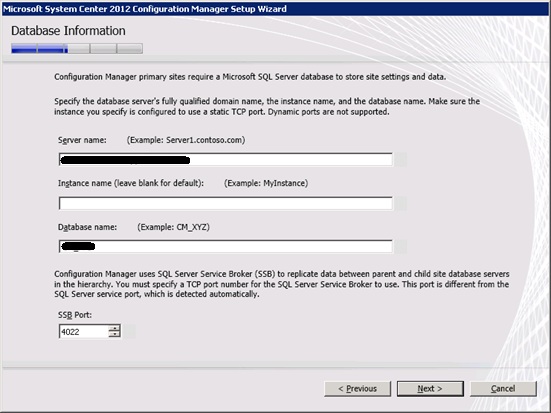
Accept the SQL defaults.
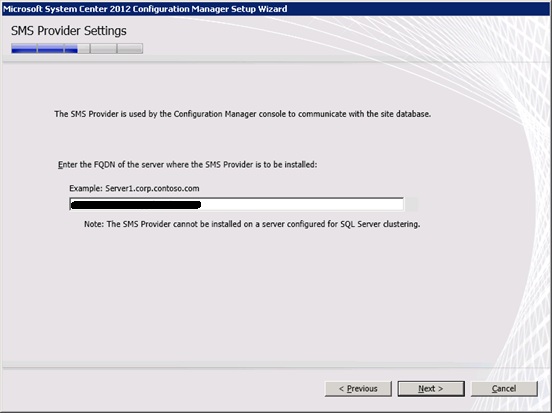
Accept the SMS Provider defaults.
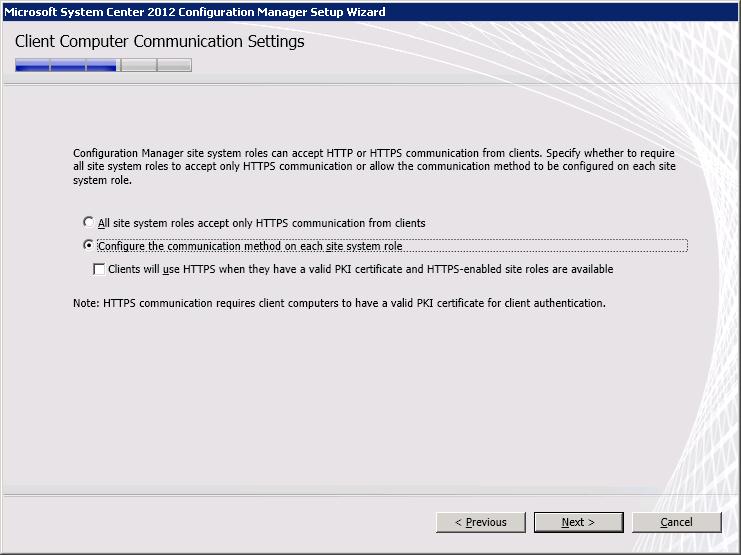
Select ‘Configure the communication method on each site system role’.
Install a MP and DP.
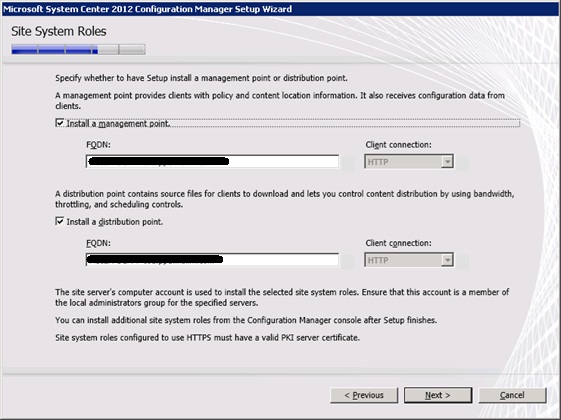
Click Next.
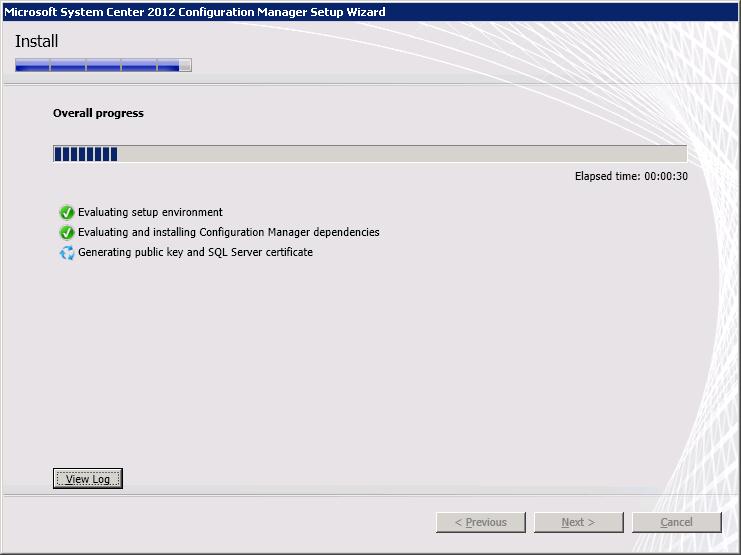
The SCCM install will re-run the pre-req check. Click Begin Install.
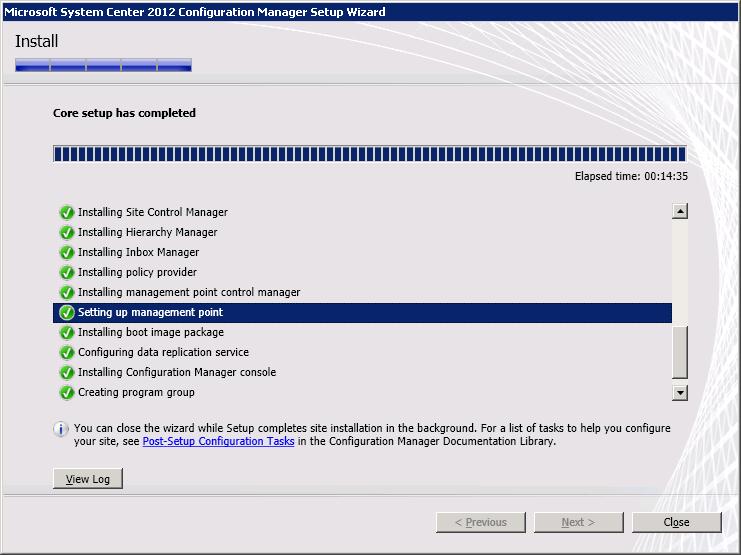
Click Close to complete the installation.
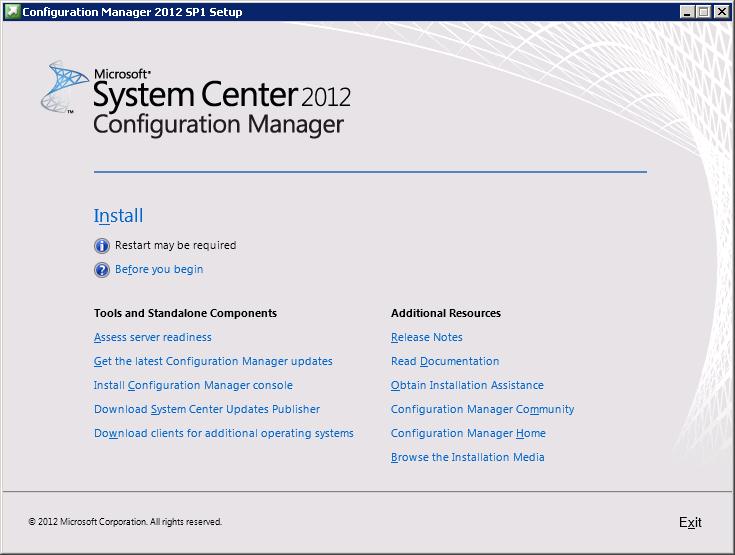
Upgrade to SP1
To support App-V 5 the SCCM 2012 install needs to be upgraded to SP1.
Click install.
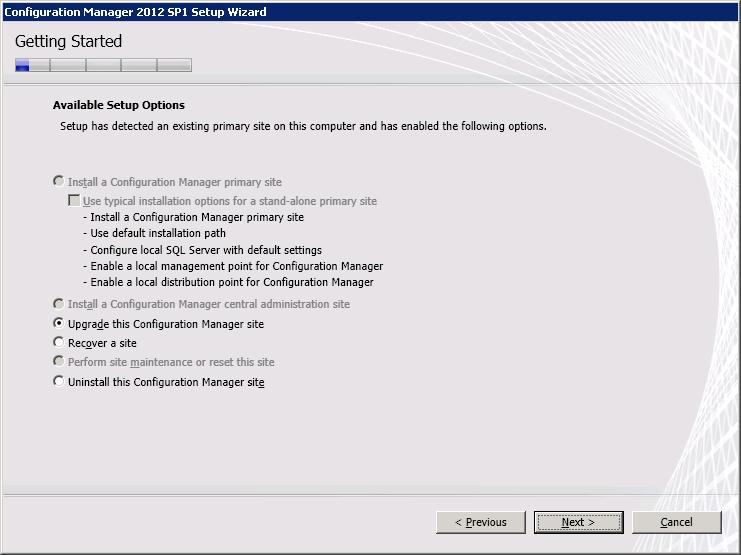
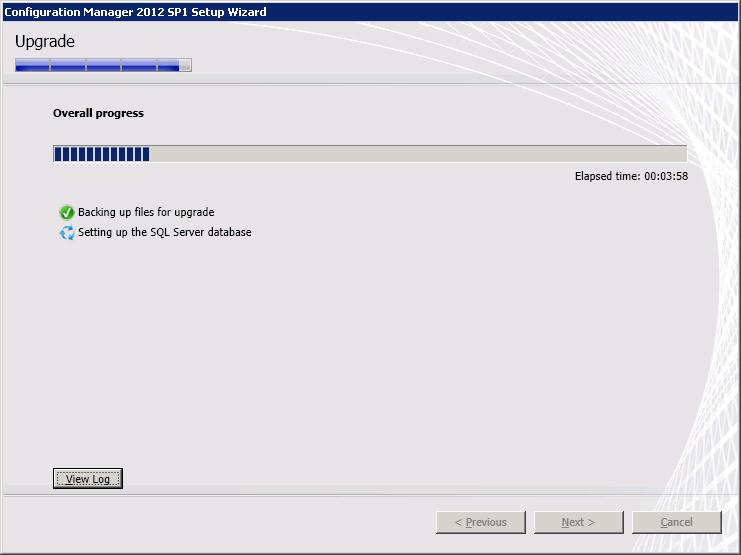
Upgrade the site when prompted.
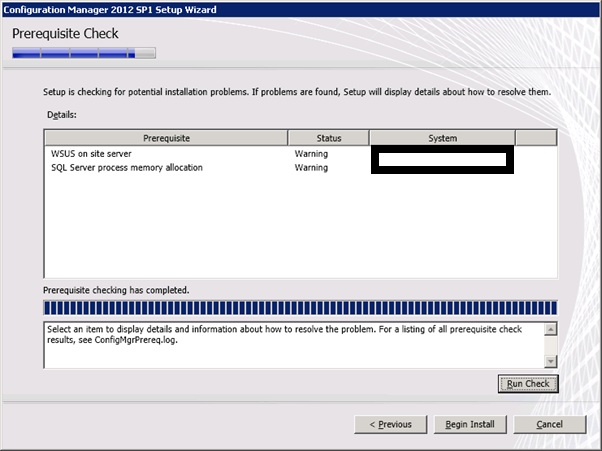
Address any Pre-Requisites for SP1.

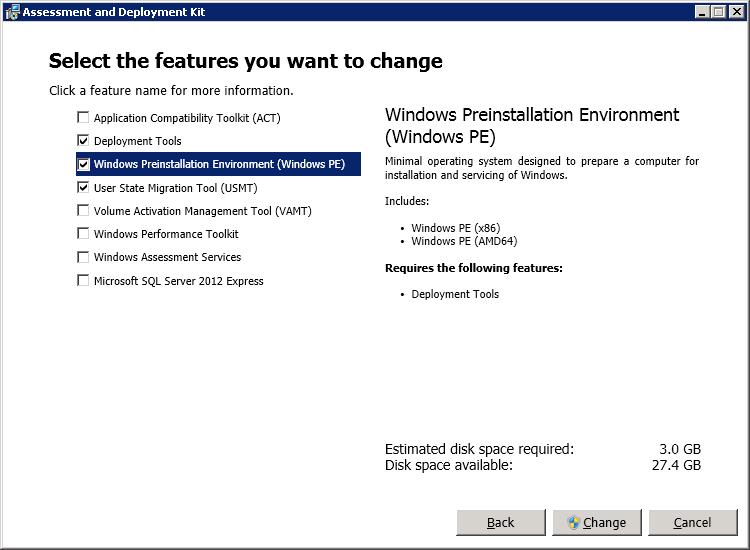
Windows Assessment and Deployment Kit (ADK) for Windows 8- http://www.microsoft.com/en-us/download/details.aspx?id=30652
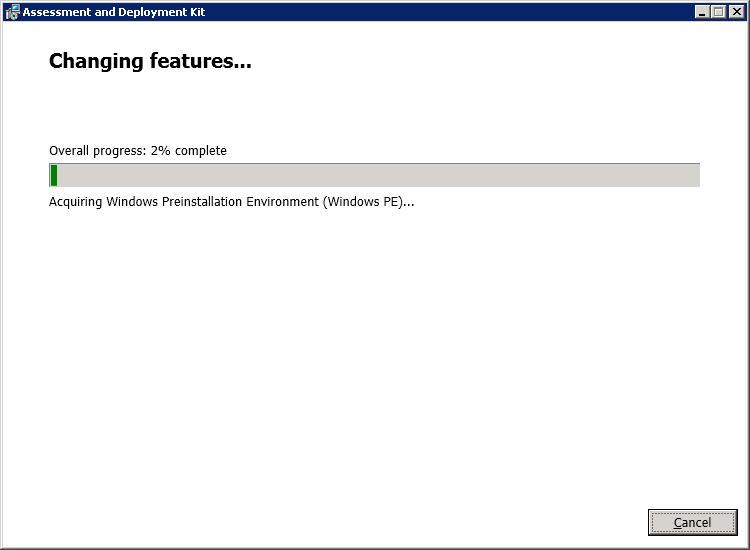
Install the missing features.
SCCM 2012 SP1 is now installed into your domain and you can start configuring the Site Server to get clients out to your machines.

Hi there, after reading this awesome paragraph i am also glad to share
my experience here with colleagues.