With Windows 10 Autopilot in its infancy, here’s a quick overview on how you can push out the Office 365 Intune app to your Autopilot configured devices.
To get you started, here is a list of the things you will need to be able to replicate this blog post:
- 1 x Windows 10 1703 VM with Internet access
- Admin rights to the Azure portal
- Intune account with users configured for deployment
- Admin rights on the Windows Store for Business
- An Azure AD premium P1 or P2 subscription
Setting up devices for Autopilot
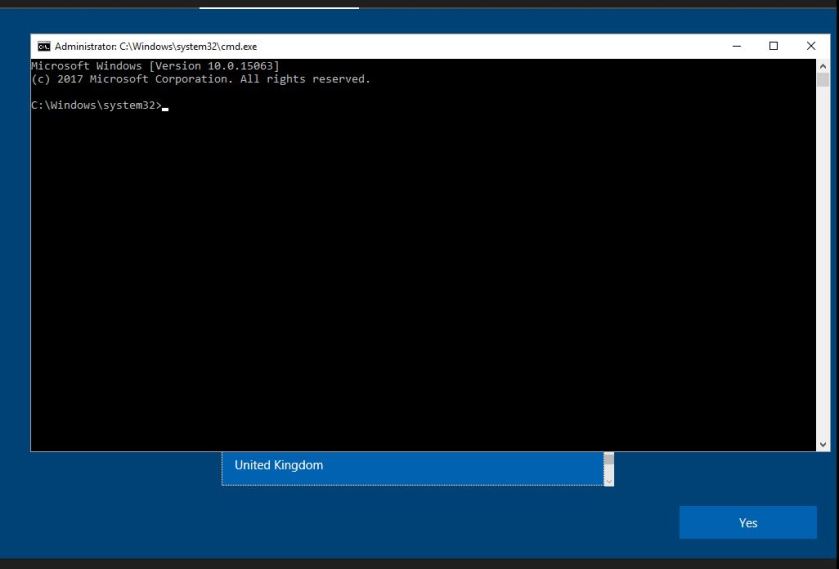
First up, we will need to get some information from our Windows 10 device, this means that the device will need to be built with an OS in place. Once we have the device info we then need to rebuild. You could be at the first Windows OOBE screen and then press Shift+F10 to bring up a CMD prompt and get the required information.
We need to collect some information for the Autopilot process and we need to run the commands below to collate the data:
wmic bios get serialnumber

Get-ItemPropertyValue "hklm:\SOFTWARE\Microsoft\Windows NT\CurrentVersion\DefaultProductKey\" "ProductId"

$wmi = Get-WMIObject -Namespace root/cimv2/mdm/dmmap -Class MDM_DevDetail_Ext01 -Filter "InstanceID='Ext' AND ParentID='./DevDetail'"

$wmi.DeviceHardwareData | Out-File "($env:COMPUTERNAME).txt"
We then need to put the resultant information into a .csv file that can be uploaded to the Windows Store for Business.
The following format is needed for the resultant data:
Device Serial Number,Windows Product ID,Hardware Hash
9695-7543-8434-9503-5022-9771-82,00330-80000-00000-AA342,T0GoAQEAHAAAAAoA4wHXOgAACgCetetc
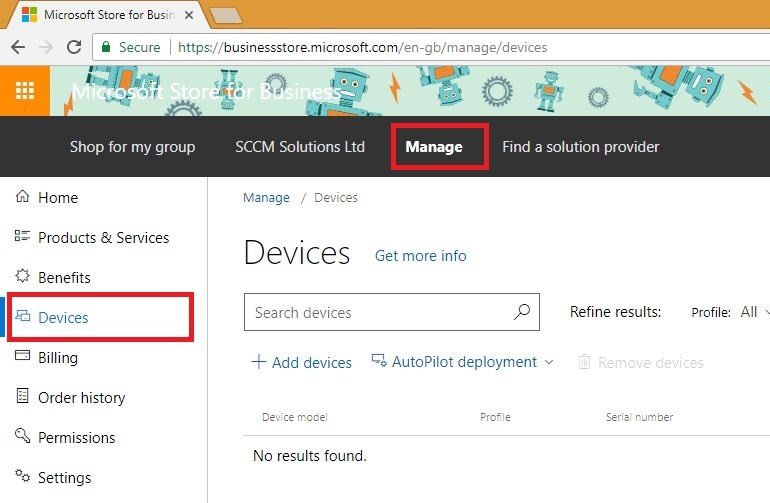
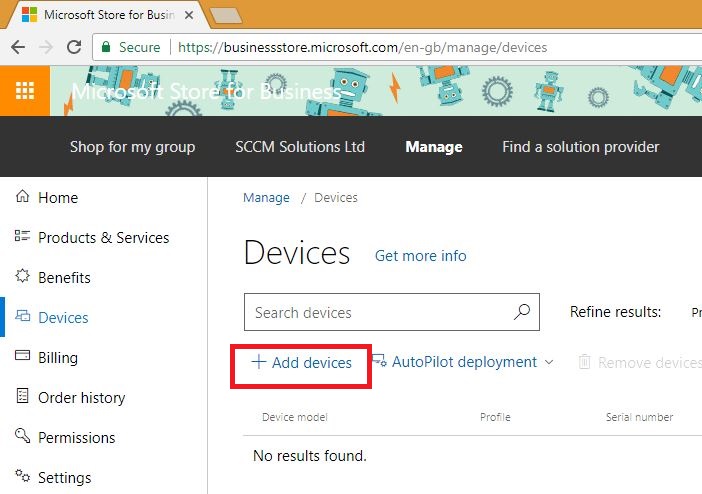
Go to the Windows Store for Business portal and log in. Then click Manage\Devices
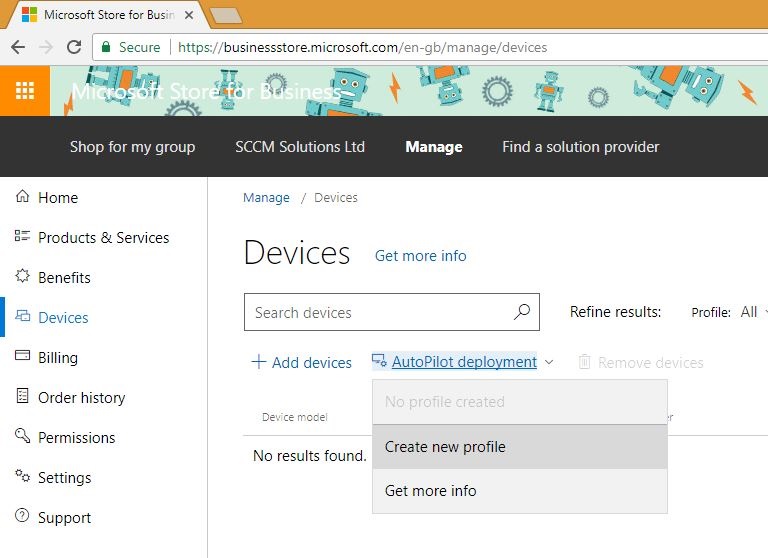
Click the AutoPilot deployment drop down and choose Create New Profile
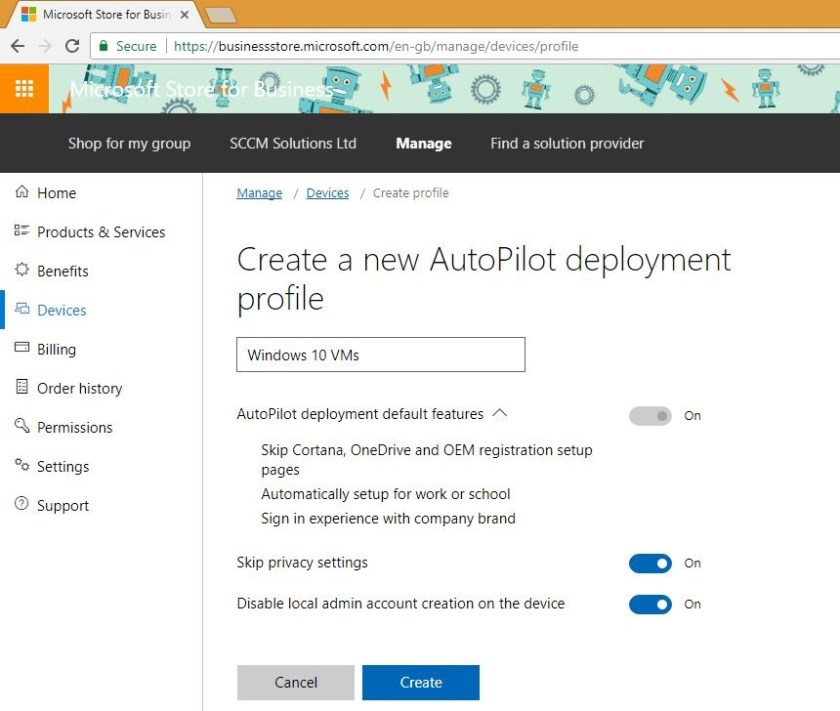
Enable Skip Privacy Settings and Disable local admin account creation on the device. Then click Create.
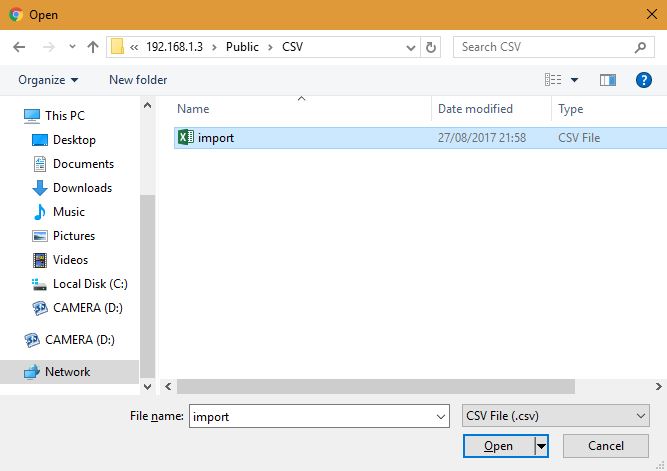
Next we need to import the device or devices from the csv file that we created. To do this click the Add Devices link.
Select the csv file for import.
We need to add in a relevant name for the group of devices we are importing.
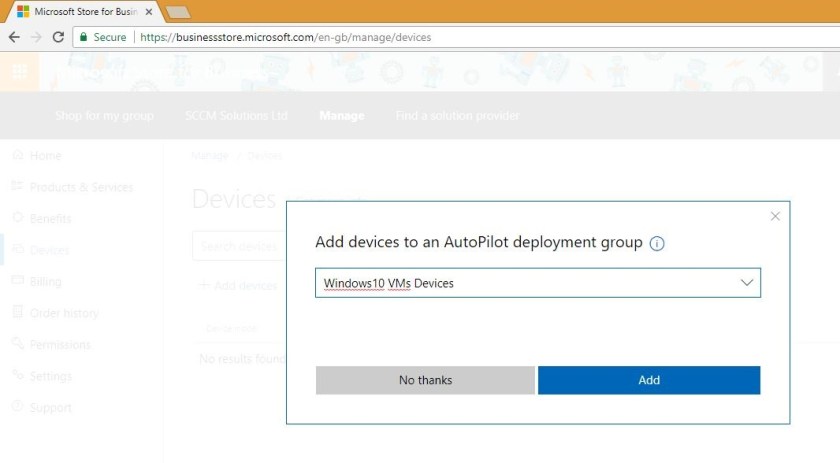
Notice that the devices are being imported and you have to wait for this process to complete.

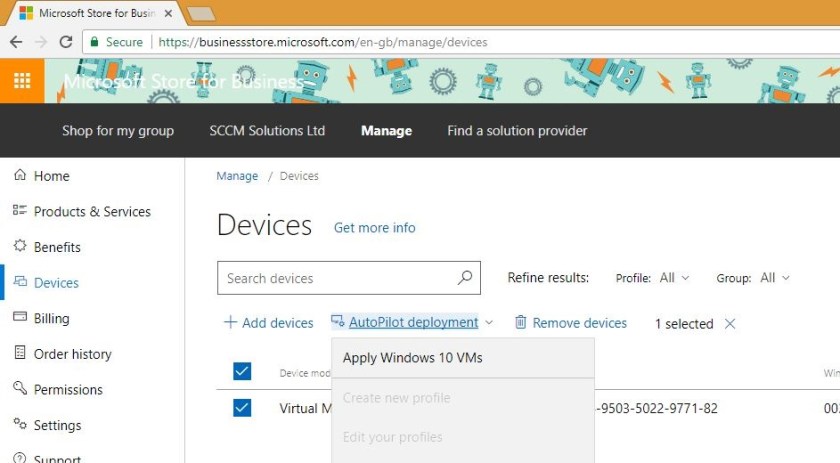
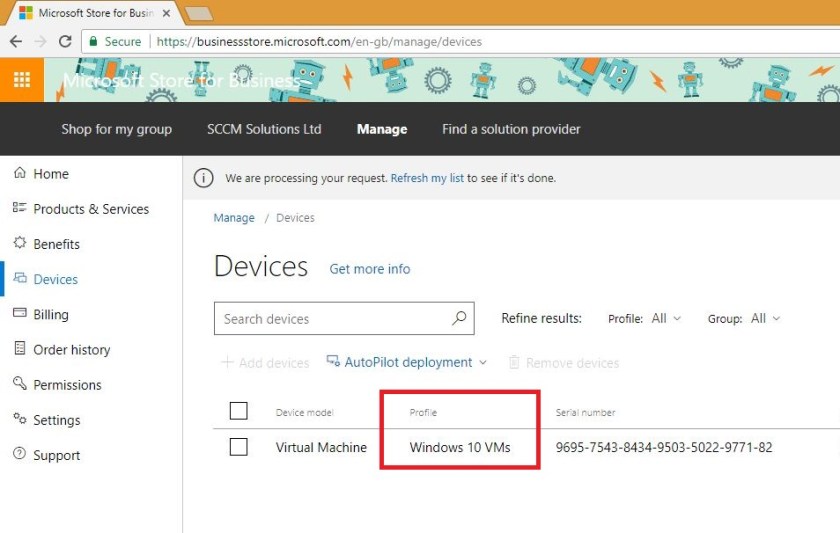
With the device/s imported, the next step is to assign the Autopilot profile to the device. Select the device/s and click the Autopilot deployment drop down and choose your profile. Once again, you will be informed that the request is being processed.
Once the profile has applied, you will see it assigned against against the device.
Creating your Office 365 deployment
Log into your Azure portal with an admin account.
First up, we are going to create a user based group that can be used to assign our Office 365 application to.
Navigate to Azure Active Directory\Users and Groups\All Groups. Click New Group.
Enter a name for the group, set the Membership type to Assigned and select the members for the group. Once done click Create.
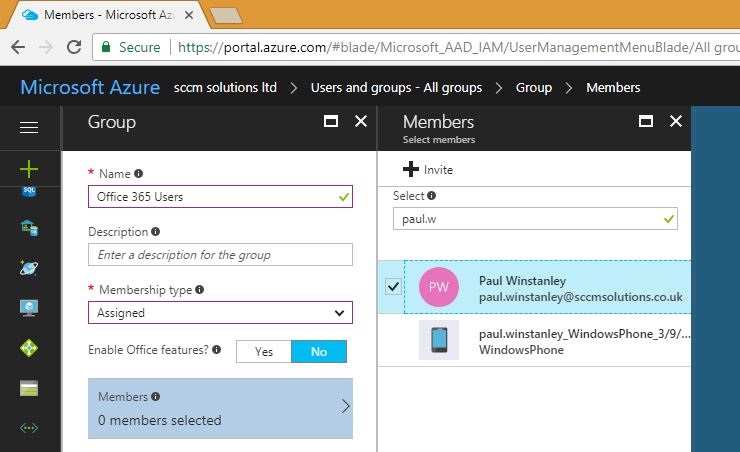
You will be informed that the group is created.

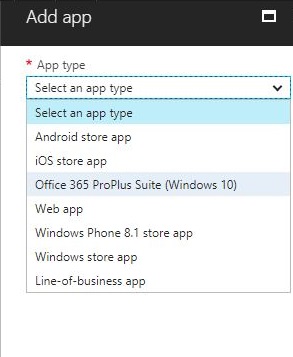
Next navigate to Intune\Mobile App\Apps and click Add. From the App type drop down choose the Office 365 ProPlus Suite (Windows 10) option.
We must now specify particular settings specific to your Office 365 needs, but here is a basic run through.
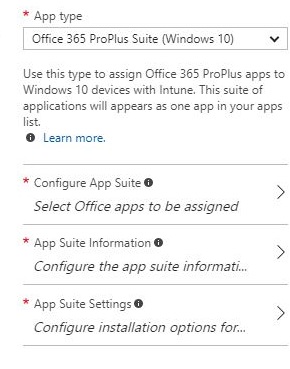
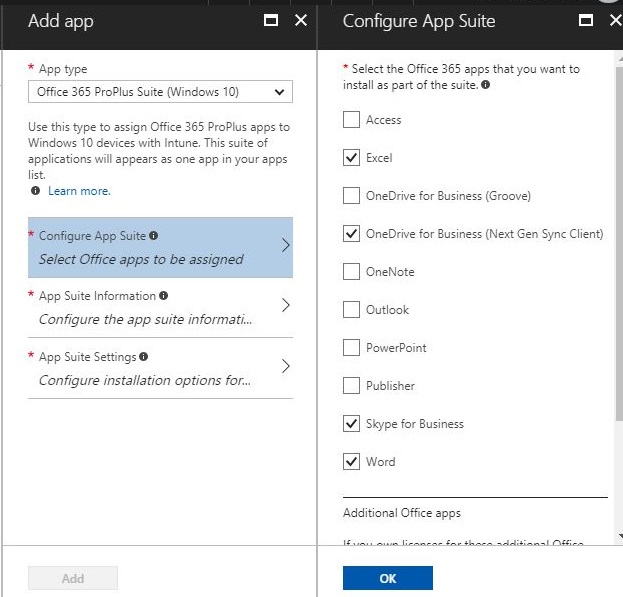
From Configure App Suite option choose the apps what you want as part of your Office 365 install. Click OK to confirm:
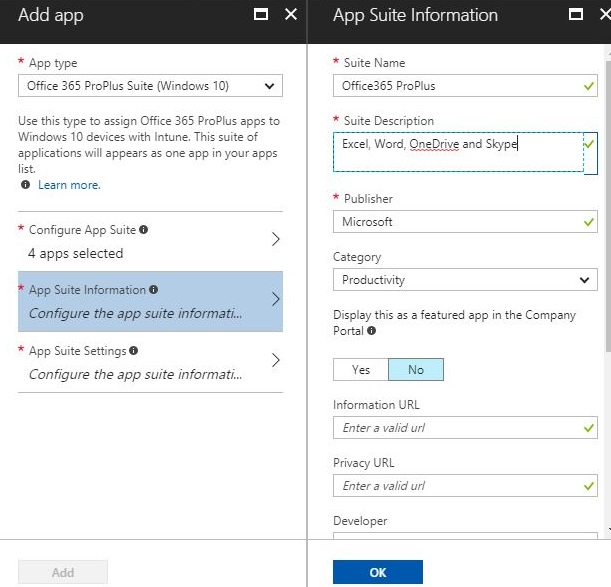
From the App Suite information option, enter any relevant information. I have just entered a Suite Name and Suite Description for the app. Click OK to confirm:
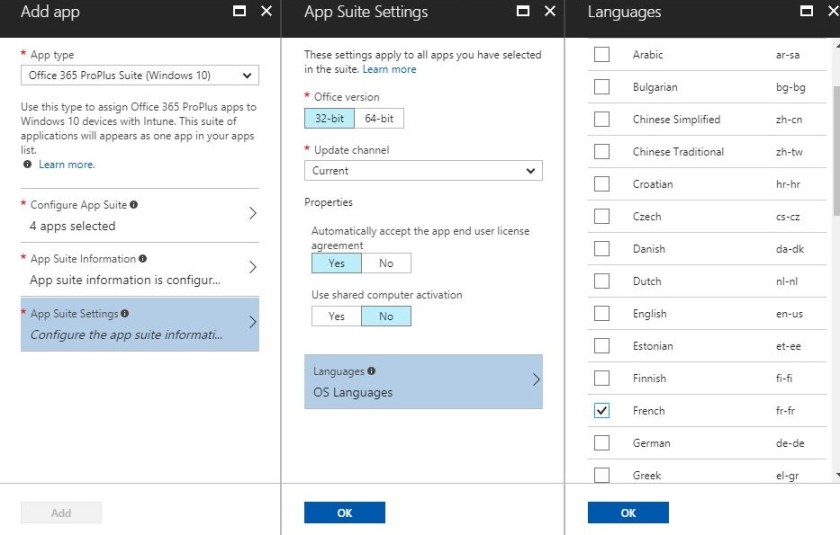
From the App Suite Settings option, enter the Office version, update channel, whether to accept the EULA and if shared computer activation is required. You can also add in extra languages, I have opted to also install the French language for Office 365. Click OK and then click Add to create the app.
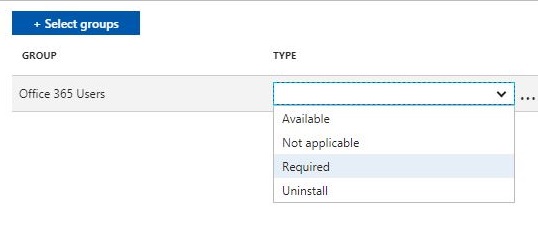
 With the app created, we can assign this the user group we created earlier. Click Assignments and then choose Select Groups. Select the group you created and choose Select.

Next set the type as Required and Save.
Autopilot in action and our Office 365 install
With the Windows 10 1703 device in OOBE, we are prompted to select the region of the device. As mentioned before you can press Shift+F10 and collect the data for Autopilot at this stage.
If we already have the information then we can choose the region for the device and click Yes.
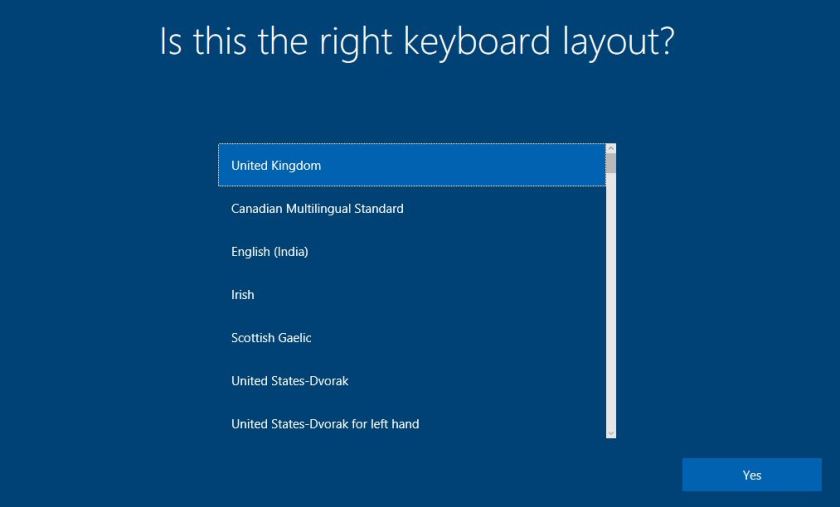
Next up, select the keyboard layout and confirm with Yes.
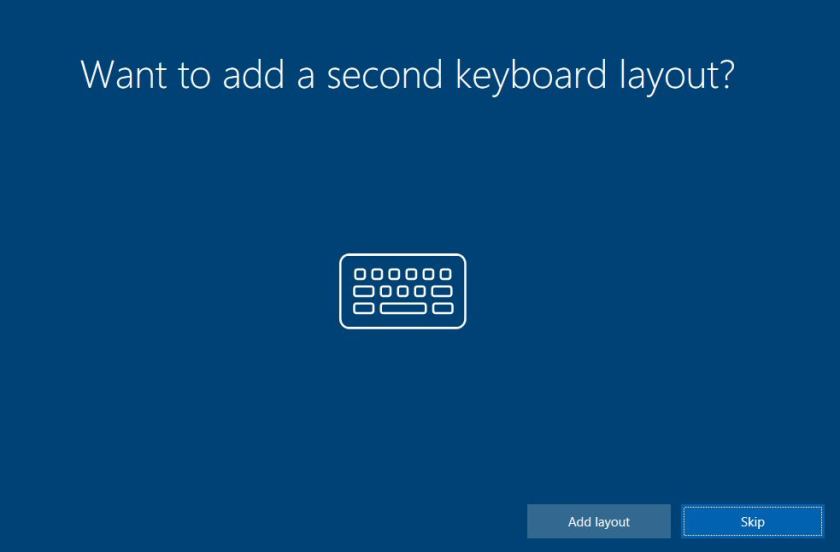
You can choose to add a second keyboard layout or skip. Choose accordingly.
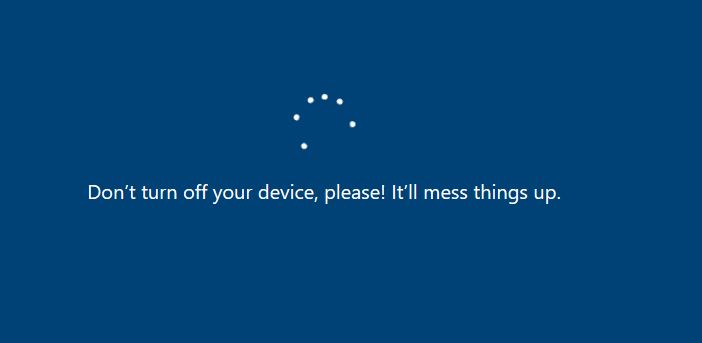
You’ll be informed that some updates have been found.
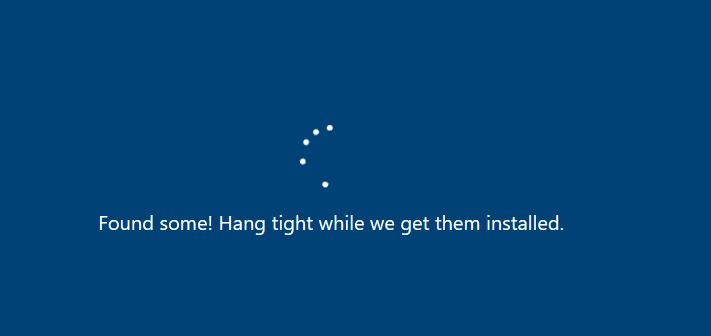
and not to turn off your device!
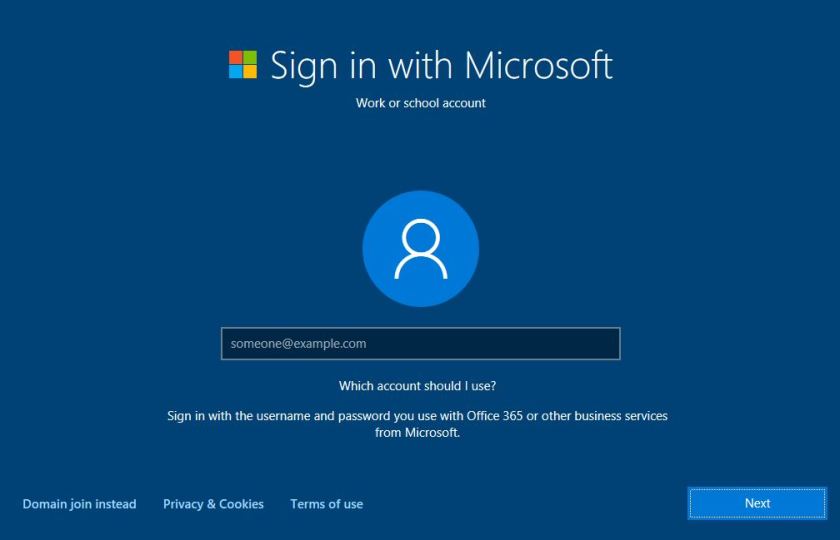
After a restart, you will be presented with your work login, I am going to log in with the account I have set up as the user in my Office 365 group. Click Next. Enter the password when prompted.
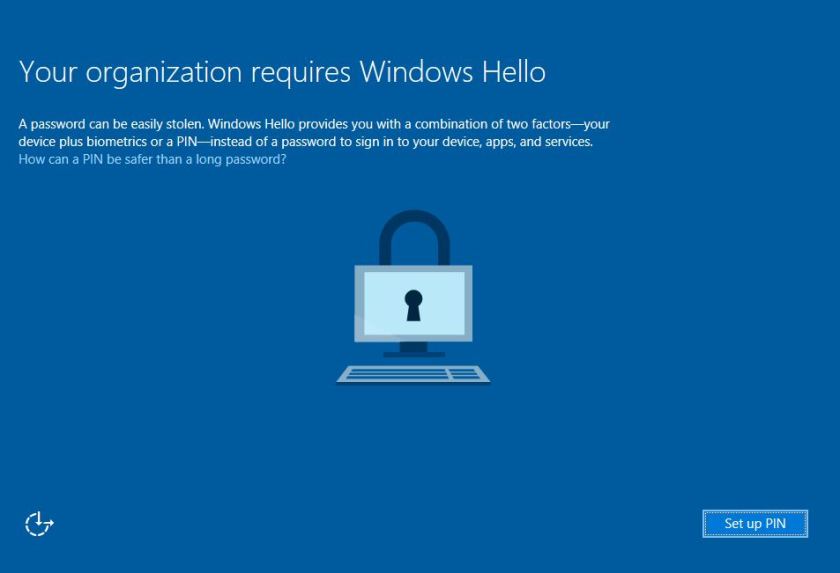
Set up Windows Hello accordingly.
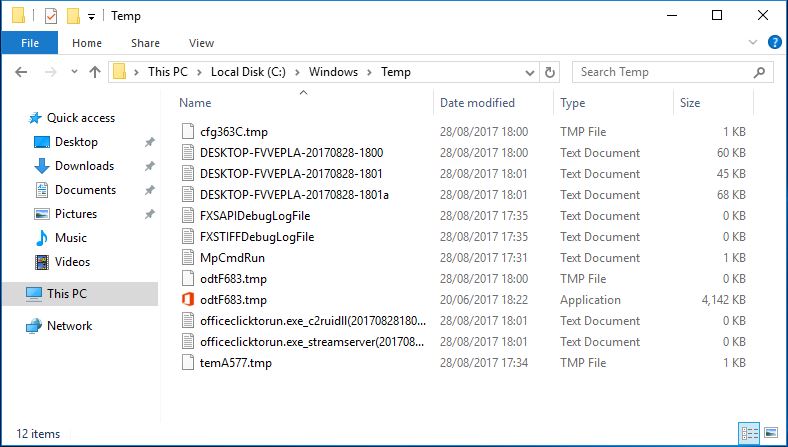
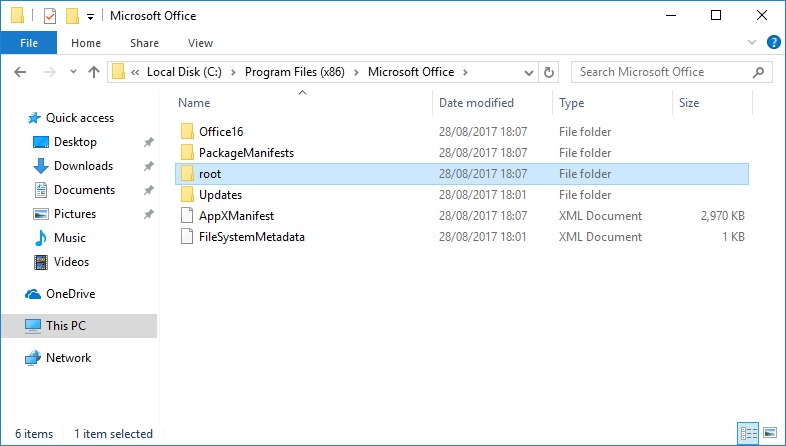
When logged in, you’ll notice some Office 365 activity in your Windows\Temp folder
You’ll also notice the Office folder start to populate.
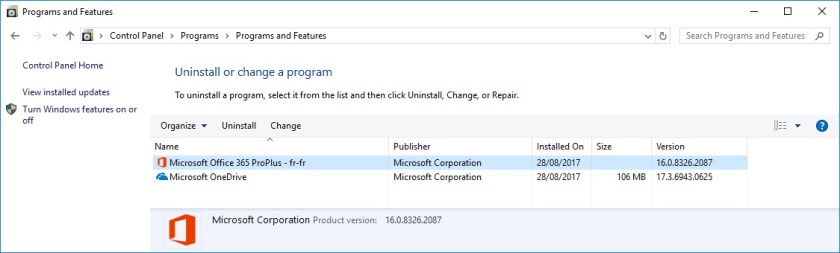
and pretty soon you’ll have access to the Office 365 apps you selected for install.
Job done!

Hi, nice instructions, but are you sure that AutoPilot is working? You’re still getting the privacy settings and option for domain join which are turned off in your autopilot profile. I’m having the same issue – did basically the same as you but can’t get the AutoPilot part working.
That’s a good question. Let me check that out
yes that seems to be an issue. I’ll update once resolved.
You are also getting the prompt to either set up for personal or corp use – it should be corp only
Yes the Autopilot has not applied so I need to take a look into why. I will amend the post once resolved.
Looks like the autopilot profile had not applied. I have re-checked and amended the blog accordingly. Thanks for the spot.
Hi – thanks for checking – did it skip the privacy settings screen now and were you only able to join your own tenant ( and not a regular domain?)
Yep it skipped. Blog updated with correct steps.
I’ve followed the same steps, but still get the privacy settings page pop up.
I also notice that the first user to login is the administrator.
Can you confirm that both the privacy settings page is skipped and no local admin is created for you?
I got it working in another tenant and with the 16251 preview build – still need to do some testing if it had to do with the tenant or the build
I have everything configured but can’t get office to install.
Hi Paul – Just one question on Windows 10 AutoPilot. How did you reset the machine after obtaining Device ID, Product ID and Hardware Hash.
I was able to get above information by pressing Shift+F10 – then change the command prompt to Power Shell and ran these commands
Install-Script -Name Get-WindowsAutoPilotInfo
.\Get-WindowsAutoPilotInfo.ps1 -ComputerName xxxx -OutputFile .\xxxx.CSV
After obtaining – I powered off the vm – updated above info at MSfB and tested Windows 10 AutoPilot demo. All worked out fine.
Thanks
Ram
Ram, you can reset a device from the Start Menu>Settings>Update&Security>Recovery.
Thanks a lot Paul.
Embarrassing to miss such a small detail within the settings menu.