In Part 1 of the Parallels Mac Management for SCCM series I installed the Parallels Configuration Manager Console Extension. I installed this on my site server ‘ConfigMgr’.
Part 2 focused on the installation of the Parallels Proxy which I installed on a remote server called ‘Parallels’ which I intend to use to install the Parallels roles.
Part 3 of the series concluded the ‘role’ installation, namely the NetBoot Server and OS X Software Update Service.
Part 4 of the Parallels series focused on getting the Parallels Mac client onto a Mac OS X device.
Part 5 of the series showed you how to deploy an application down to a Mac OS X device, install it via the app portal and remove the application.
Part 6 of the series I showed you how to deploy a package to a Mac OS X device.
In Part 7 I will show you how to deploy software updates to a Mac OS X device.
Parallels Mac Management for SCCM provides a number of different configurations for deploying software updates to a Mac device. If you want to have total control of software updates, as an admin, then you will need to introduce an Apple Server and following the guidance in the Parallels Mac Management Admin Guide under ‘Hosting OS X Updates Locally and Setting the Download URL’. This guide shows you the default and simplest configuration, ‘Download Updates From Apple’s Servers’ but note with this configuration a Mac user can also check for updates available from Apple using the standard OS X functionality and install any of them.
Import OS X Software Updates
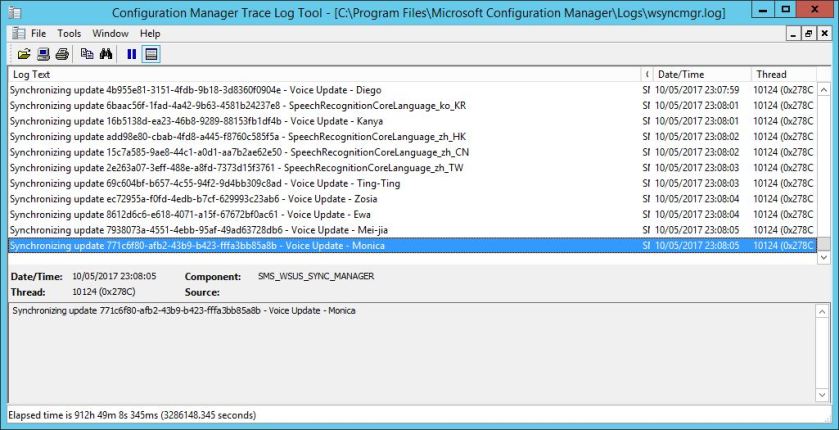
When the Parallels OS X Software Update Point is installed and configured it automatically starts to download OS X software update catalogs. The catalog metadata is then imported into WSUS. You can observe this behaviour in the ‘%Windir%\Logs\pmm\pmm_sup_service.log’on the server hosting the OS X Software Update Point
![2017-05-10 22_45_07-Configuration Manager Trace Log Tool - [C__Windows_Logs_pmm_pmm_sup_service.log].jpg](https://sccmentor.com/wp-content/uploads/2017/05/2017-05-10-22_45_07-configuration-manager-trace-log-tool-c__windows_logs_pmm_pmm_sup_service-log.jpg?w=840)
Sync ConfigMgr with WSUS
For the updates to appear in the ConfigMgr console then a synchronisation is required, however you need to configure the Product and Classfication tabs in the Software Update Point Component Properties.
To do this navigate to the Administration workspace > Site Configuration > Sites. Right click on the site and choose Configure Site Component > Software Update Point.
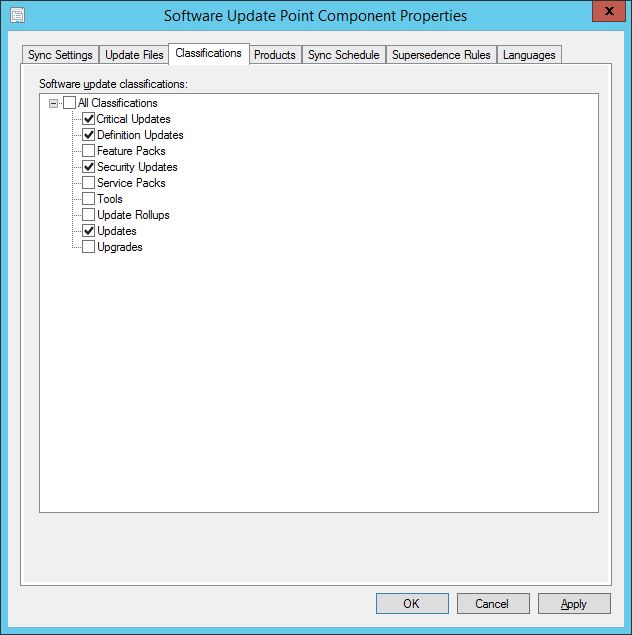
In the Classifications tab select Updates
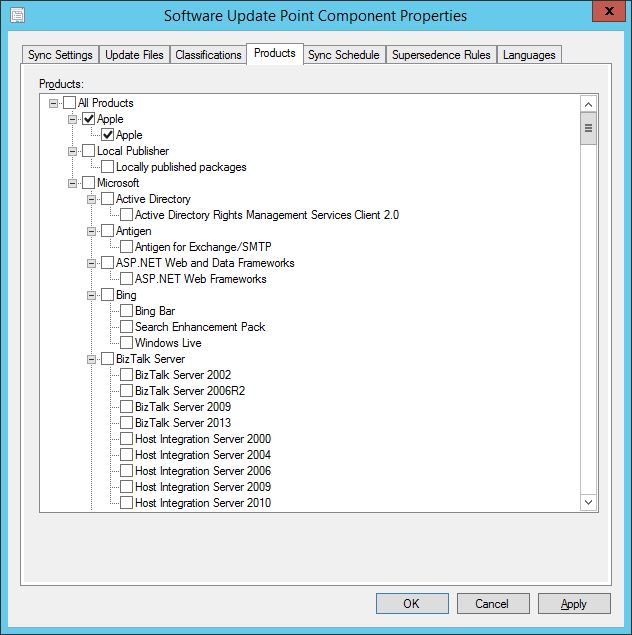
In the Products tab select Apple. Click OK when done.
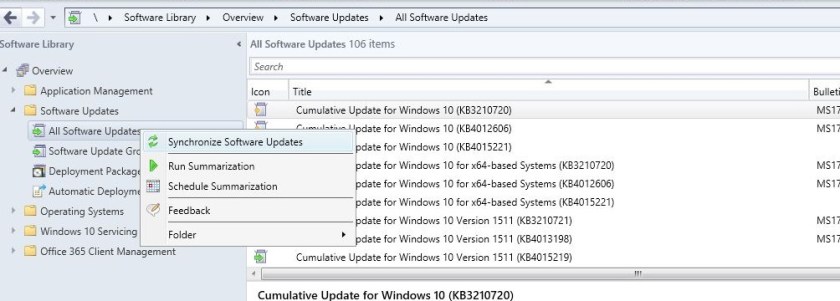
Next navigate to the Software Library workspace and go to Software Updates > All Software Updates and right click. Choose Synchronize Software Updates.
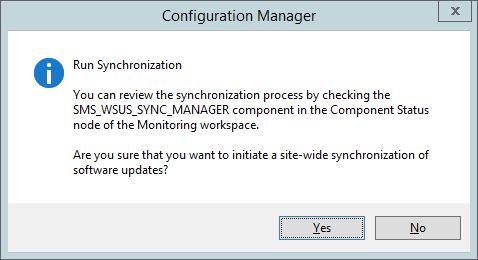
Click Yes to run the sync. Keep an eye on the wsyncmgr.log file. Note – that first run can take a while so take a break and grab a brew.
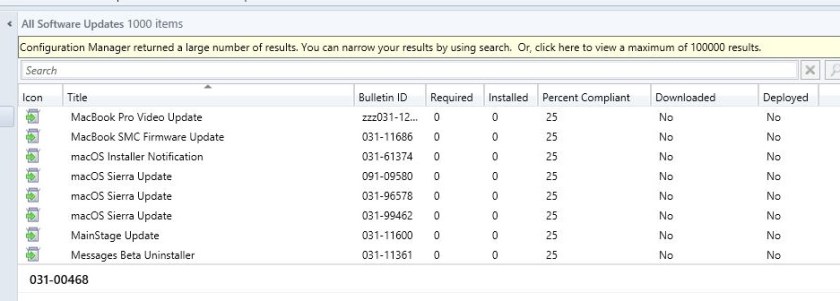
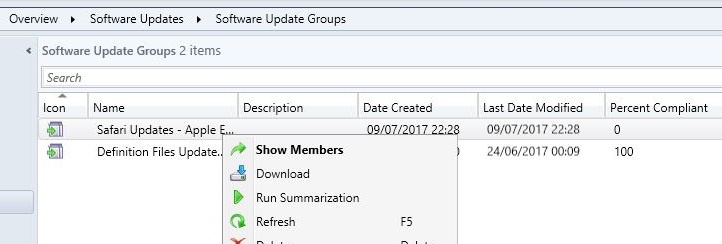
Once synchronisation has completed the updates will appear in the ConfigMgr console.
The next step of the process is the same as creating Software Update Groups and Deployment Packages for Windows Updates.
Here’s a quick overview of this:
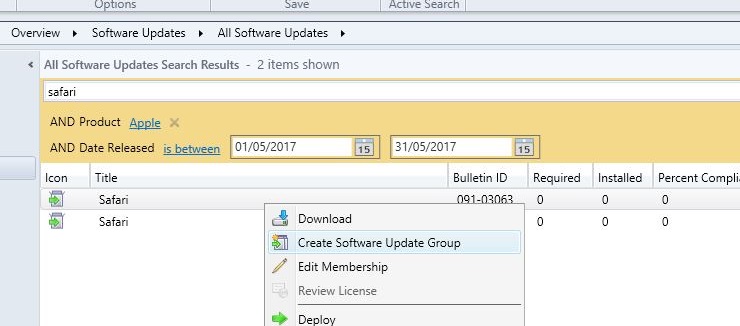
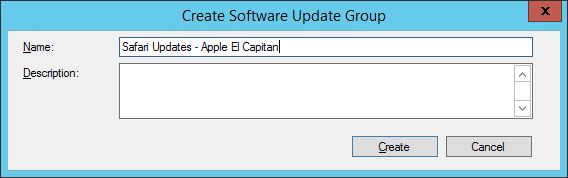
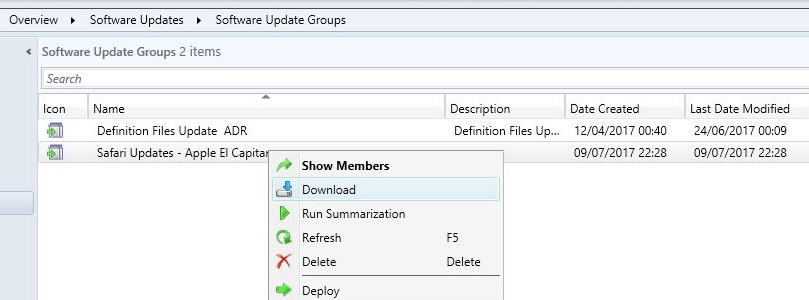
I have searched for a Safari update for the Mac that was released in May 2017 and created a Software Update Group.
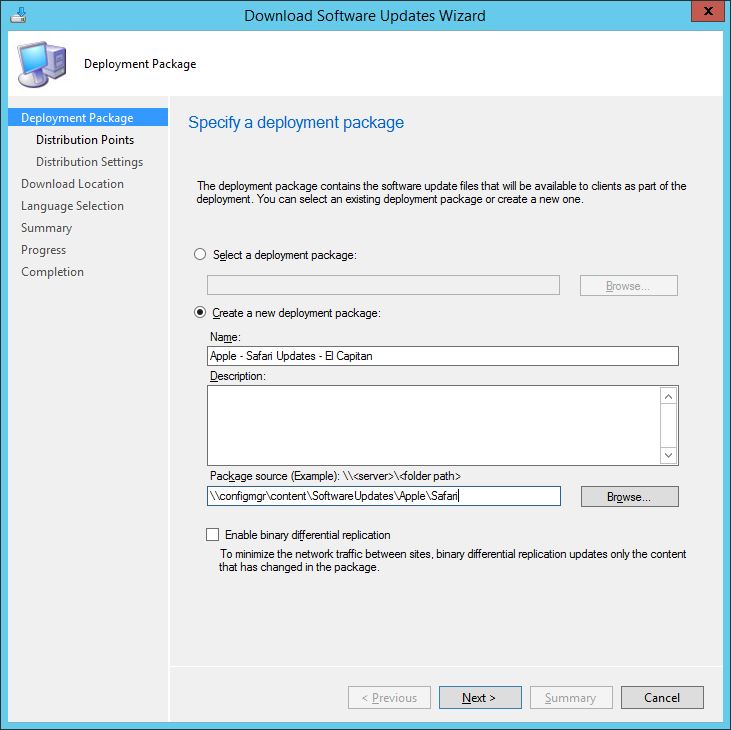
I download the content required in the SUG.
… and store the content in my source location.
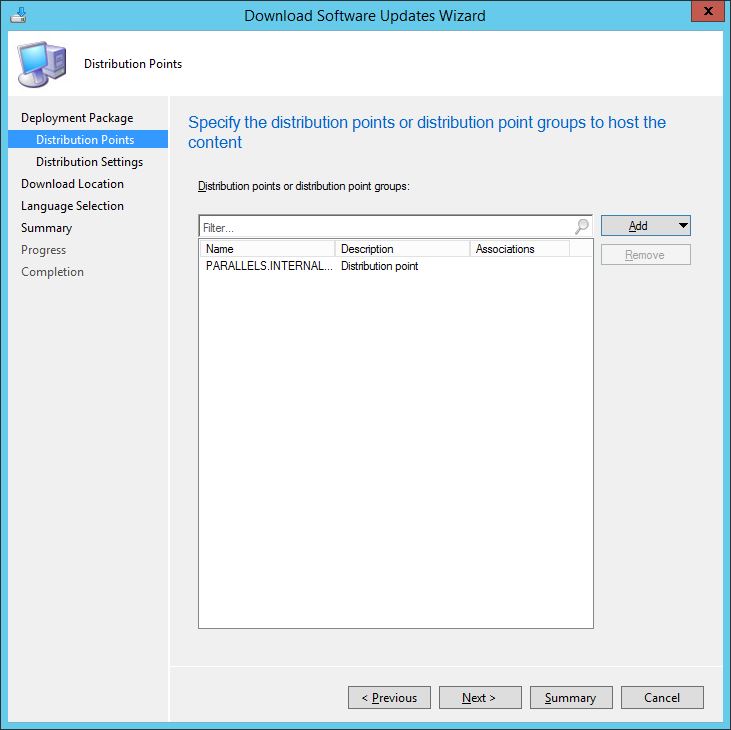
The content is allocated a DP, in this instance my Parallels DP.
The updates are deployed
I am deploying to a Mac based collection.
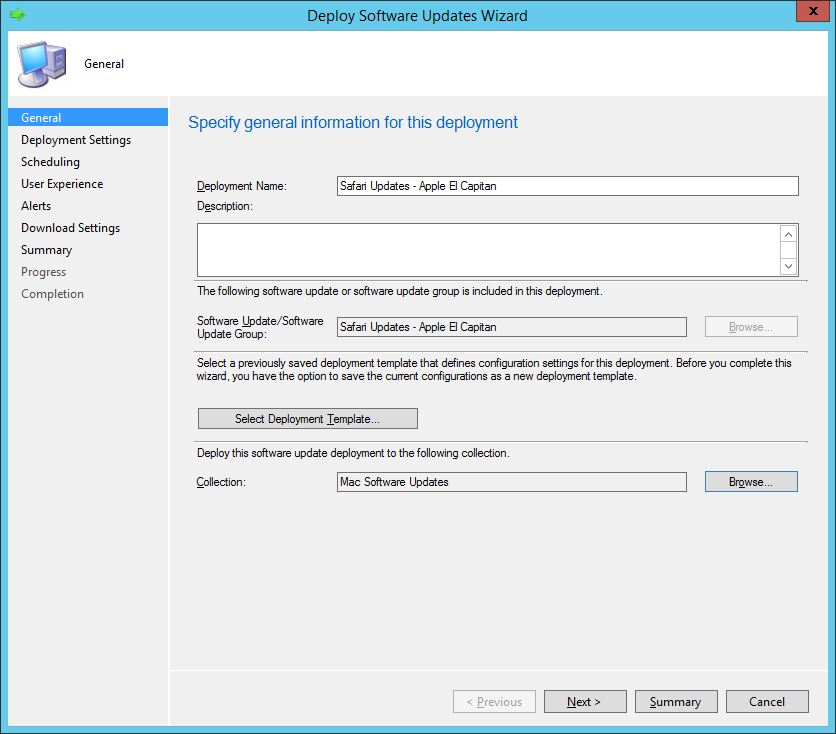
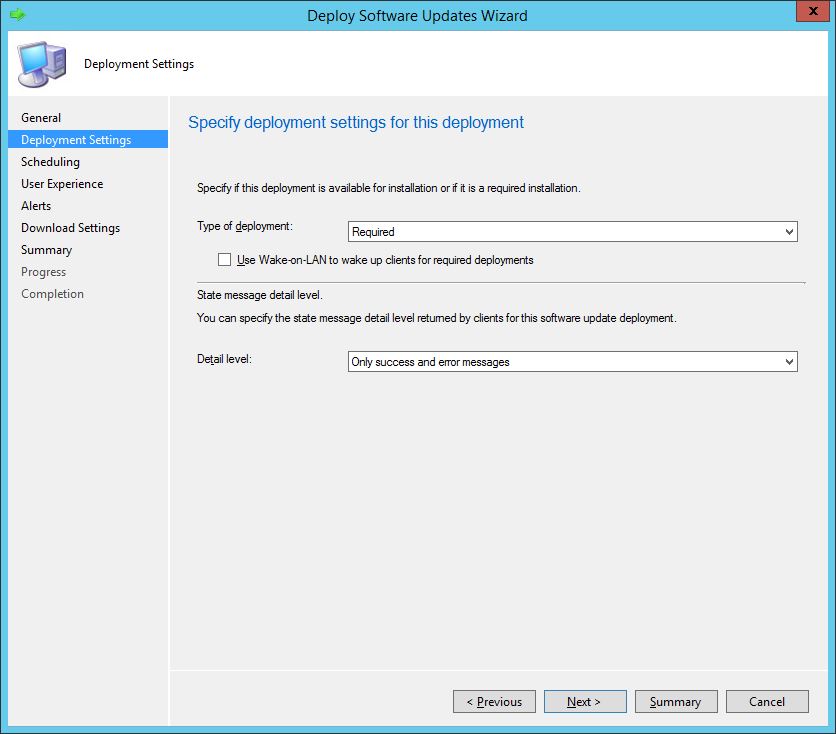
I have set the deployment to Required.
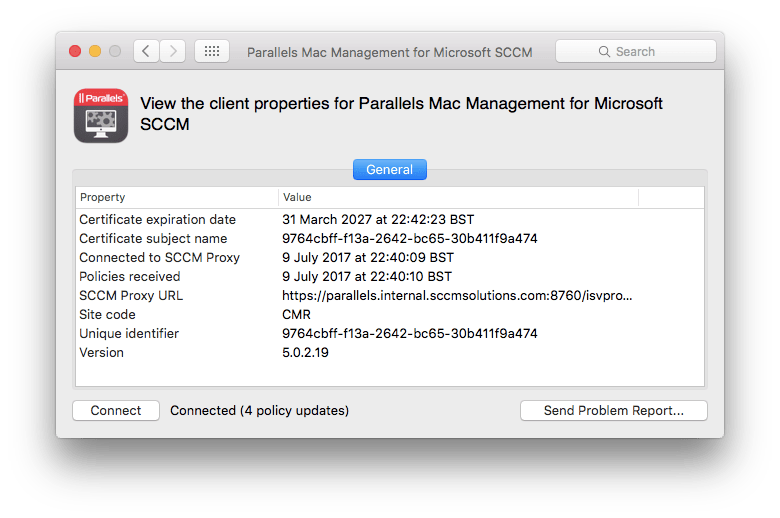
Once deployed, I forced a policy update on the Mac to speed things up a little.
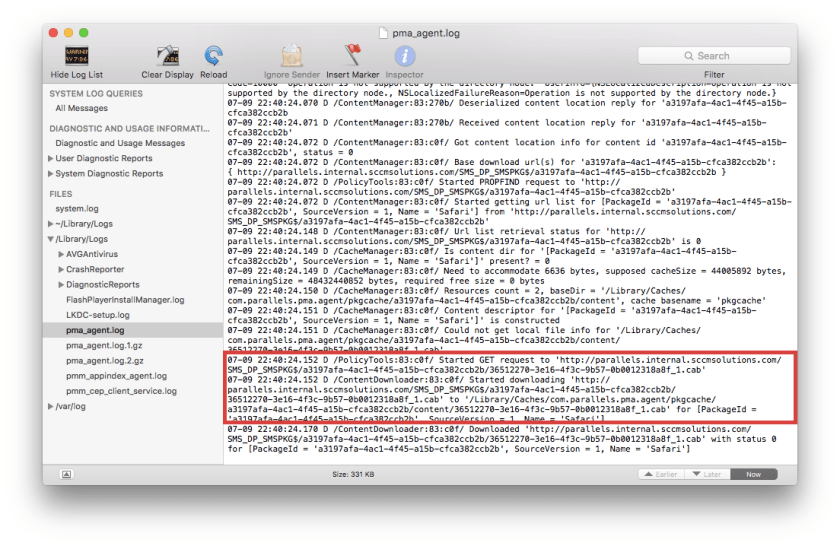
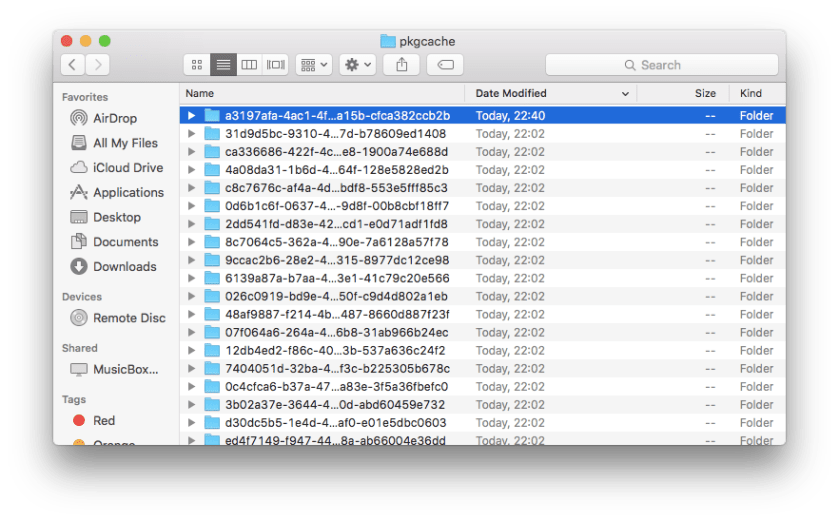
The Safari update downloaded into the /Library/Caches/com.parallels.pma.agent/pkgcache folder on the Mac.
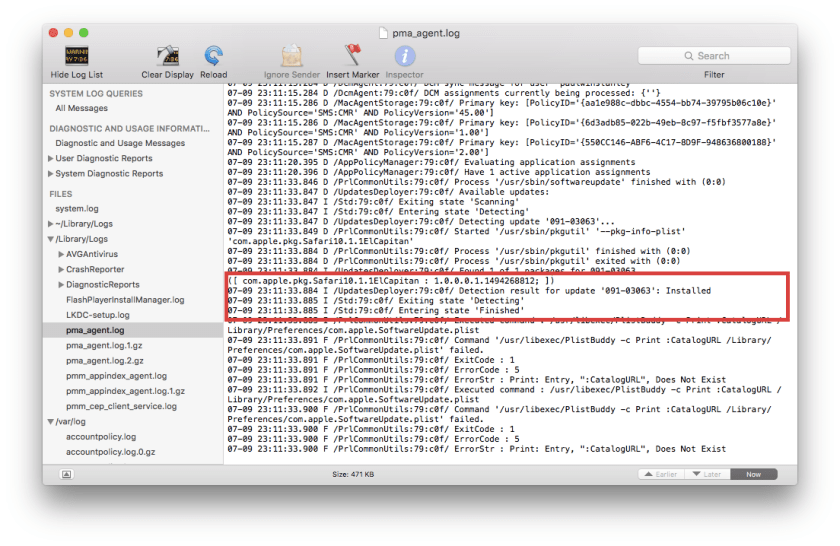
The update installed on the Mac client
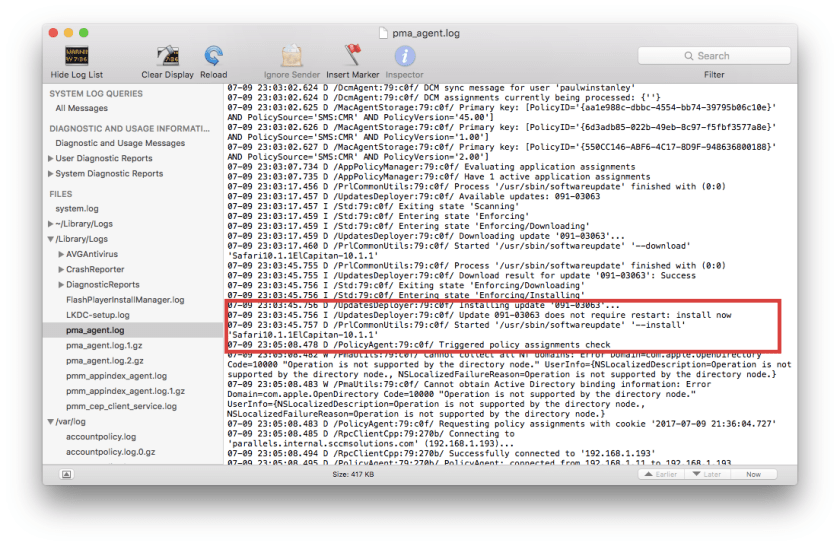
… and completed successfully.
In the next part of the Parallels for Mac Management series I will look at the OSD feature of the product.

HI – Thanks for the update. This will be the last thing, I need to complete with Parallel Mac Management for SCCM. Will perform the configuration during this weekend.
Ram
Cheers Ram. Sorry it took a while. I had some real issues with my lab and I’ve been a little bit busy at the same time.
Hi Paul – No problem.
If you need the install notes for creating boot image and system image let me know. I have completed those task in full detail. It will be easy for you to complete those labs with little help from the documentation, I created for Parallel.
Ram
@Ram,
Could you share it with me too. Thanks in advance.
@ Vigneshwaran – Here you go..
https://drive.google.com/file/d/0B__euomSLpQTQWREdFYtaUhpams/view?usp=sharing
https://drive.google.com/file/d/0B__euomSLpQTd3o0NkxxanlTSkk/view?usp=sharing
😉