TeamViewer integration in Intune, for management of Windows 10 devices, was introduced at the end 2017. This step-by-step guide shows the process you undertake to manage your remote endpoint. It’s fairly simple to set up.
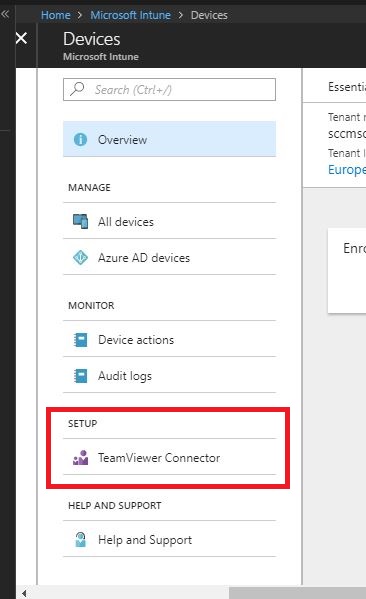
In the Azure Portal, go to Microsoft Intune>Devices>TeamViewer Connector
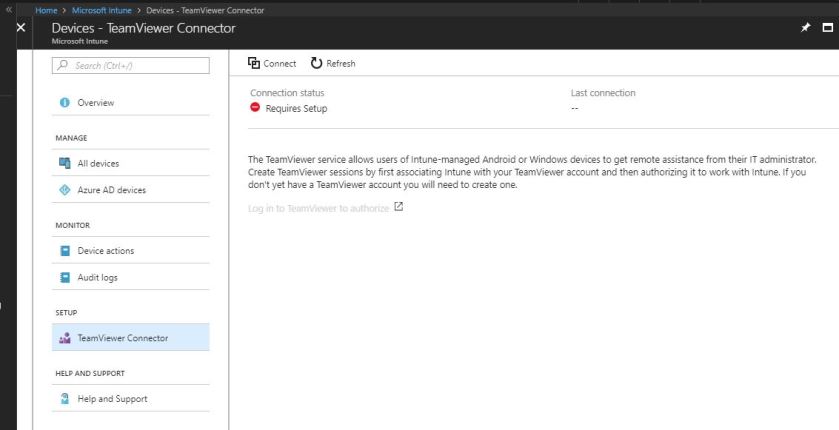
Click Connect.
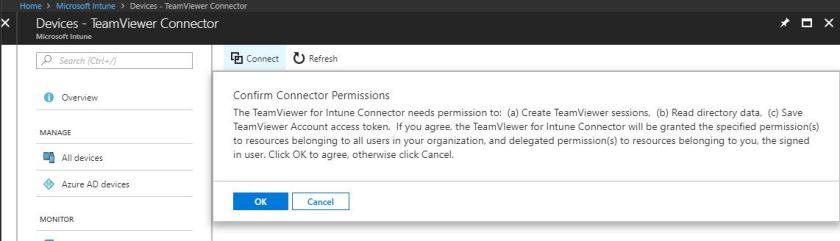
Click OK to agree to the Terms and Conditions.
The status will appear as Connecting.

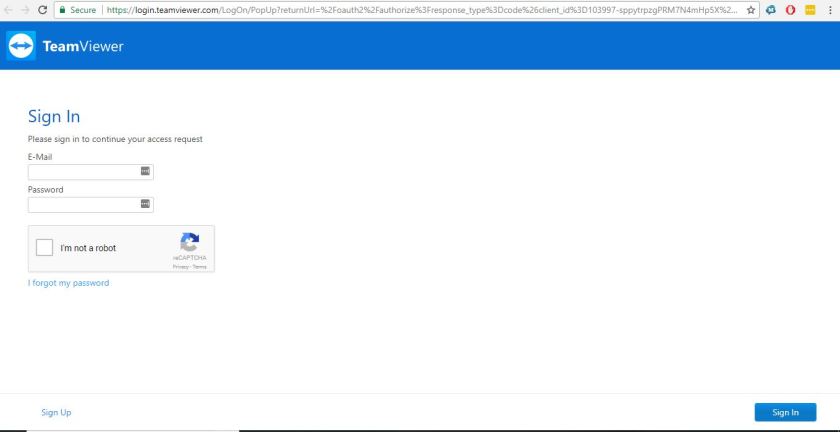
You’ll be asked to Sign In to your TeamViewer account. If you don’t have one, you can click the Sign Up link instead.
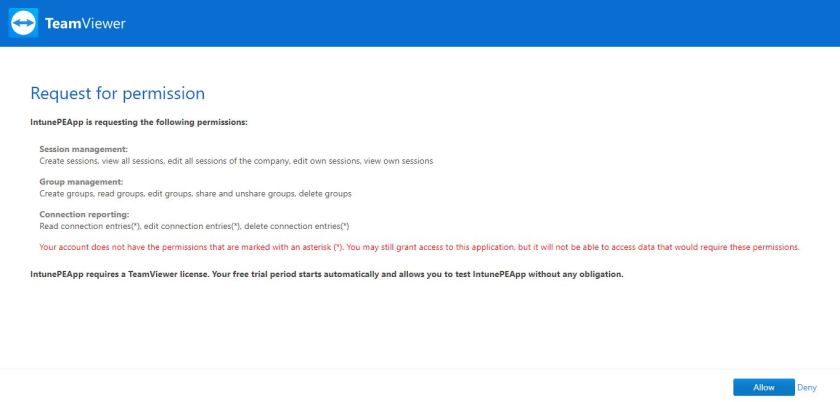
Once you’ll be prompted to allow permission for TeamViewer. Click Allow.
Once the connector is established, you’ll be prompted to close the browser window.

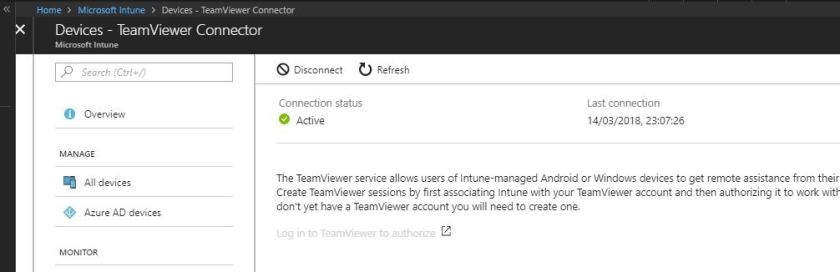
The status of the connector in the Azure Portal will have changed to Active.
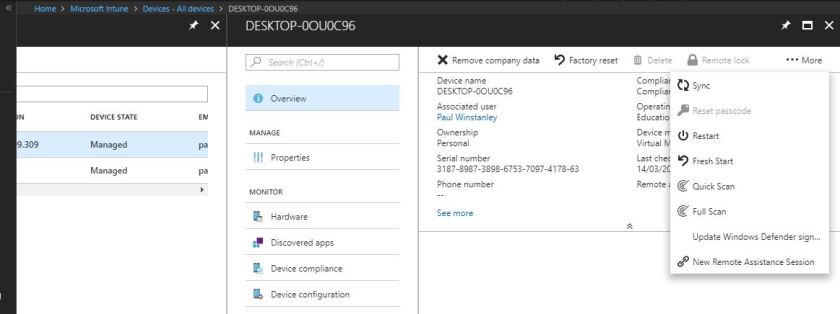
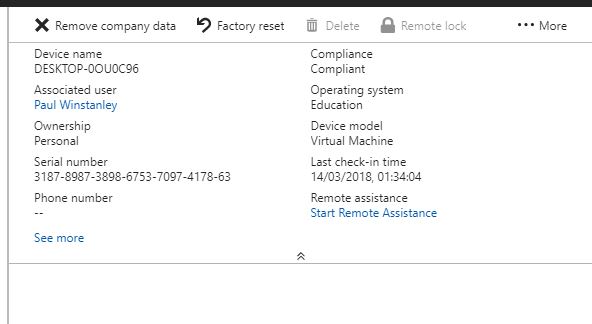
Go to Microsoft Intune>Devices>All Devices and choose a Windows 10 device you want to connect remotely to. Click the …More option and choose New Remote Assistance Session.
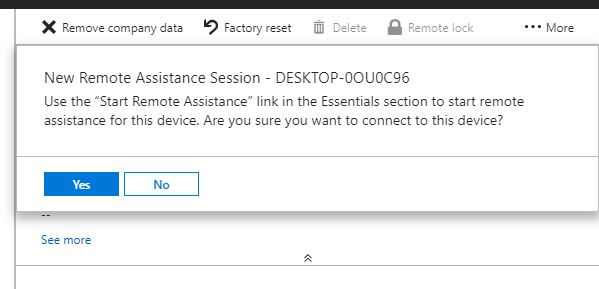
Then click Yes.
The Start Remote Assistance option will now appear under Remote Assistance. Click this link.
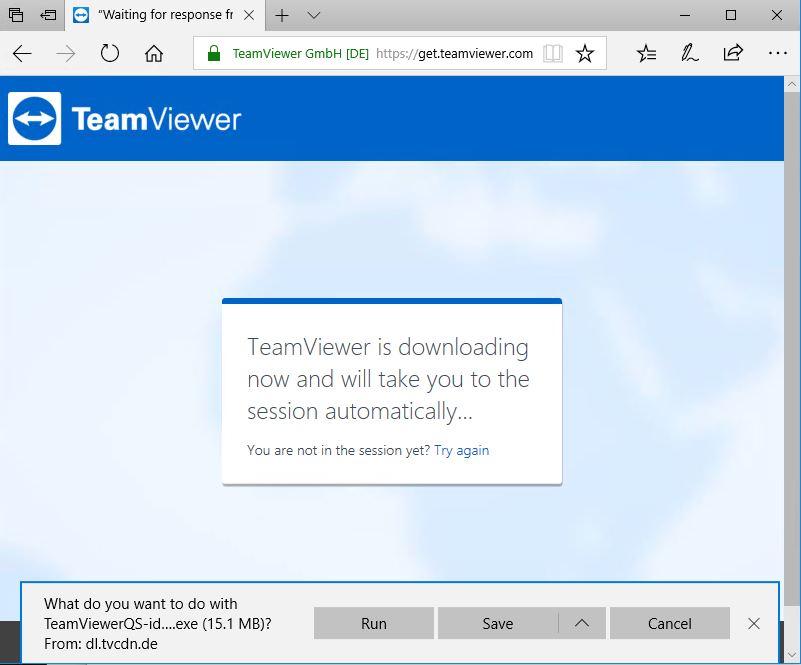
The TeamViewer website will open in a browser and a TeamViewer .exe file will download.

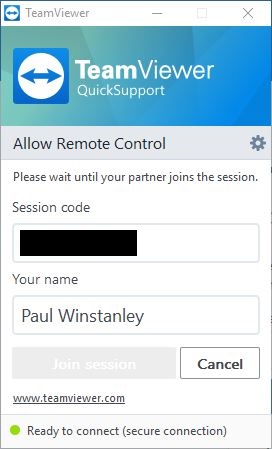
Once downloaded, run the .exe and the TeamViewer app will initiate and wait for a connection.

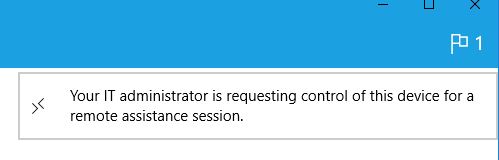
On the remote device, the user must open the Company Portal. In the top right hand corner will be a notification flag.

When the user clicks the flag the following message will appear. Your IT administrator is requesting control of this device for a remote assistance session. The user should be instructed to click this box.
On the remote device, the TeamViewer website will open and a .exe will download. Once downloaded run the .exe
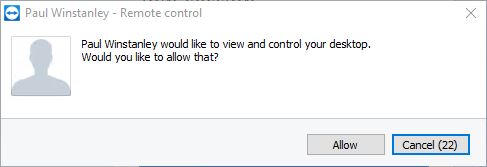
Shortly after, a window will appear asking the end user to allow control of the device by the requesting admin. Click Allow
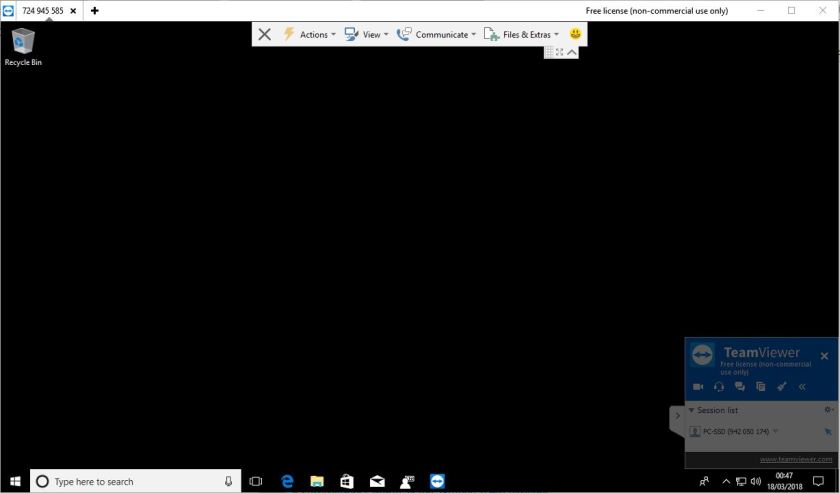
The TeamViewer session will be established.

Hi,
Great article. Do you know which Teamviewer licenses type is needed for Intune integration ?
Best to speak to TeamViewer for that one. I can’t remember.