
You can install multiple SMS Providers with your ConfigMgr hierarchy these can be installed to allow for high availability of the role, allow a large number of administrative users to connect to the ConfigMgr console running via different SMS Providers or if products make calls frequently to the SMS Provider.
When installing ConfigMgr you can install the first SMS Provider on the site server or the site database server but after that you can install the SMS Provider on any server.
To install the SMS Provider you must install it on a Windows Server and the following must be true:
- ‘The computer must be in a domain that has a two-way trust with the site server and the site database site systems.
- The computer cannot have a site system role from a different site.
- The computer cannot have an SMS Provider from any site.
- The computer must run an operating system that is supported for a site server.
- The computer must have at least 650 MB of free disk space to support the Windows Automated Deployment Kit (Windows ADK) components that are installed with the SMS Provider.’ – See https://docs.microsoft.com/en-us/sccm/core/plan-design/hierarchy/plan-for-the-sms-provider
The process to add another SMS Provider is pretty simple but it’s not available within the console so can be tricky to find. Here’s how:
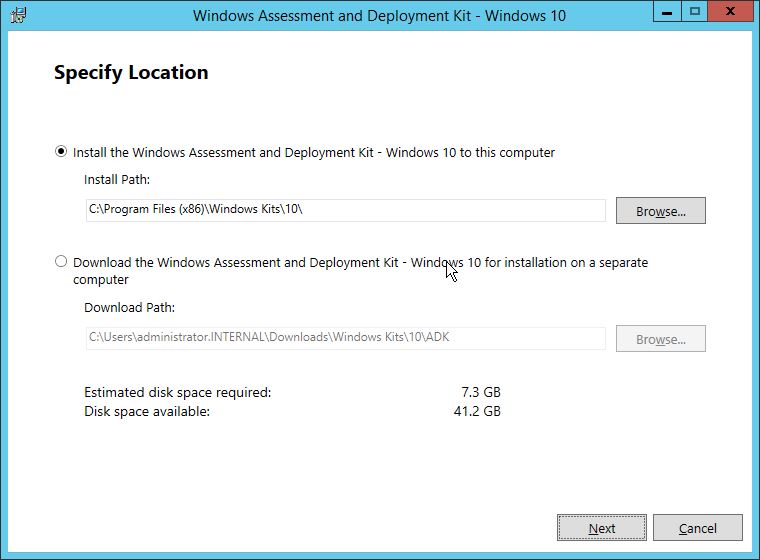
First install the Windows ADK on the remote computer via the following steps. I recommend running the same release that you have installed on the site server.
Choose Install and click Next.
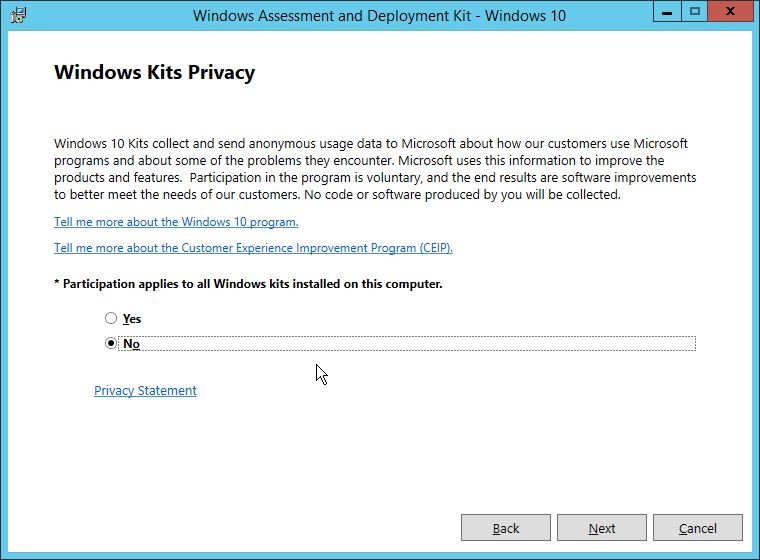
Decide whether to participate in the CEIP program or not and click Next.
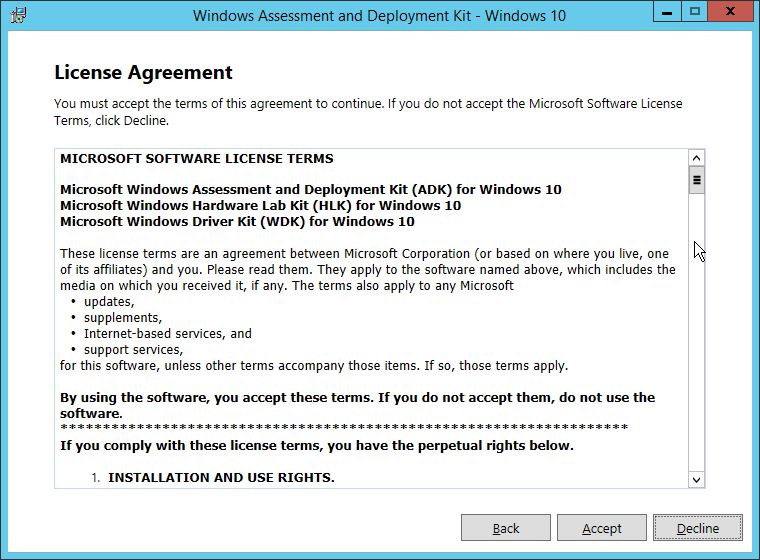
Accept the licence agreement by clicking Accept.
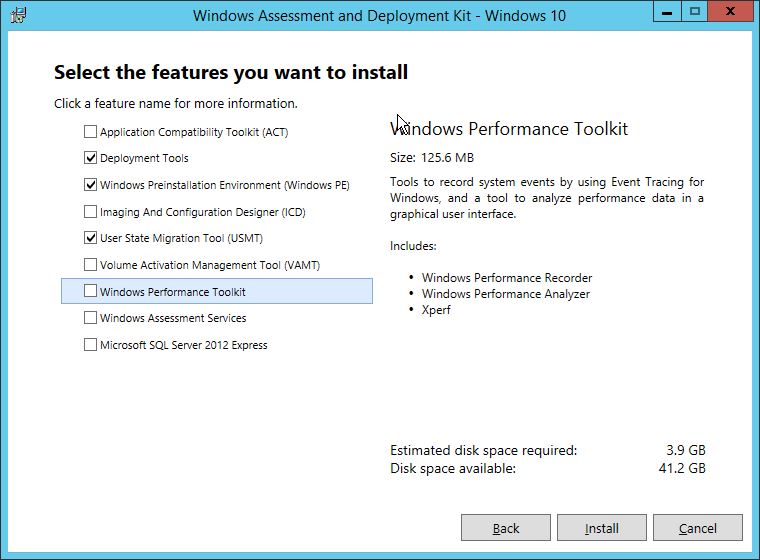
Select the same components that you would to install the ADK on the site server, Deployment Tools, Windows PE and USMT then click Install.
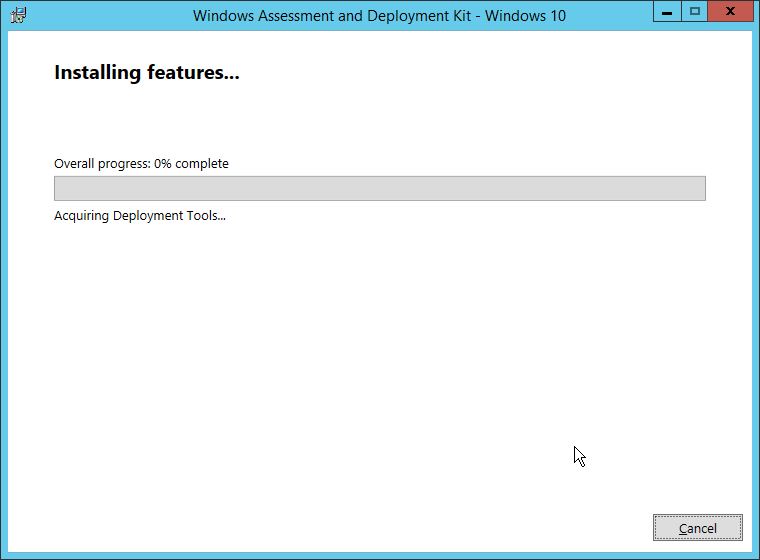
The installation will begin, it takes a while to download the components and install.
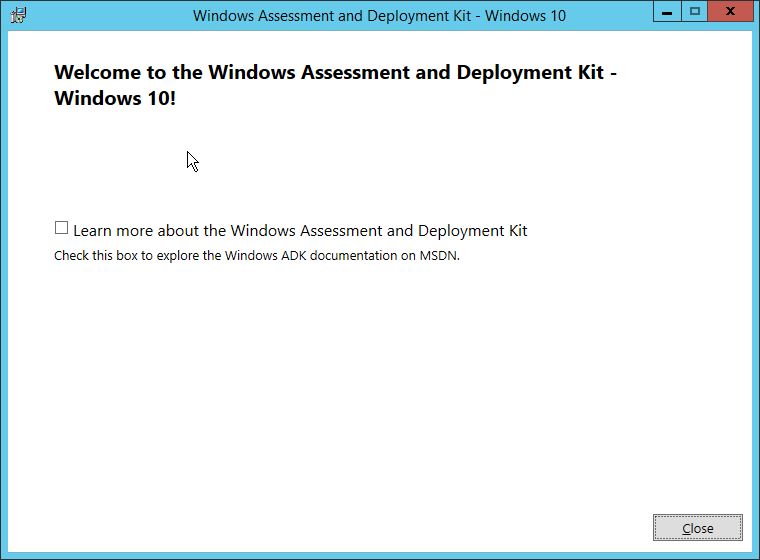
Click Close when the installation is complete.
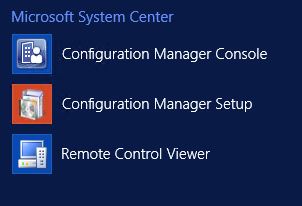
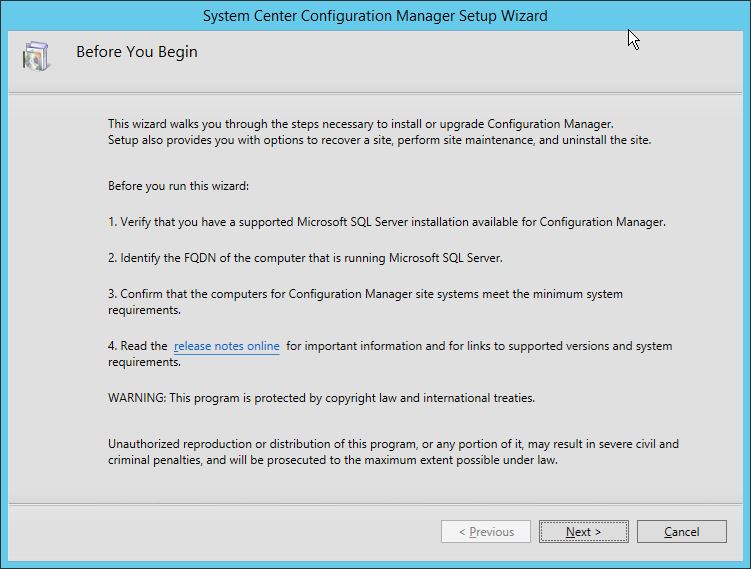
Now log in to the site server and run the Configuration Manager Setup
Click Next
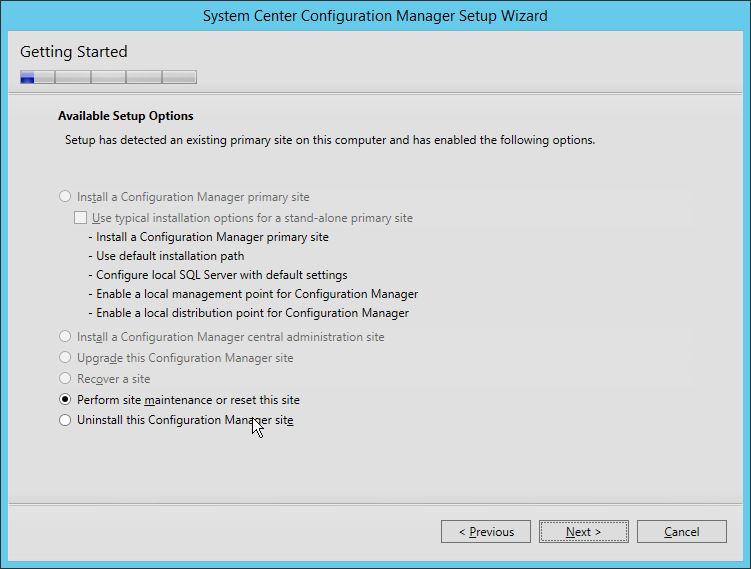
Select ‘Perform site maintenance or reset this site’ and click Next
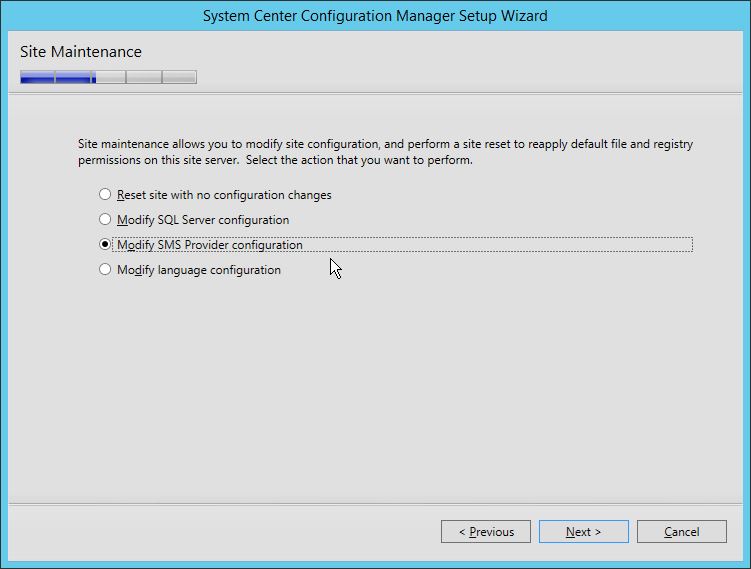
Now choose ‘Modify SMS Provider Configuration’ and click Next.
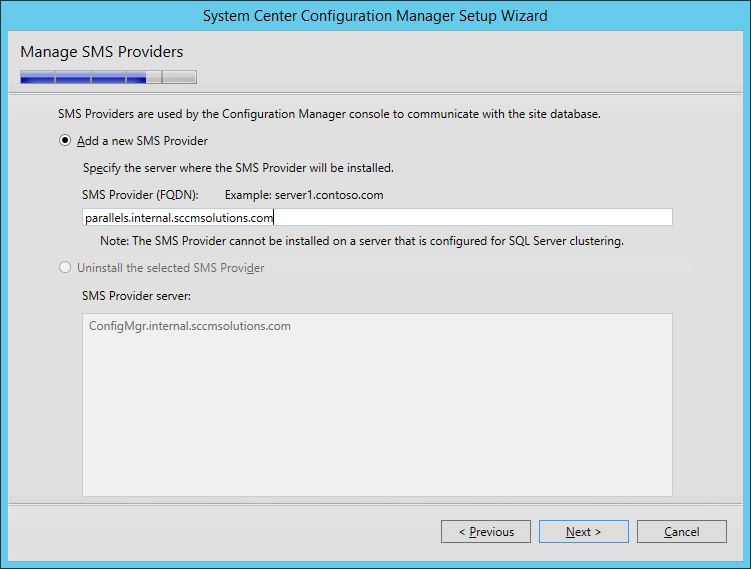
Now add in the FQDN of the remote computer to install the SMS Provider on.
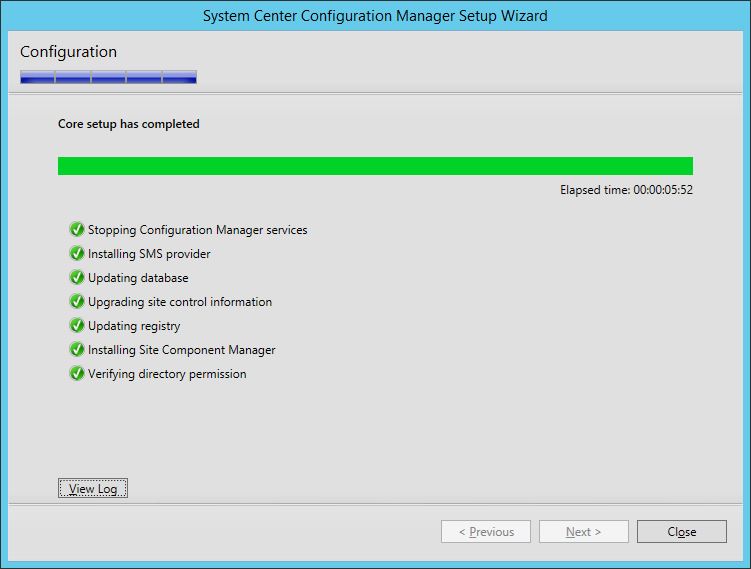
The installation will commence.
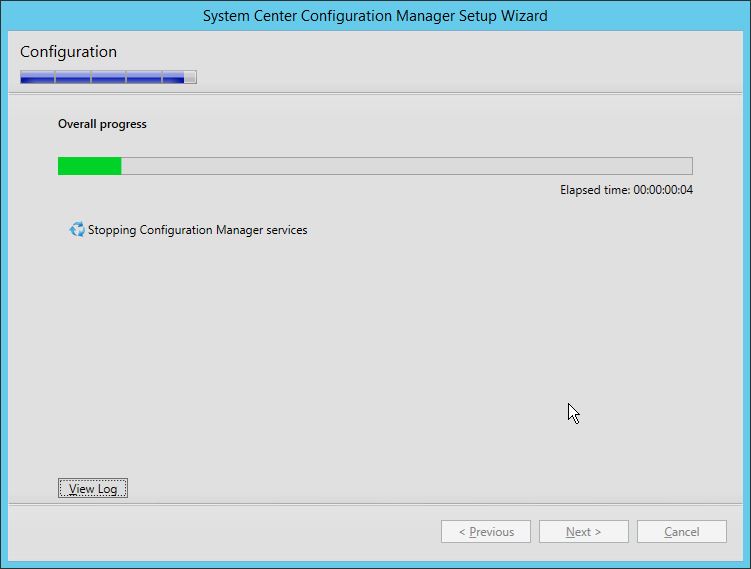
Once complete click Close and the SMS Provider will be installed on the remote computer.
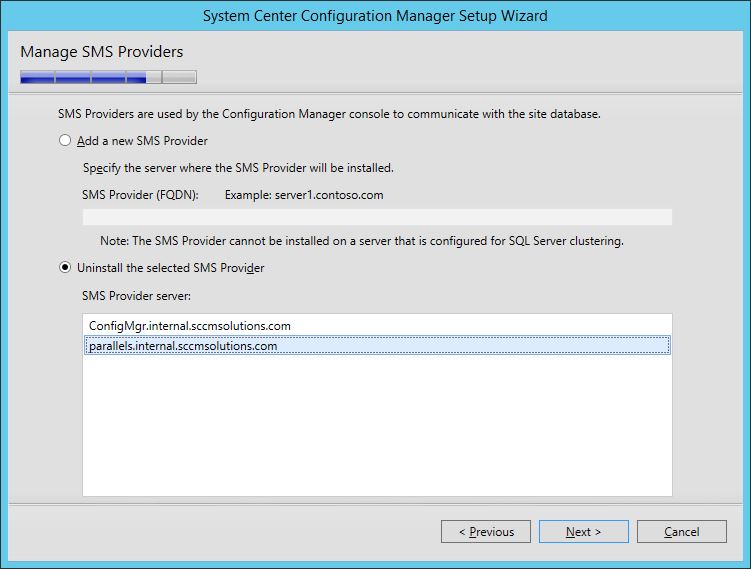
To uninstall the SMS Provider run the ‘Configuration Manager Setup’ again, modify the SMS Provider and this time choose the remote SMS Provider from the list in the ‘Uninstall the selected SMS Provider’ section.
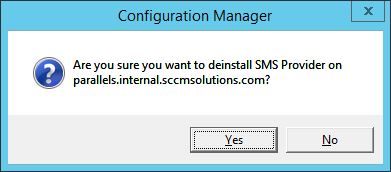
Click Yes to confirm the removal.

One comment