In Part 1 of the series on Parallels Mac Management for SCCM, I talked about installing the Parallels Console Extensions into your environment. In Part 2, I will install our first ‘role’ the Parallels Configuration Manager Proxy.
Parallels Mac Management for SCCM requires the installation of the proxy on a server that resides in the defined ConfigMgr boundaries. It is recommended that the SMS Provider is installed on the server that hosts the Parallels Configuration Manager Proxy. If you need assistance on installing the SMS Provider on your remote device then take a look at my blog post on how to do this. The SMS Provider is not installed then you can point the proxy to a remote SMS Provider during configuration.
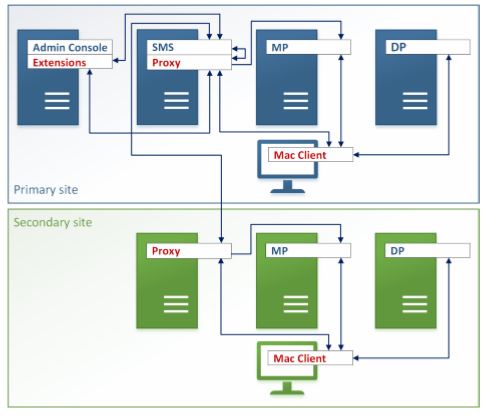
A proxy should be deployed to a Primary Site, if you have Secondary Sites in your environment then you should also deploy a proxy to each of those to reduced traffic over the link and to simplify Mac Client enrollment.

The Parallels Configuration Manager Proxy is a Windows Service application that acts as a proxy been the Mac client and ConfigMgr and can be installed on devices running Windows 2008R2 and later.
Pre-Requisites
The following pre-requisites need to be installed on the server that will host the proxy:
- .Net Framework 4
- .Net Framework 3.5
- Visual C++ 2010 Redist x86 available from https://www.microsoft.com/en-gb/download/details.aspx?id=5555
- Server patched with the latest updates. For Server 2012 – if not patched then install the following:
Permissions Needed to run the Installation
The account that will install the Parallels Configuration Manager Proxy requires the following rights:
- Local Administrator on the server
- DCOM Remote Activation permission
- Full Admin rights in ConfigMgr
- Permissions in AD
- Open ADSI Edit by clicking Start > Administrative Tools > ADSI Edit.
- Verify that the following container exists: DC= / DC= / CN=System / CN=ParallelsServices.
- If the container above doesn’t exist, grant the user the Create All Child Objects and Read permissions on the CN=System container. When granting these permissions to the user, apply it to This object and all descendant objects.
- If the container exists, do the following:
- Make sure the user have Read, Write, and Create All Child Objects permissions on it.
- Make sure the user has the Full Control permission on the CN=ParallelsServices / PmaConfigMgrProxy- container.
- Verify that the DC= / DC= / CN= Program Data / CN=Parallels container exists
- If the container above doesn’t exist, grant the user the Create All Child Objects and Read permissions on the CN=Program Data container. When granting these permissions to the user, apply it to This object and all descendant objects.
- If the CN=Parallels container exists, continue with the following steps
- Verify that the CN=Parallels / CN=Parallels Management Suite container exists. If it doesn’t, grant the user the Create All Child Objects and Read permissions on CN=Parallels container
- If the CN=Parallels / CN=Parallels Management Suite container exists, make sure that the user has Read, Write, and Create All Child Objects permissions on it.
- Permissions to read/write SPN
- SQL Server dbcreator role for the account on the ConfigMgr site database – a DB called PMM_ will be created.
- Administrative Rights in Authorization Manager – if Parallels has been previously installed and the Authorization Store exists, then the user configuring the Parallels Proxy must be assigned to the Administrator role in Authorization Manager
Installation
Note that for the series I am going to install all the Parallels roles on a separate site system server called Parallels.
Add the .Net Framework 3.5 and 4.5 features to your server and install the required Windows Updates.
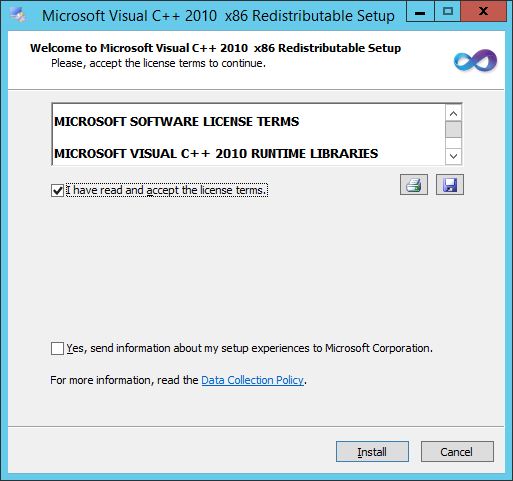
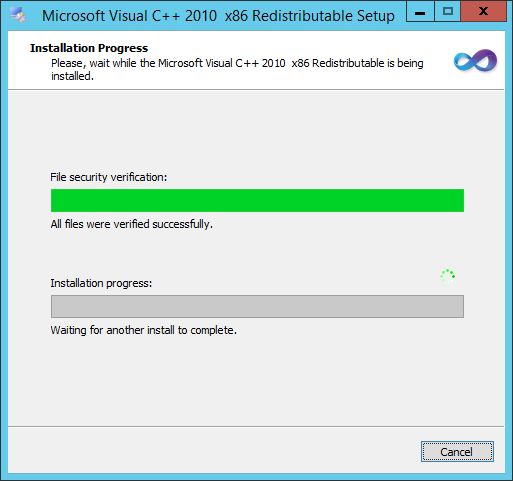
Download the Visual C++ 2010 Redist x86 and run the install.
Accept the licence agreement and click Install.
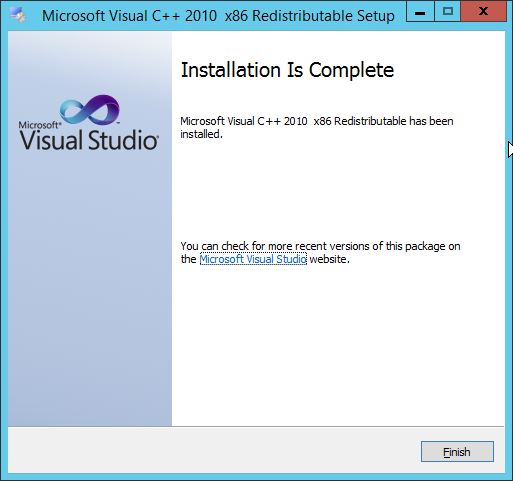
Click Finish when complete.
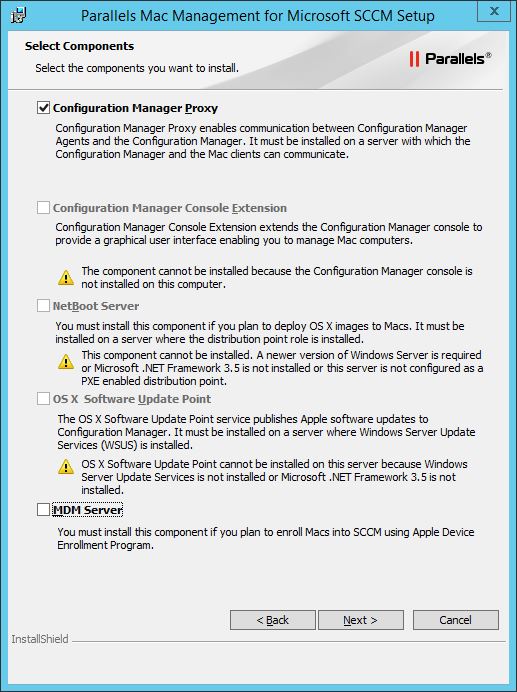
Run the ‘Parallels Mac Management for SCCM.exe’ installation file and when the wizard appears deselect ‘MDM Server’ and choose ‘Configuration Manager Proxy’. Click Next.
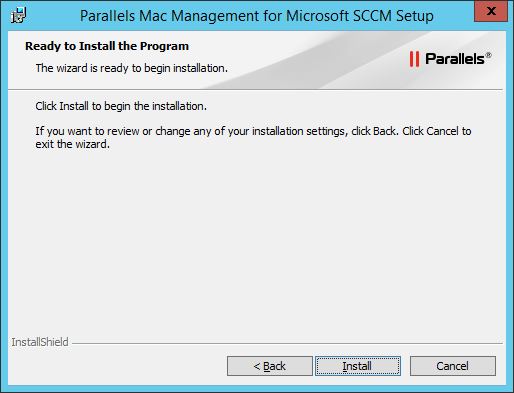
Click Install to begin the installation.
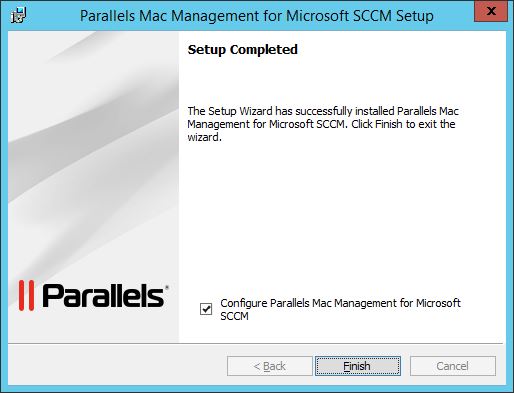
Leave the checkbox for ‘Configure Parallels’ ticked and click Finish when complete.
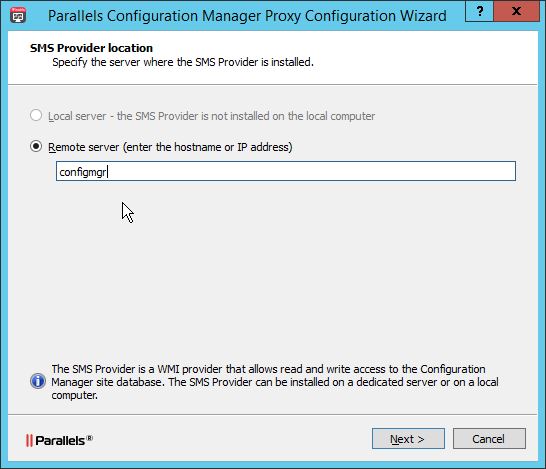
At this stage the configuration of the proxy takes place. If you have installed a local SMS Provider then choose Local Server. I haven’t installed a provider and therefore I am pointing back the SMS Provider on my site server.
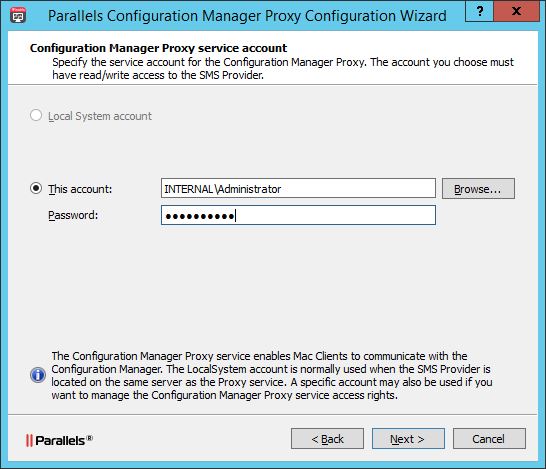
Next, an account needs to be assigned to run the Proxy as a Windows Service. The account must be:
- A domain user
- A local administrator
- Have the DCOM Remote Activation permission.
- Be a full ConfigMgr administrator
- If the CN=System / CN=ParallelsServices / CN=PmaConfigMgrProxy- container exists in Active Directory, the user must have Read, Write, and Create All Child Objects permissions on it
- If the container above doesn’t exist, grant the user the Create All Child Objects and Read permissions on the CN=System container. When granting these permissions to the user, apply it to This object and all descendant objects.
Specify an account and click Next.
Address any pre-requisite issues that are encountered. Here for example I had to edit the permissions to the inboxes\ddm.box on the site server.
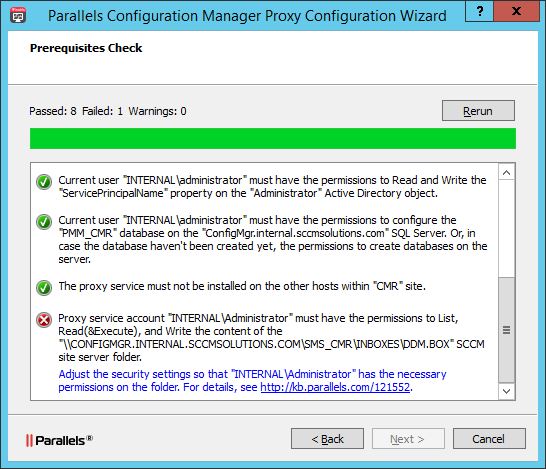
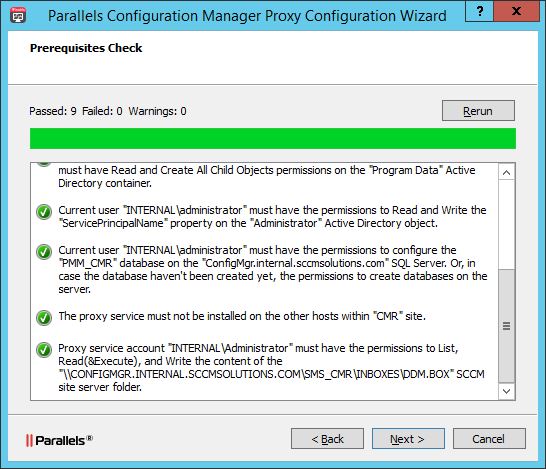
Once pre-requisites are addressed the check can be Rerun with ‘Rerun’ button and the Next option should become available.
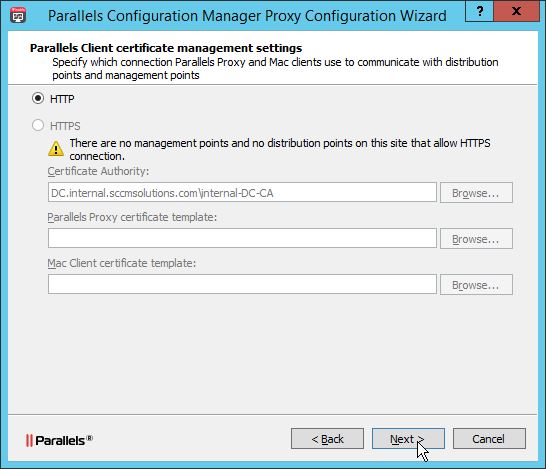
As stated in Part 1 of the series, Parallels can run without the PKI requirements of native ConfigMgr Mac support, although the option to use HTTPS is there. I’ve selected HTTP and then clicked Next.
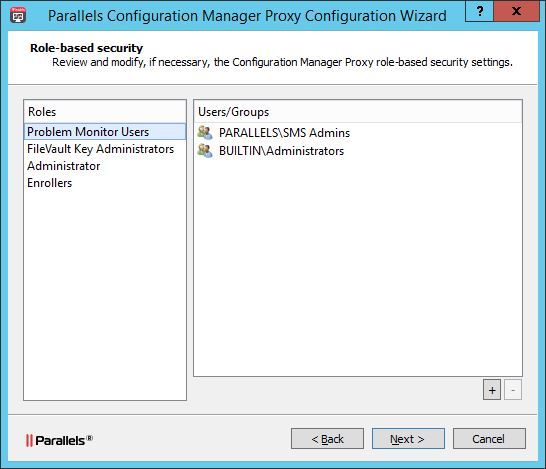
At this point it is possible to configure RBAC for Parallels. I have left this at default. The configuration wizard can be run again at anytime if changes are needed here. Click Next.
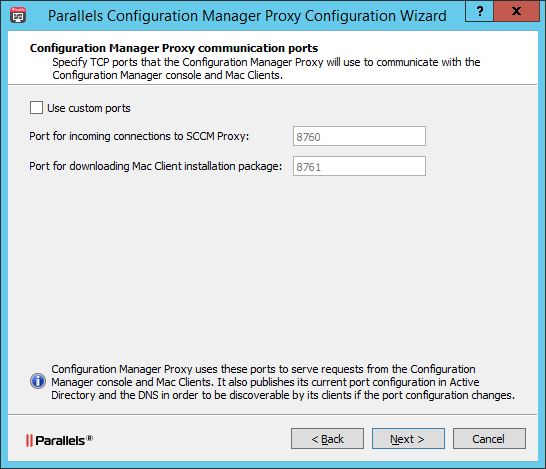
Now, the default ports required for communication with the ConfigMgr console and Mac clients can be altered. Click Next.
Decide whether to enroll into the Parallels CEIP program and click Next.

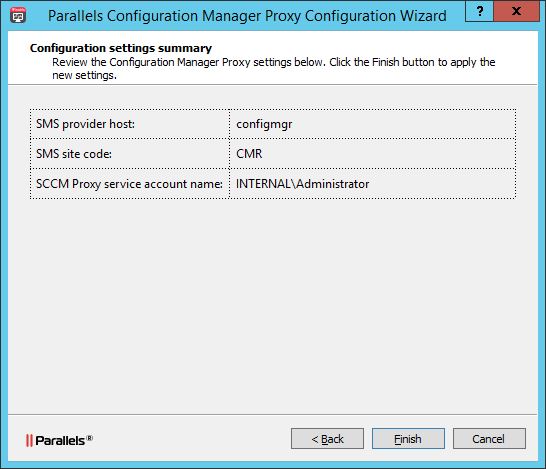
Click Finish on the summary screen.
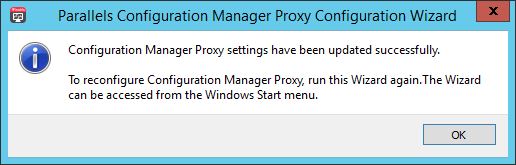
Once complete you’ll be notified that the proxy settings have been updated and that you can run the wizard again at any time via the Start Menu.
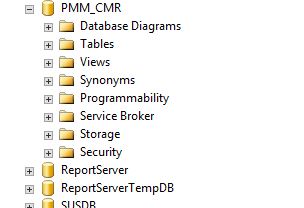
If you take a look at your ConfigMgr DB you’ll notice that the PMM_ DB has been created.
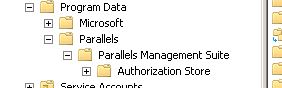
In your System container in AD the ParallelsServices container…

,and in the ProgramData container, the Parallels container have been created.
That’s all for now. In Part 3 I’ll be delving deeper into the world of Parallels Mac Management for SCCM by installing the NetBoot Server & OS X Software Update Service roles.

Where did you get the installation files? As I know parallel don’t offer onpremise demo.
Jonathan – you’d have to speak to Parallels to request a trial http://www.parallels.com/uk/products/mac-management/