Privileged Identity Management is a solution which will help you reduce the attack vector in your organisation by reducing the number of people who have access to secure information or resources, or the amount of time that these people have access.
You have three options for you PIM experience these are:
- Just in Time Access
- Time Bound Access
- Permanent Access
Just in Time access, requires you to activate your access when you need it. You will be given a period of time in which to have the rights assign, which you can extend if required.
Time Bound access, is having the access for a specific time period and permanent access is equivalent to the access you are familiar with a present, having that access on a permanent basis.
For this blog post, I want to focus on time bound access, how you can use this with built-in roles and then, in part 2, I will expand this out to take advantage of the Privileged access groups (Preview) feature of PIM, where you can assign this to your Intune roles.
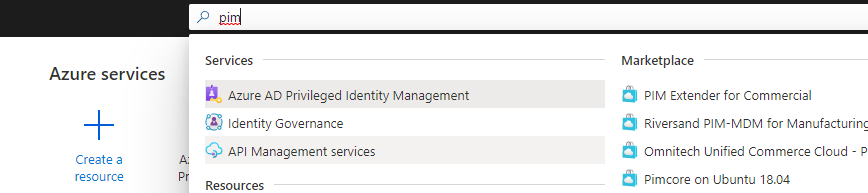
To access PIM, type in PIM or Pri in the search bar in the Azure portal.
Assign Eligibility to Azure AD Roles
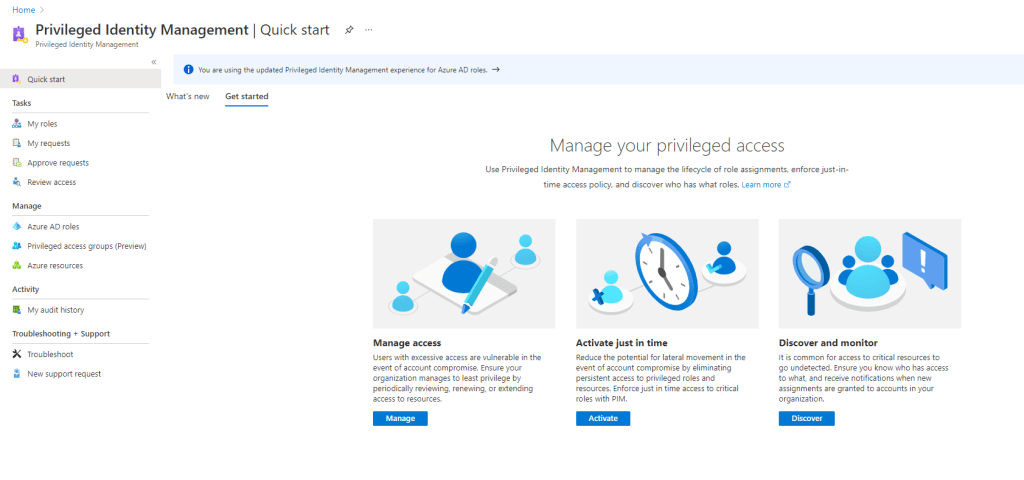
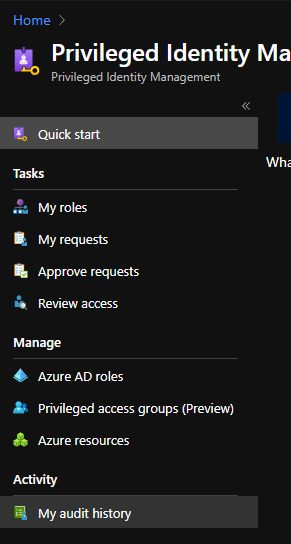
Take a note of the menu structure in PIM, the Tasks section relate to things you can do, such as rise your privileges, approve requests etc.
For configuring the solution, we use the Manage section of the menu. Click Azure AD roles.
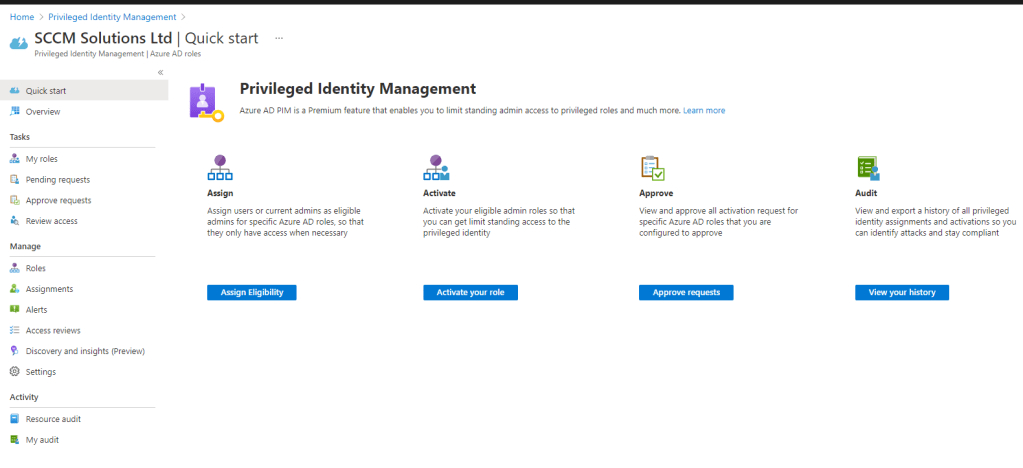
I want to start to configure eligibility for my global administrators. I don’t want them to be GA’s constantly, only when they need to be. Click either the Assign Eligibility button or the Roles option from the menu.
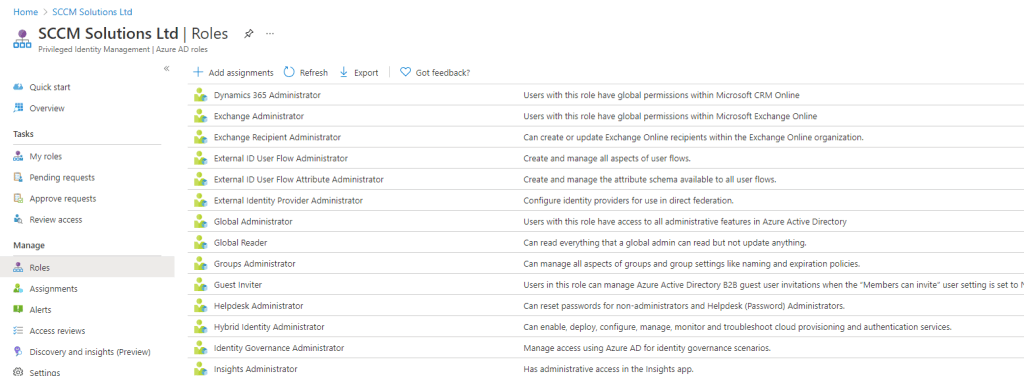
You will see a list of all the built-in roles which you can assign PIM to. I want to click the Global Administrator, but you can follow the same procedure on any of the built-in roles.
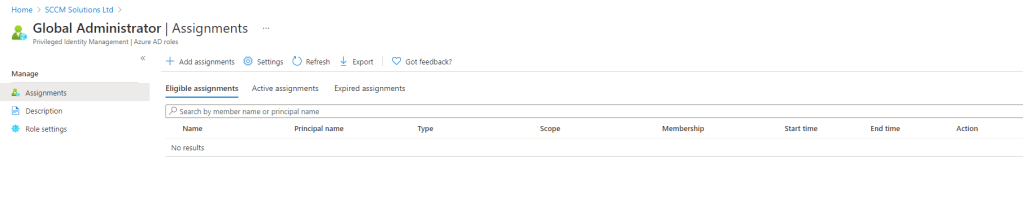
In the Assignments view, you’ll notice that Eligible assignments is blank, this is expected as we haven’t assigned anyone for PIM yet. Click Active assignments.
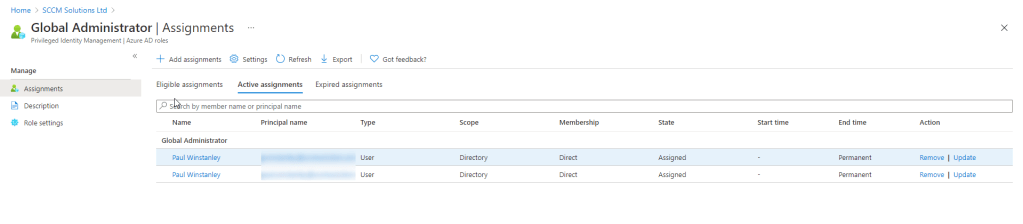
Here, you can see the current GA’s. They have an End time of permanent, effectively making them Permanent Access type accounts. I want to change one of the GA’s to use Just in Time, but keep one as permanent – for break glass reasons. To do this, I’ll click the Update action on the account I want to change.
I have the choice of Active or Eligible in the Assignment type drop down, I’ll chose Eligible for Just in Time access.
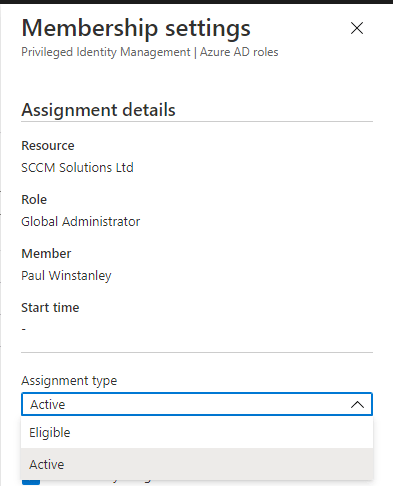
Note the maximum duration you can set this eligible assignment is for 3 months. Click Save.

A quick refresh of the Active assignments, shows that this account has now been removed as active.

and now appears in the Eligible assignments section.

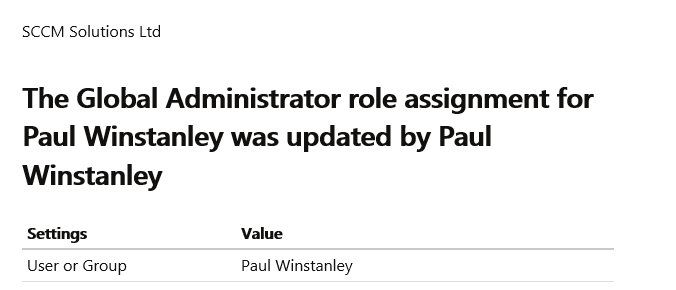
Your Security Administrator will receive an email about the change in PIM assignment.
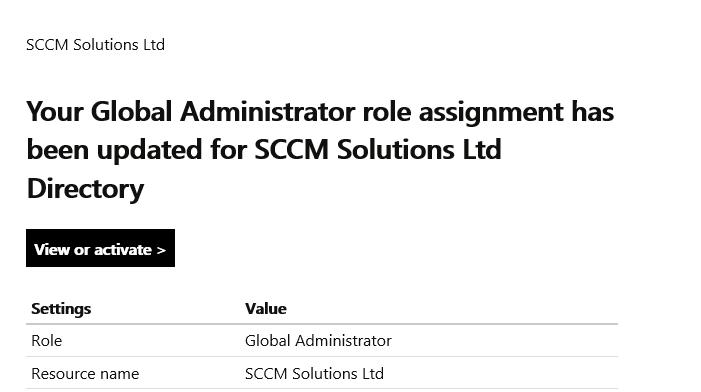
and the GA will receive an email about the change to their account, with a link to view or activate.
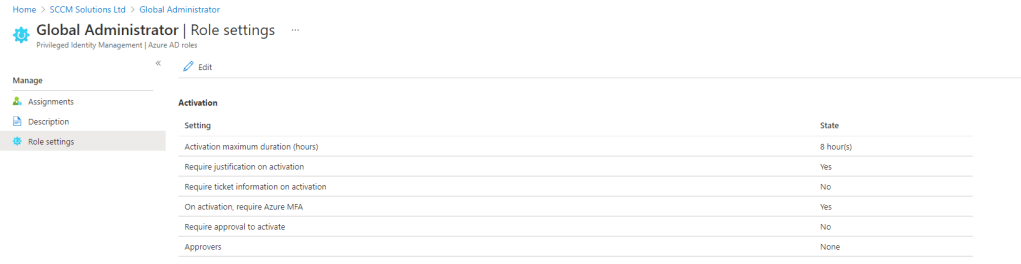
Take a look at the Role settings. These can be different depending on the role being added to PIM. For the GA, the max duration for the role, when activated, is 8 hours. You may decide you want to assign this for less time, in which case you can Edit and adjust. You can also require approval, add in an approve, require MFA etc.
For Just in Time access, we are only interested in the Activation settings. The Assignment settings only relate to time bound access.
Activating the Role
So what does the eligible user need to do to activate their role assignment?
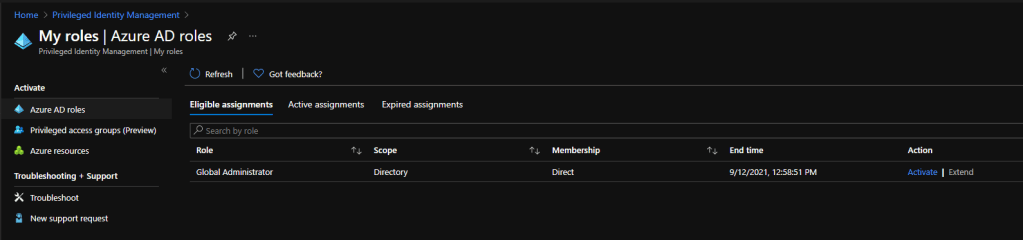
Very simple, just head to the PIM view in the Azure Portal., click My roles.

This will list the Eligible assignments for the account. In my case, the GA role assigned to my account earlier. Click the Activate link.
I can change the duration, with a maximum of those 8 hours as per the setting. I am required to enter a justification for access (as per the setting). If this needed approval, the approver would get the text in the Reason field. Start time, for access, can be customised with a start time and date. Click Activate.

xcxc
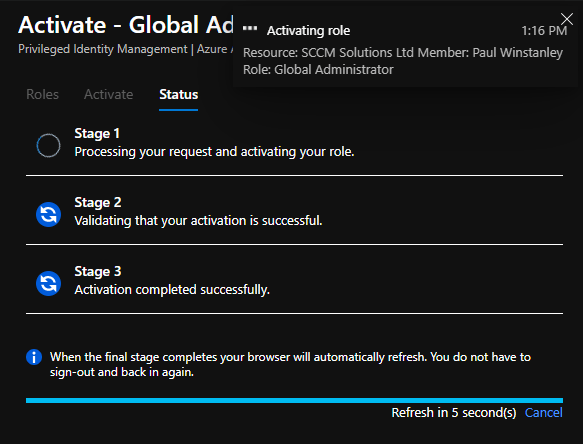

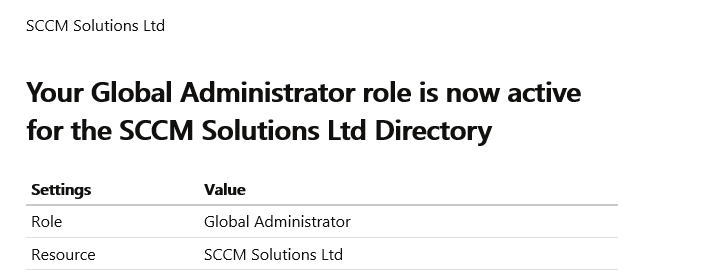
When completed, you’ll receive an email to confirm this is activated.
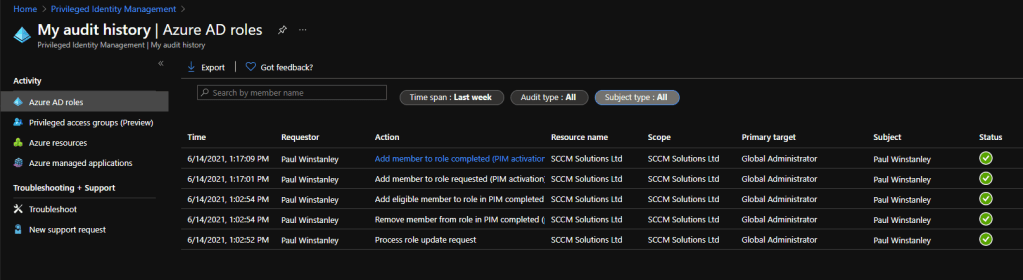
You can see your request history in the My audit history blade.
This gets me going for now. Part 2 will focus on add PIM to your MME Intune roles.

Hello,
Can we activate the role from notification email?