
Part 1, of this two part blog series, explained how we can kick start using PIM in Azure. The post focused on using eligibility to reduce the attack surface in your environment by making a high-level admin role, global administrator in this case, available for just in time use and not permanently assigned to an admin account.
As mentioned in this blog post, you can also have time bound and permanent access. If you want to know more about these then I suggest you take a look at Microsoft’s documentation.
This blog post shows you how you can use PIM and Just in Time alongside your Intune based roles.
If you followed part 1, you will know that when choosing the role to assign PIM to, it will show you the built-in Azure based roles, however by using the Privileged access groups (Preview) feature we can assign this to our Intune roles. Here’s how.
Create a role-assignable group
Azure Active Directory (Azure AD) lets you target Azure AD groups for role assignments. Assigning roles to groups can simplify the management of role assignments in Azure AD with minimal effort from your Global Administrators and Privileged Role Administrators
You will need a Azure Premium P1 licence to be able to use role-assignable groups, however to use this with PIM you need a P2 licence – bare that in mind.
Also note that a maximum of 300 role-assignable groups can be created in a single Azure AD tenant and that you can’t convert an existing group to a role-assignable group.
In the Endpoint Manager Admin Center, click Groups then New group.

Enter a Group name and then click Yes in the Azure AD roles can be assigned to the group (Preview) section. Don’t add any group members yet. Click Create to complete the set up of the group.

You will be prompted with a warning that assigning as a role-assignable group can’t be changed. Click Yes to confirm the action.

Add the group into PIM
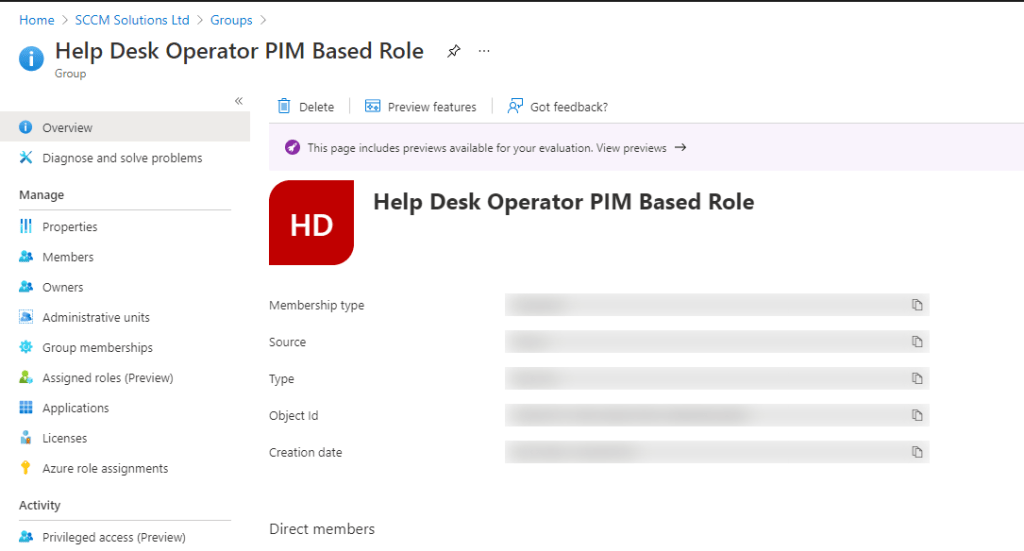
In the Azure Portal, go to Azure AD and Groups and find the group you created. Click on the group.

In the Activity section of the menu, click the Privileged access (Preview) option.
Now click the Enable privileged access button.

You’ll get notification that this was successful.

And you will be redirected to here.
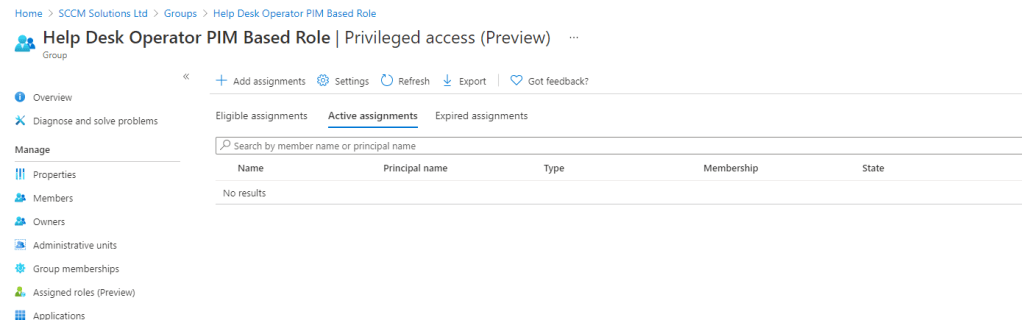
Assigning the group to an Intune role
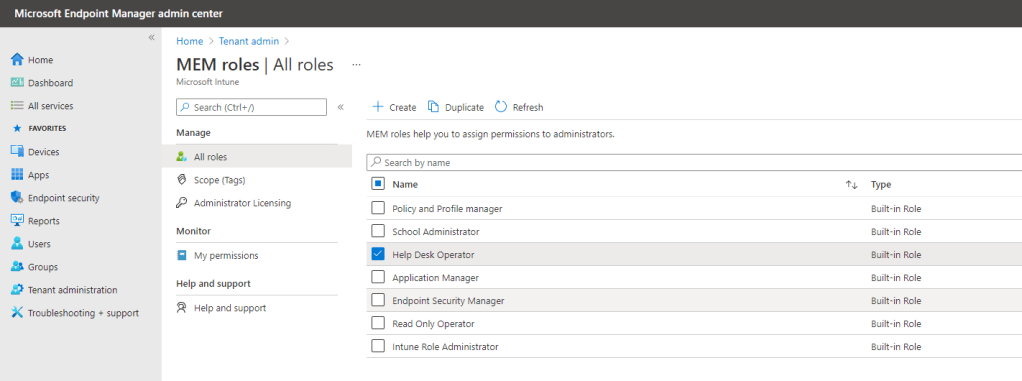
Back in the Endpoint Manager console, go to Tenant Administration and Roles. Click on the role you want to add the PIM assignment to, in my case the Help Desk Operator.
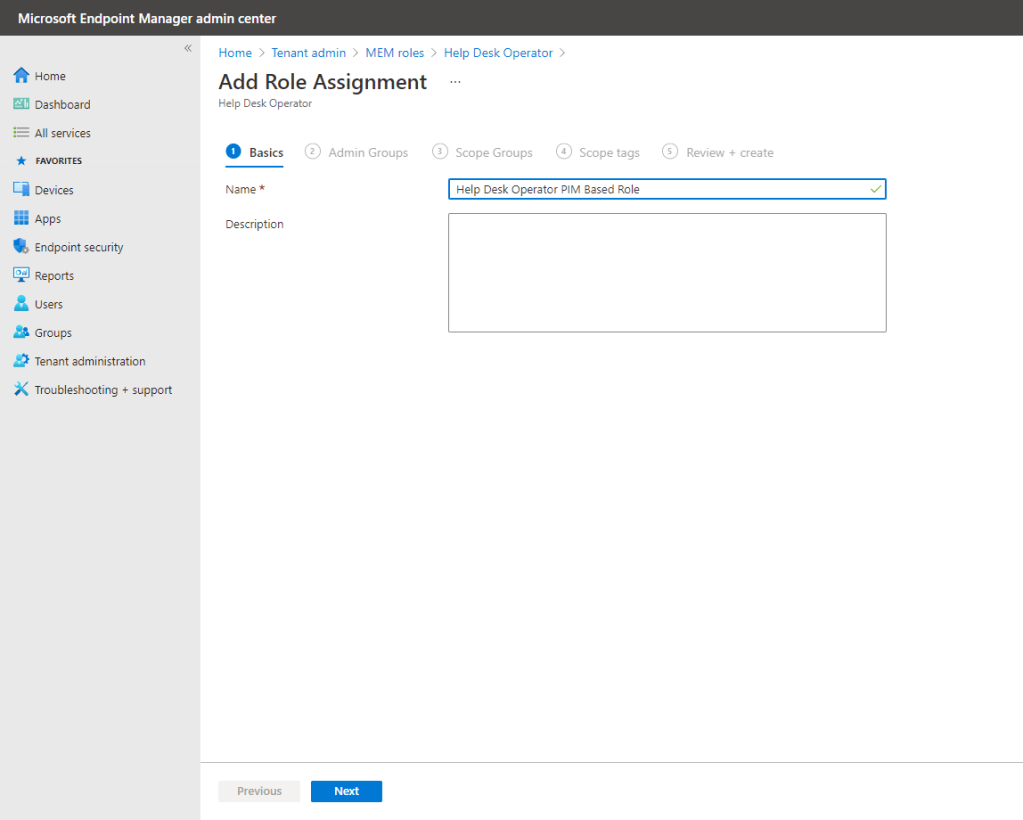
Select Assignments and click Assign.

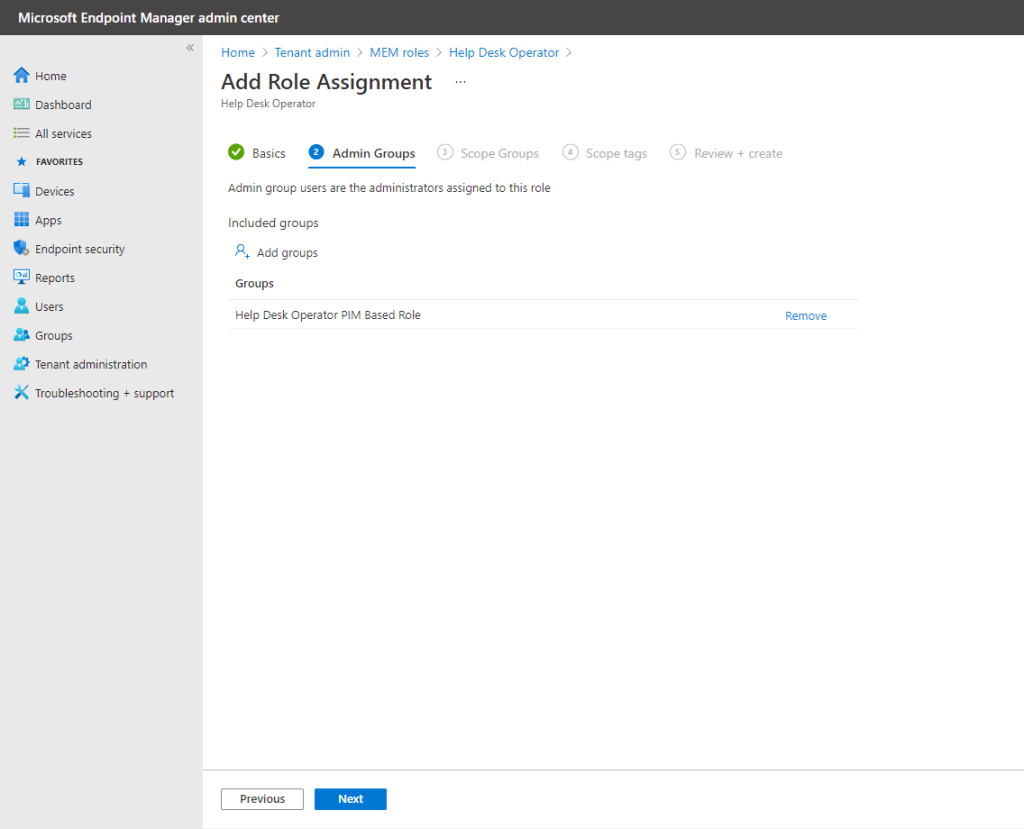
Enter a Name for the assignment and click Next.
Now add the group which we created. Click Add groups and search for that group. Click Select when added.

Click Next.
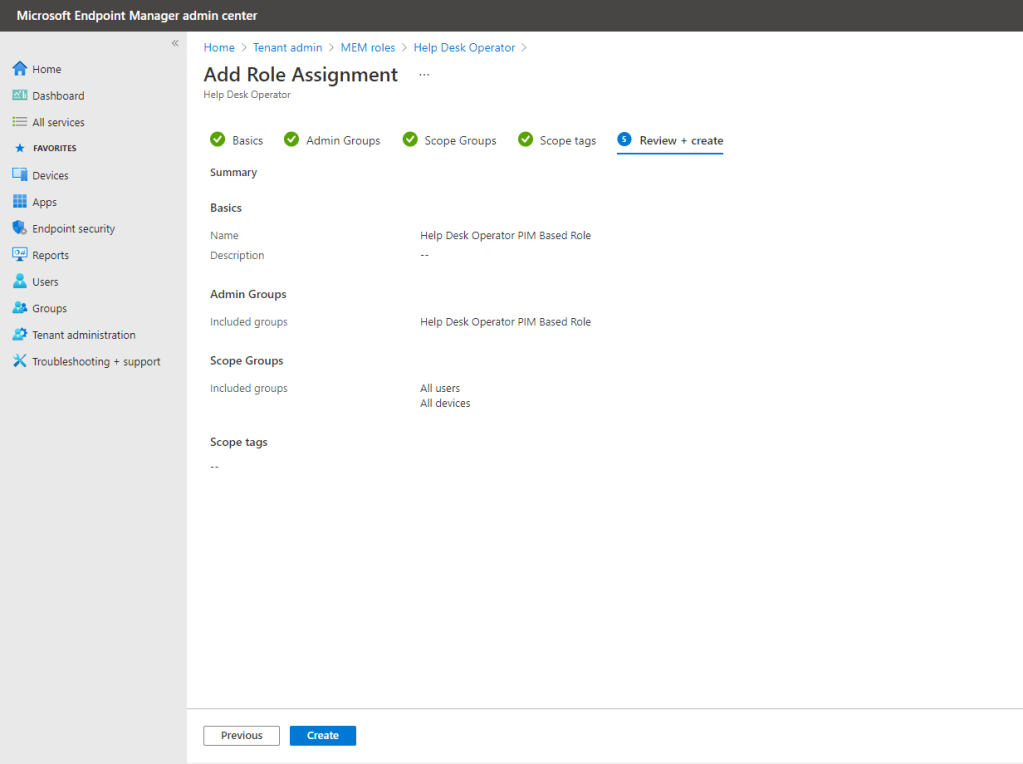
Scope the role accordingly and click Next.

..and similarly with scope tags.

Complete the role assignment by clicking Create.
Add a member to the group you created (either in Azure AD or the Endpoint Manager Admin Center)

Back in PIM, if you click Privileged access groups (Preview) you’ll see that the role-assignable group is now visible.

Click into the group and then choose Assignments. You’ll see you group member currently has permanent access. Let’s change that to eligible. Click Update.

From the Assignment type drop down menu choose Eligible. I’ve set the max allowed eligible duration but you can change this accordingly. Click Save.

The user is now listed under Eligible assignments and will have to activate their account using the process in Part 1 to be able to use the Help Desk role in Endpoint Manager.

I hope this two part series helps to kick-start your journey into Privileged Identity Management.

One comment