I’ve had to switch a Microsoft 365 Apps install from x86 to x64 and it’s so simple to implement that I had to promote how to do this!
To achieve the migration, Microsoft introduced the MigrateArch attribute. Setting this attribute to True will allow for the change in architecture.
When using it, you don’t need to worry about the existing installed components and languages, these will all be preserved as you migrate. You can, however, make changes during the migration by stating the products/languages/settings that you want to change in your configuration XML file.
As part of your app migration, you will also need to specify the OfficeClientEdition attribute and ensure that this is set to x64.
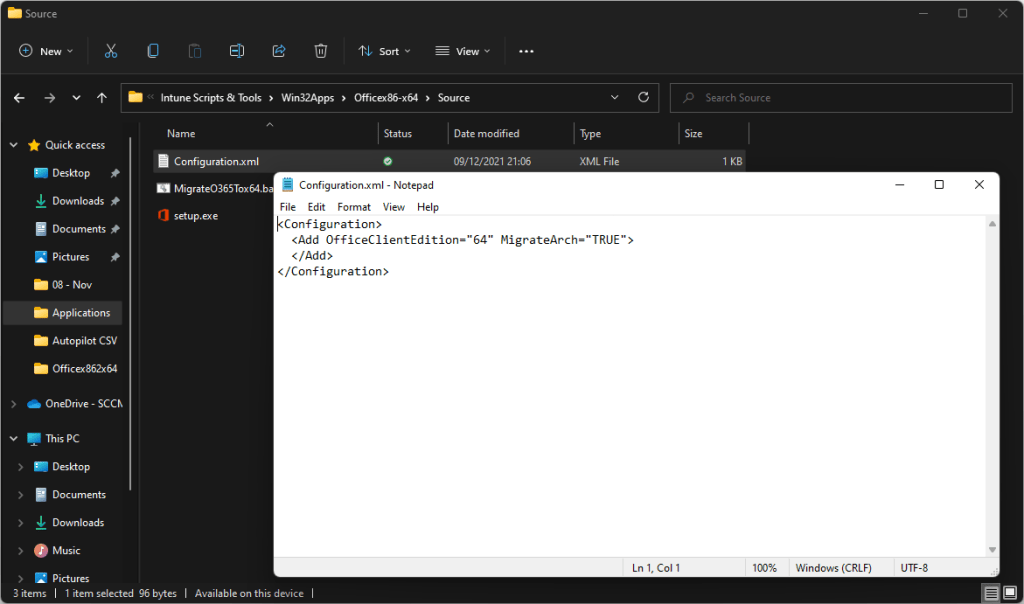
In it’s simplest form, this XML will migrate you over with existing settings and products in place.
<Configuration>
  <Add OfficeClientEdition="64" MigrateArch="TRUE">
  </Add>
</Configuration>
Creating the Intune Win32app
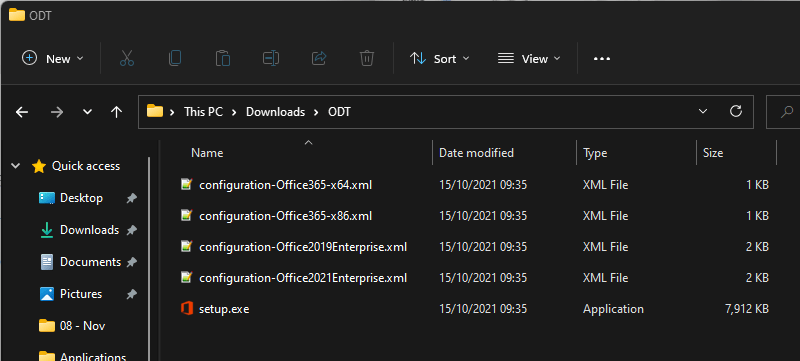
To start off the process, I need to download the Office Deployment Tool (ODT). This is available here. Run the .exe and extract out the content. From the ODT, we will use the setup.exe file.
Copy this off to a source location for your Win32app and create a configuration.xml file in this source location with XML above in it.
Next, I am using a bat file to install. In this, I will run the setup.exe command and also create a txt file on the device which I can use for the detection method when creating the Win32app.
Here’s my bat file:
setup.exe /configure configuration.xml
Echo Office migrated to x64 >> "%ALLUSERSPROFILE%\Microsoft\IntuneManagementExtension\Logs\O365tox64.txt"
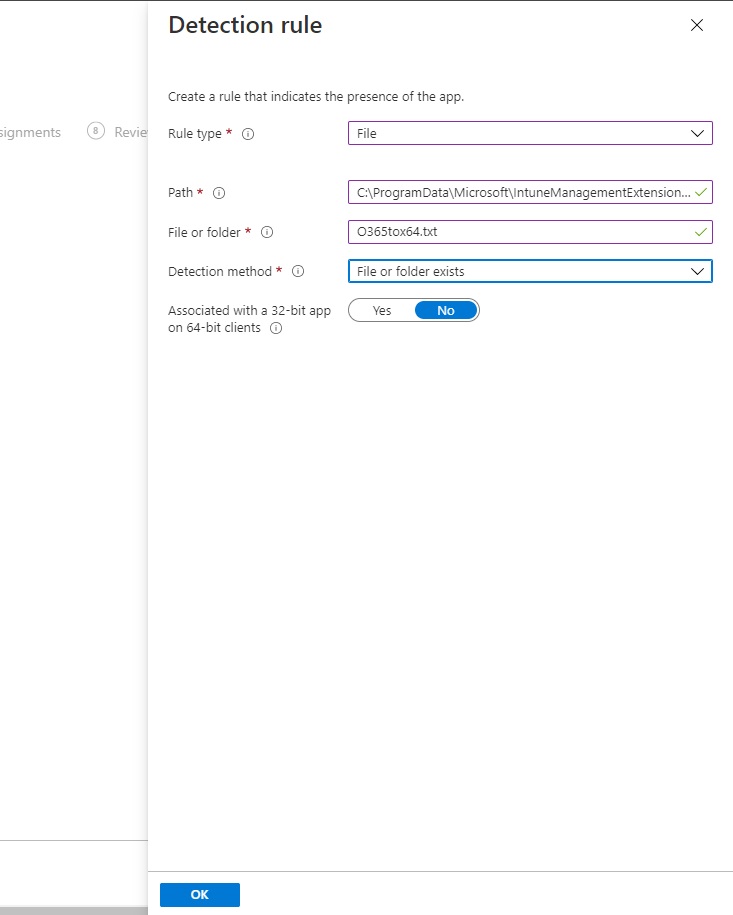
This will run the setup.exe file and perform the migration to x64 then it will create a O365tox64.txt file in the program data\Microsoft\IntuneManagementExtension\Logs folder.
With the .bat, setup.exe and configuration XML in your source folder, run the Win32app Prep Tool, available here, to create a Win32app. If you need assistance on how to do this, then check my blog post about creating a Win32app.
When creating the app, I have set the -s (or setup_file) parameter to run the .bat file.
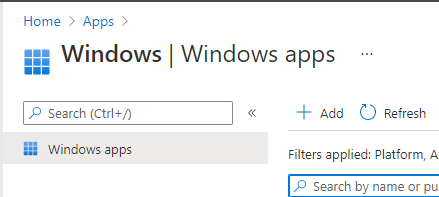
In the Endpoint Manager portal, go to Apps\Windows and click Add.
Select Windows app (Win32) from the App type drop down and then Select.
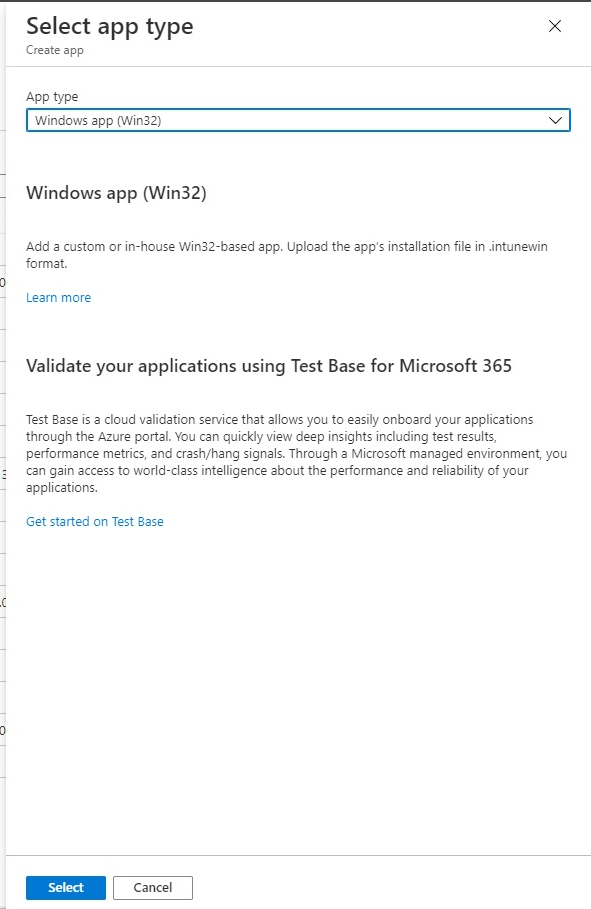
Upload the .intunewin created by the Prep Tool.
Enter at least the Name and Publisher of the app, in the App information screen, and click Next.

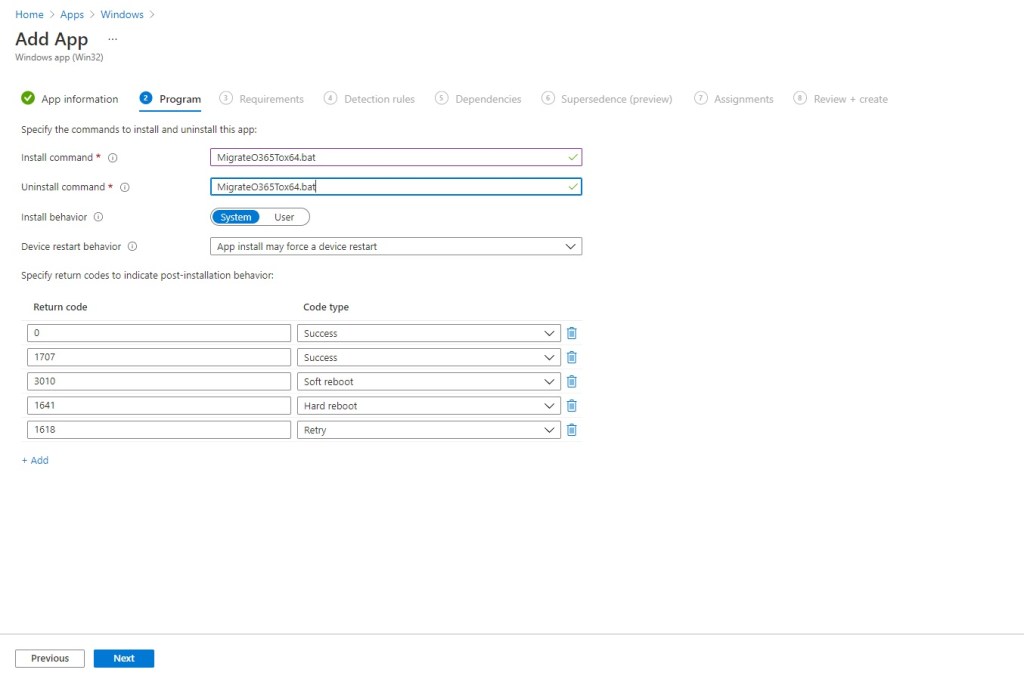
Now enter the .bat file name for the Install command. I’m not too fussed about uninstall here, so I have just entered the same Uninstall command. Click Next.
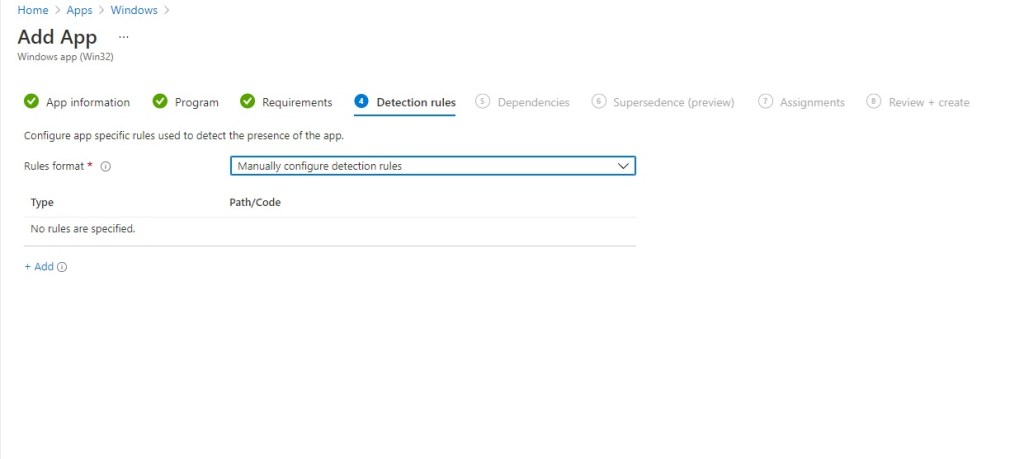
At the Detection rules screen, choose Manually configure detection rules from the Rules format drop down.
For the rule, I am pointing the rule to the existence of the file we have created in the .bat.
When the application is pushed out, the next time the user loads up an Office app, it will ask them to Activate. All they have to do is click the Activate button.
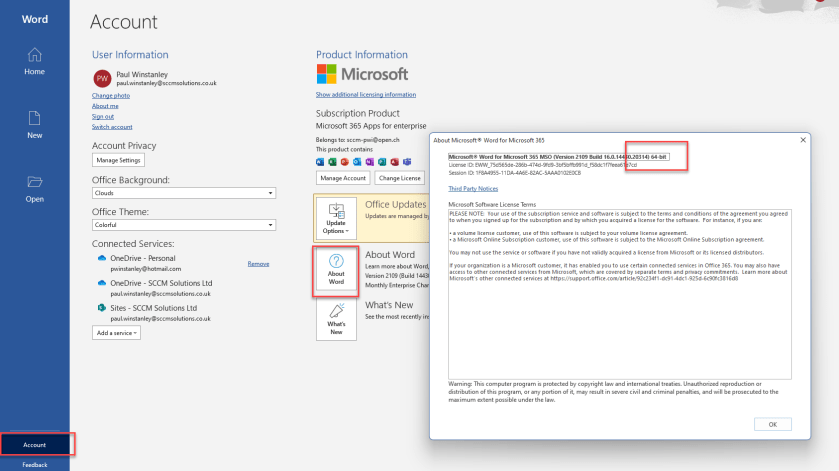
You can check the change has occurred on the application itself. In Word, for example, go to Account\About Word. You’ll see the architecture listed on the About window.

