Here’s the start of a few macOS related blog posts which I’m working on with a great friend of mine, Frank Thomas-Hockley (@fth_nix on Twitter), as we get to grips with managing this operating system via Microsoft Intune.
Back in 2020, I did a series of blog posts about how to set to Apple Business Manager (ABM), you can take a look at them here (note that Apple has updated the ABM interface since those blog posts were written).
- Setting up Apple Business Manager – Part 1
- Setting up Apple Business Manager – Part 2
- Setting up Apple Business Manager – Part 3
- Setting up Apple Business Manager – Part 4
One of the things which I did not perform at the time was the addition of System for Cross-domain Identity Management (SCIM).
SCIM offers the capability to bring users into Apple Business Manager. Through this mechanism, Apple Business Manager attributes can be combined with user account information that has been brought in from Microsoft Azure Active Directory (Azure AD).
The process itself starts in the ABM by collecting the unique SCIM token.
Fire up ABM and click your profile, then click Preferences and Directory Sync. Finally click the Enable link.
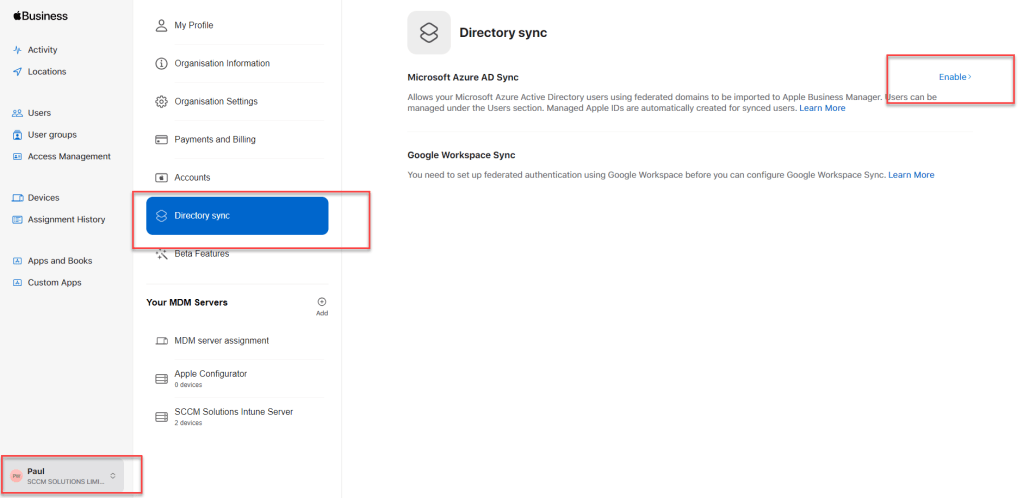
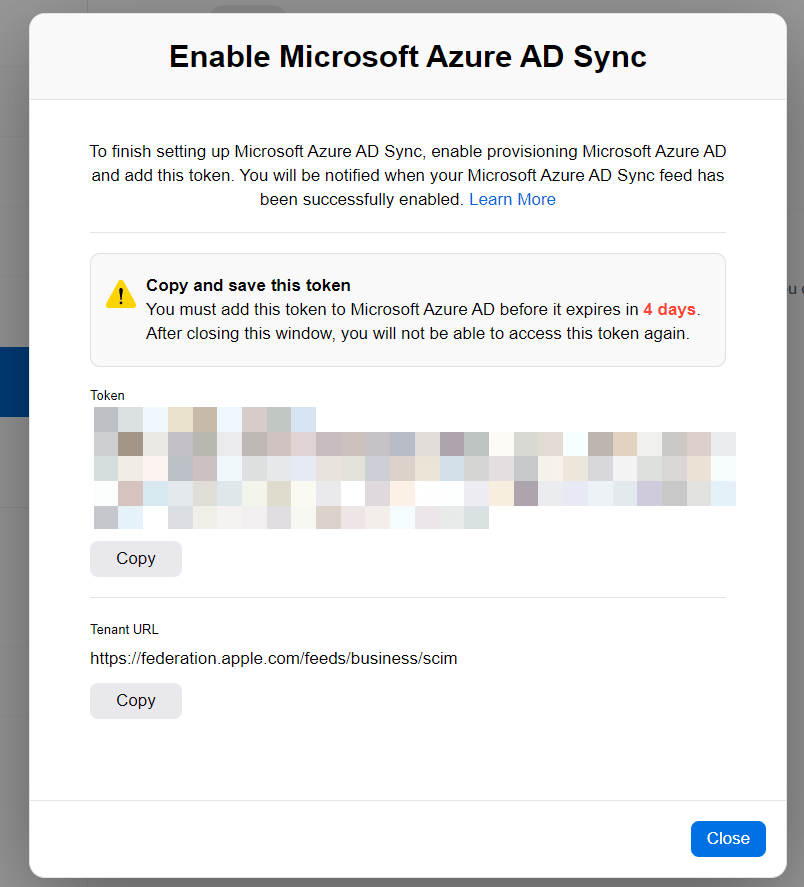
This will generate the SCIM token details.
To be able to setup the sync in Azure AD, one of the following permissions is required:
- Application Administrator
- Cloud Application Administrator
- Application Owner
- Global Administrator
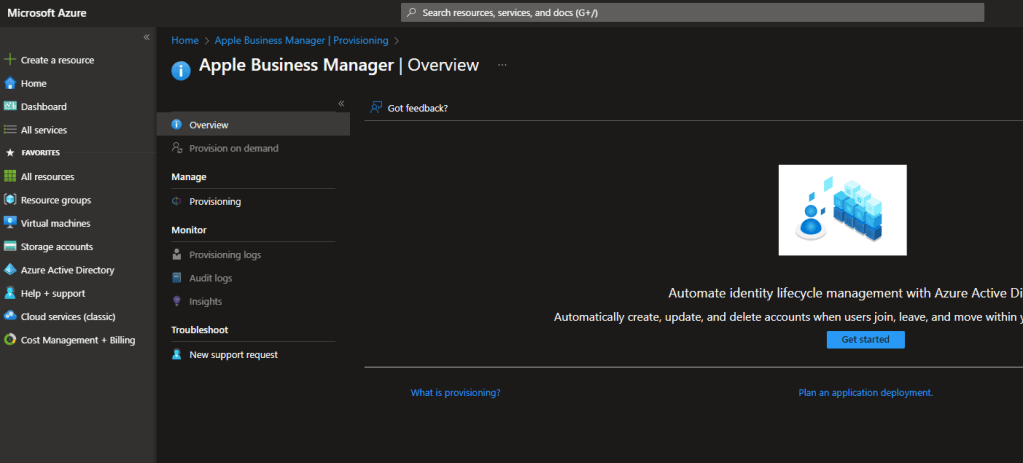
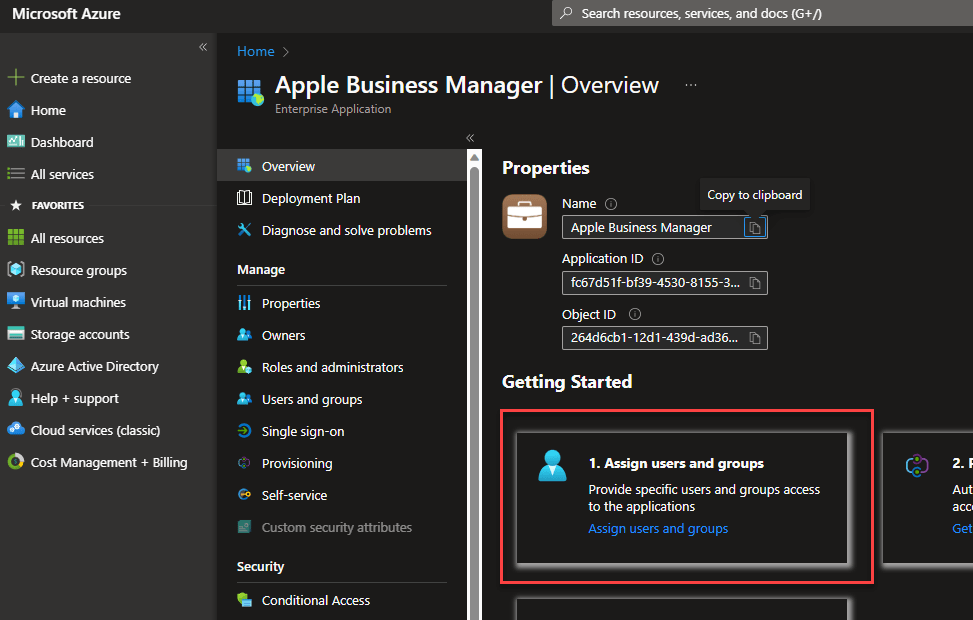
Now we need to switch over the Azure AD or Entra ID and navigate to Enterprise Applications and select All Applications. Search for the Apple Business Manager application.

Click the Get started button.
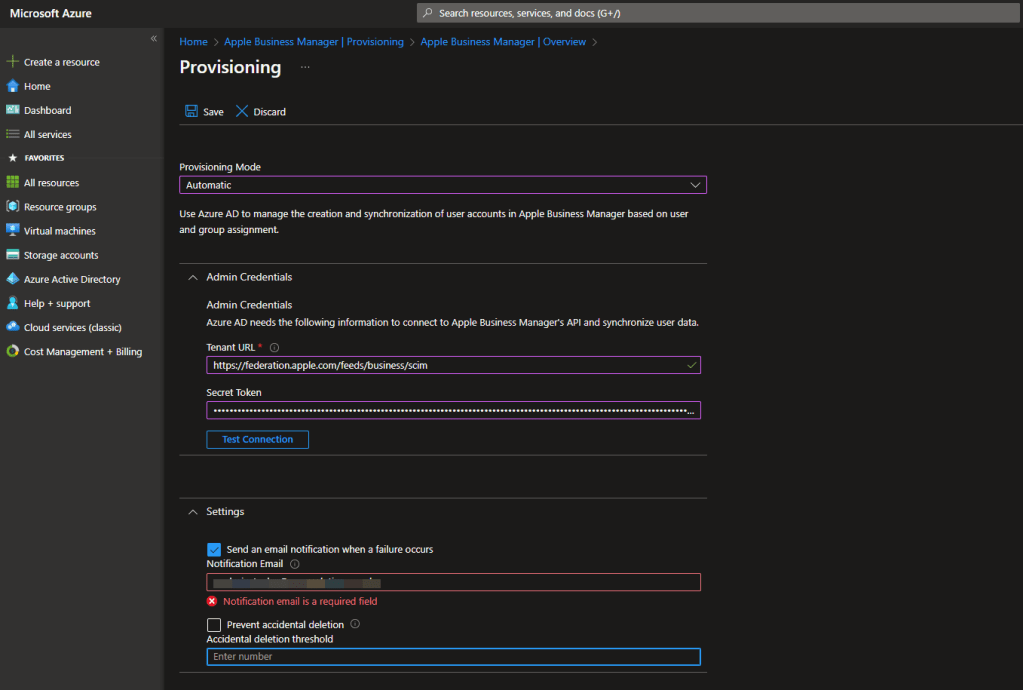
From the Provisioning Mode drop down, choose Automatic and then take the details from the ABM SCIM token page and paste them into the Tenant URL and Secret Token fields.
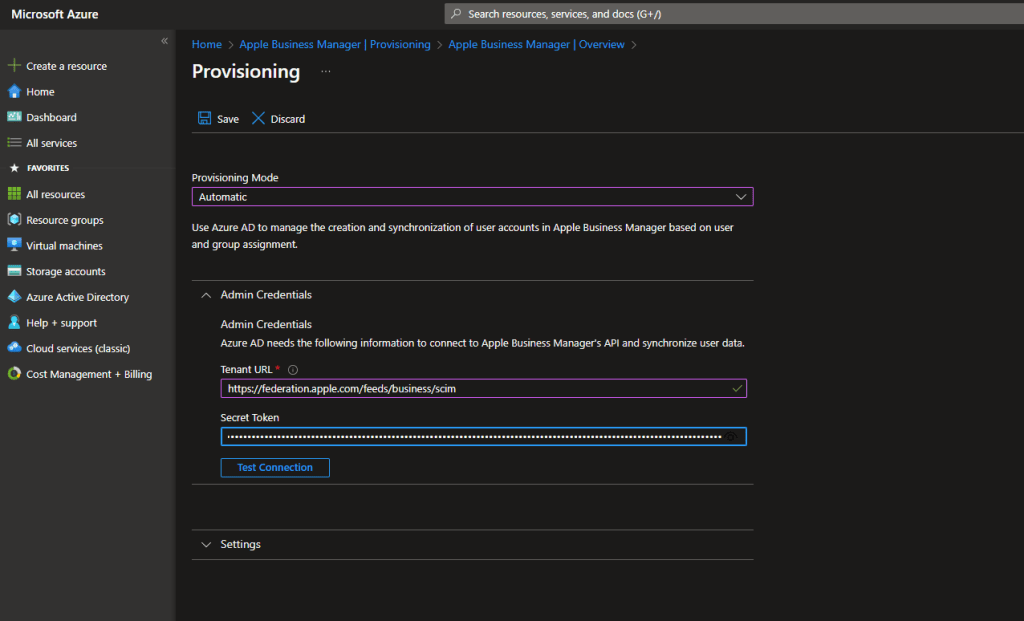
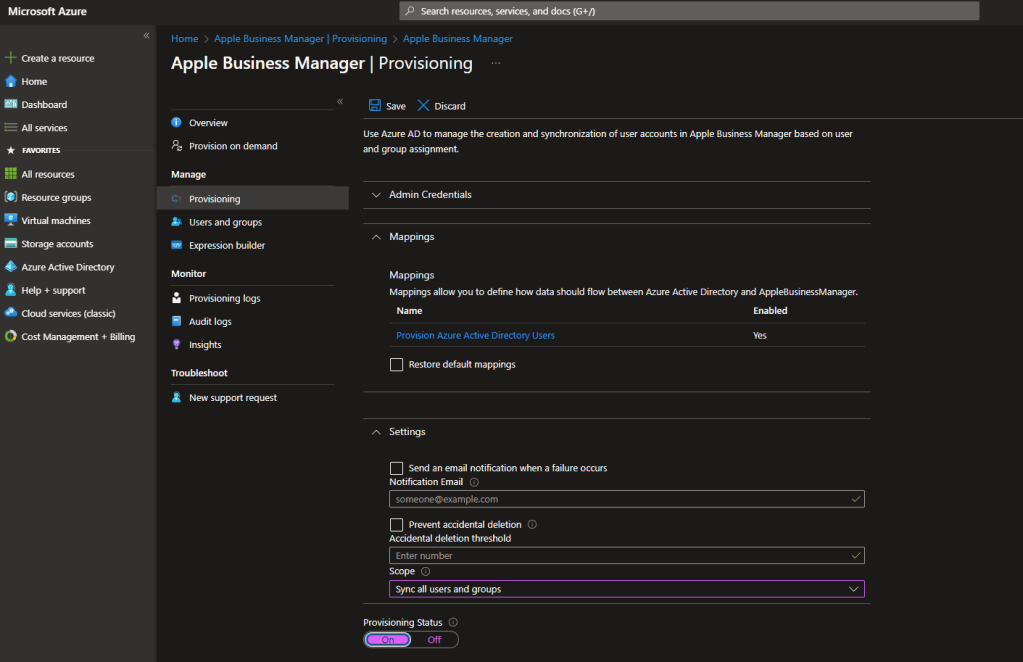
Now define an email address where SCIM sync failure information will be sent to by enabling the Send an email notification when a failure occurs checkbox and enter the relevant details. Also note you can prevent accidental deletion. We have left this blank for out demonstration. Click Save when complete.
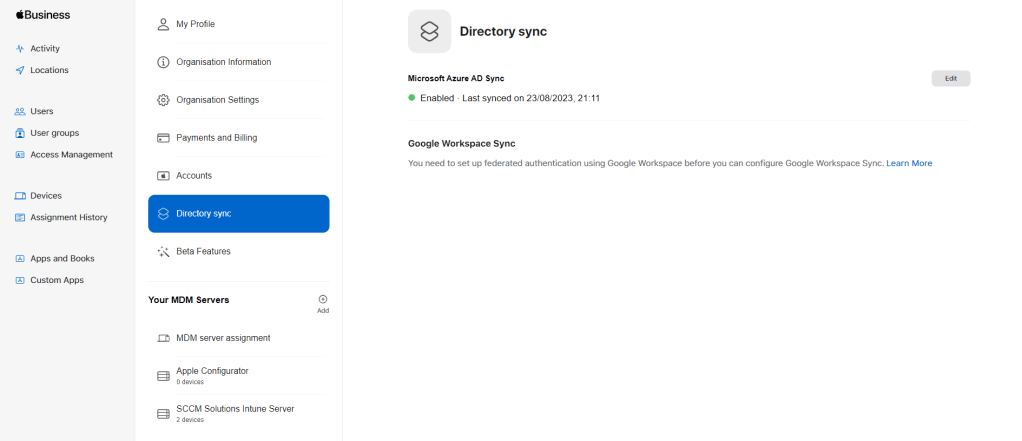
In ABM, you will now see that Directory sync is Enabled.
Hop back to the ABM and go into Provisioning. Under Settings you now have the option to select the Scope of the sync.
The choice is:
- Sync only assigned users and groups
- Sync all users
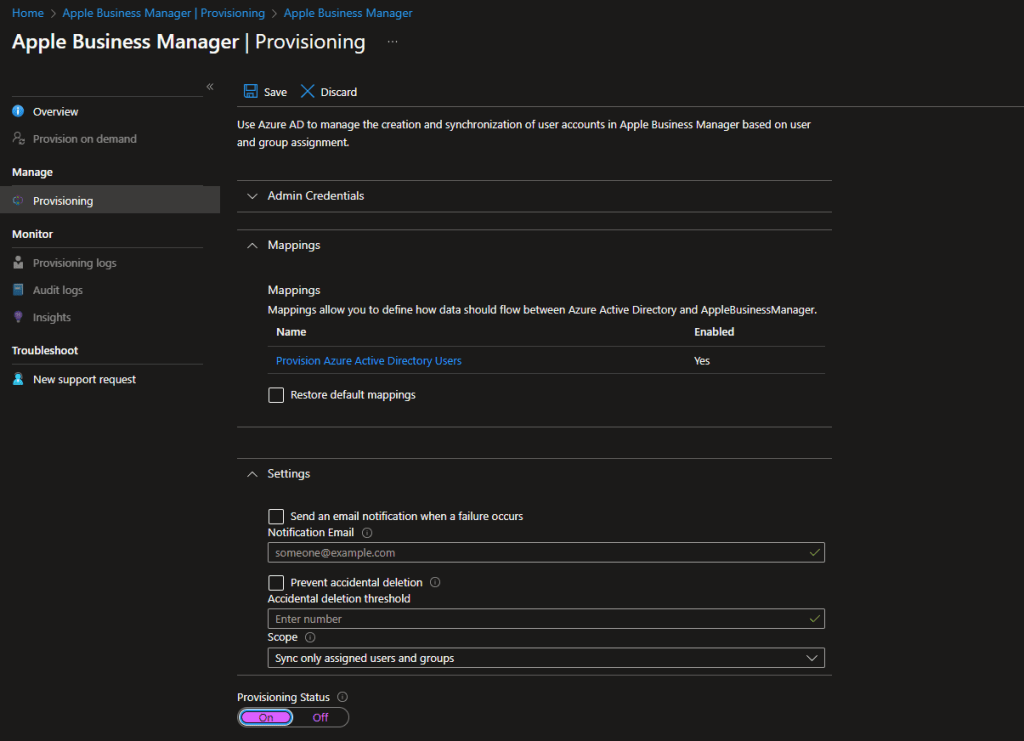
If you select the Sync only assigned users and groups, then the users you wish to sync will need to be defined in the Enterprise Application itself here.
We are going to Sync all users. Slide the Provisioning Status button to On.
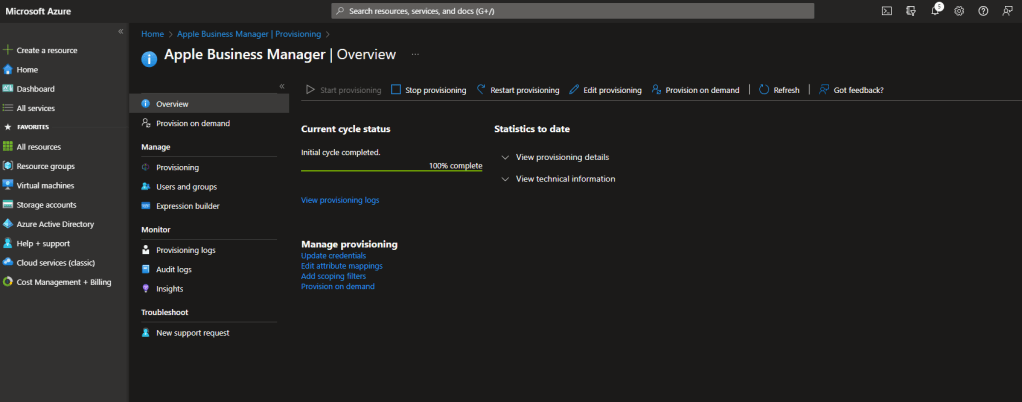
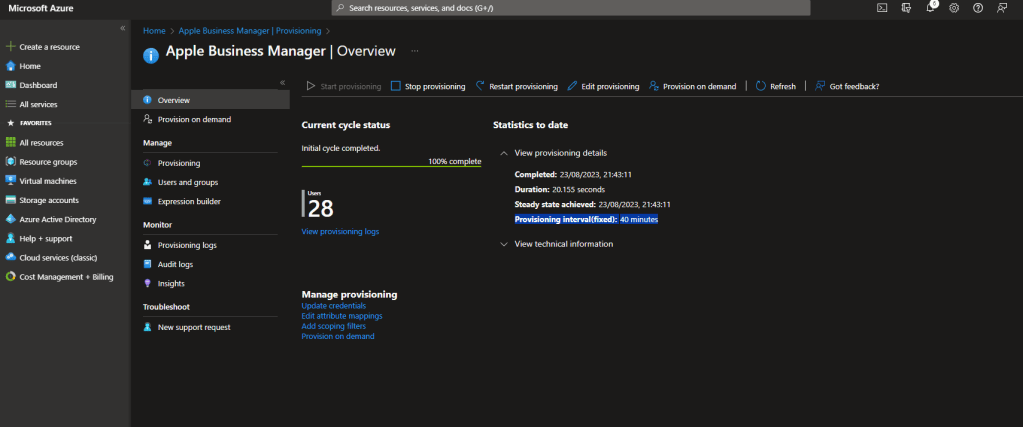
The initial sync takes longer to perform than subsequent cycles, which occur approximately every 40 minutes as long as the Azure AD provisioning service is running.
You will see the initial cycle information displayed.
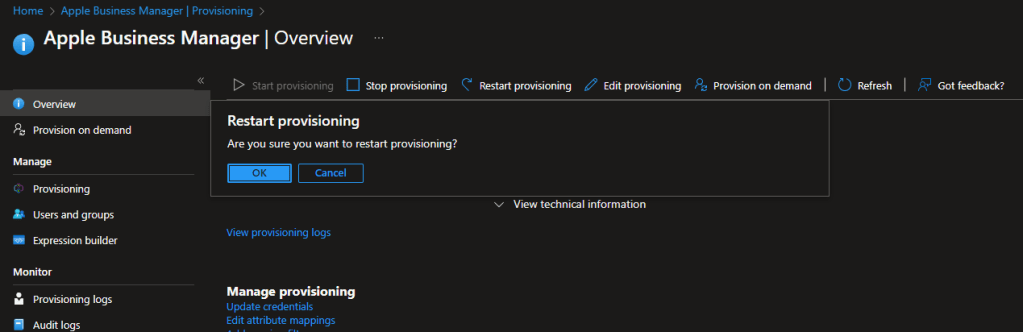
If you make any changes to the scope properties then you must Restart provisioning.
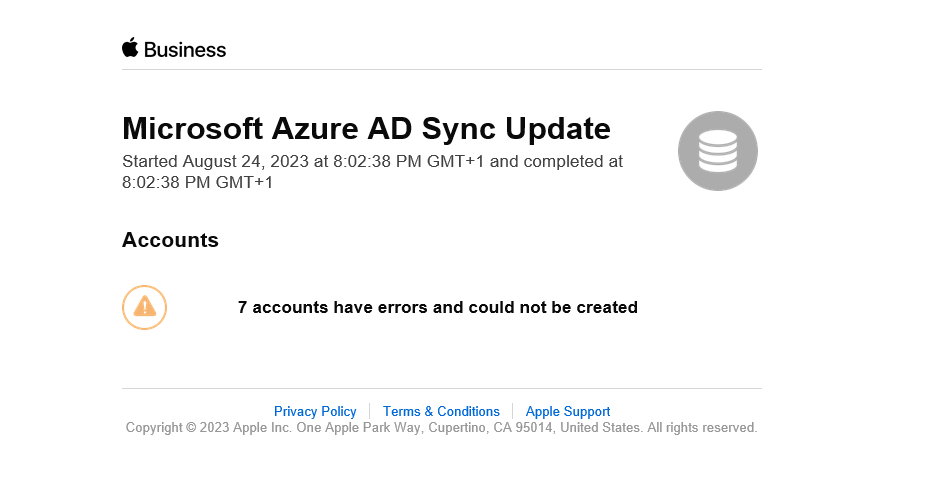
Once that first run has completed, the email address set for notification will receive an email informing them so.
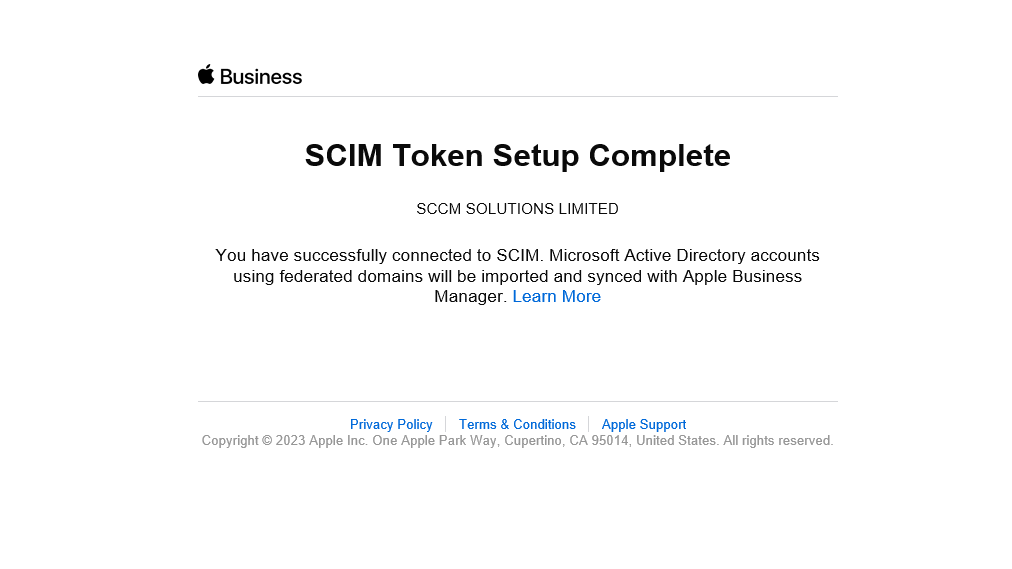
Head back to the ABM Enterprise Application and you will see confirmation of the sync, along with the number of users in total.
Users will appear in the Users section of ABM. Note our test user, Neil Redfearn has been synchronised.

Whenever synch errors occur, the nominated email address will receive an email to that effect.
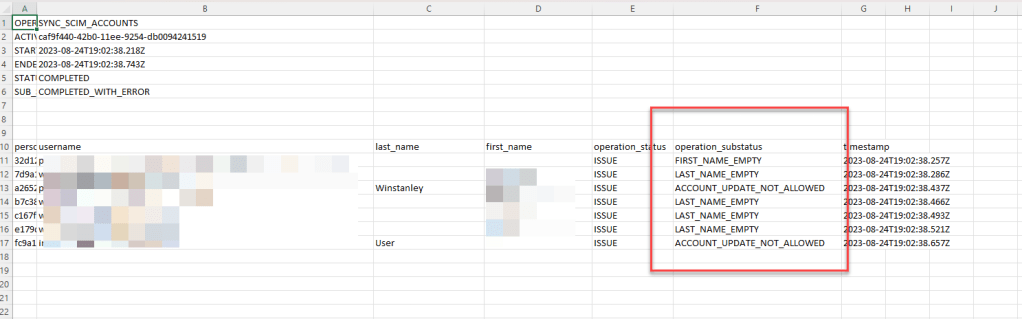
You can check the Activity logs in ABM and Download Logs for more information.

As you can from the logs, a combination of issues are occurring, mostly relating to missing details in the user account properties.
Look out for some more macOS goodness coming soon.

Ensbling SCIM was biggest mistake that I made so far when managing apple.
Users can’t use wallet, apple pay, download app.
Biggest problem is that the passwords do sync only at the beginning and when time to change the are different thsn AAD one.
Really if anyone wants to use think about it few times.
Great feedback and interesting to know. Thanks for this comment