In the second of the Keep it Simple with Intune series, I will show you how to generate a start menu and apply it via Intune.
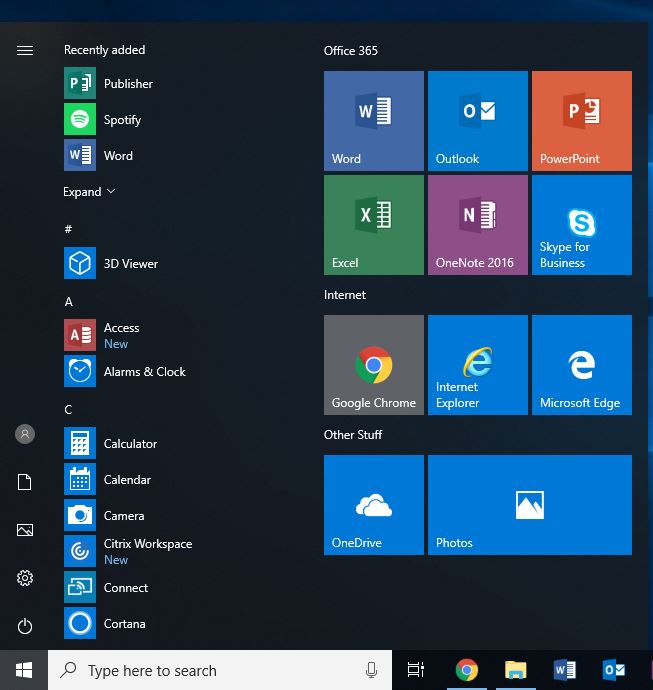
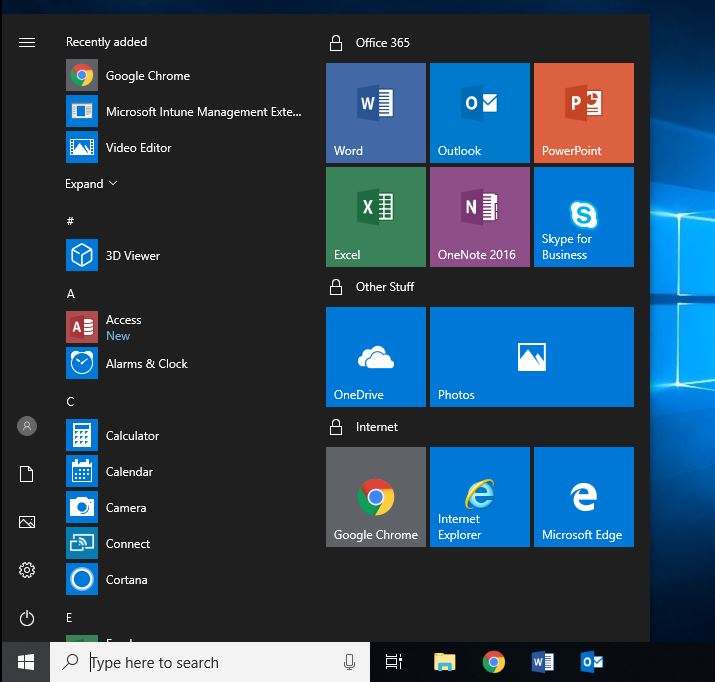
On a reference Windows 10 machine create the start menu that you wish to deploy to your target devices. I’ve gone for a single column start menu with some defined groups and also some pinned taskbar items.

Export the Start Menu using PowerShell using the command:
Export-StartLayout -path <pathtofile>.xml
This will export the start menu in XML format. It will not contain any details on pinned items, we must manually add these into the exported file, along with further customisations.
Load the XML into Notepad (or preferably Notepad++).
Since I want to ensure that this menu is only one column in width then I have to add
StartTileGroupsColumnCount="1"
in the <LayoutOptions> tag.

Next, I want to add in the pinned items to my XML file.
First up, I need to add xmlns:taskbar=”http://schemas.microsoft.com/Start/2014/TaskbarLayout” to the LayoutModificationTemplate tag.
For example:
<LayoutModificationTemplate
    xmlns="http://schemas.microsoft.com/Start/2014/LayoutModification"
    xmlns:defaultlayout="http://schemas.microsoft.com/Start/2014/FullDefaultLayout"
    xmlns:start="http://schemas.microsoft.com/Start/2014/StartLayout"
    xmlns:taskbar="http://schemas.microsoft.com/Start/2014/TaskbarLayout"
    Version="1">

Now I need to add in the code for each of the pinned items I want. The code for pinned items is placed in between the </DefaultLayoutOverride> and </LayoutModificationTemplate> tags in the exported Start Menu XML.
The code for pinned items is:
<CustomTaskbarLayoutCollection PinListPlacement="Replace">
  <defaultlayout:TaskbarLayout>
    <taskbar:TaskbarPinList>

      PINNED ITEMS INSERTED HERE

    </taskbar:TaskbarPinList>
  </defaultlayout:TaskbarLayout>
</CustomTaskbarLayoutCollection>
Note the PinListPlacement=”Replace”, this code will remove all existing items but will not remove customisations added by users.
The pinned items code is as follows:
- Use <taskbar:UWA> and AUMID to pin Universal Windows Platform apps.
- Use <taskbar:DesktopApp> and Desktop Application Link Path to pin desktop applications.
For my applications I am adding desktop apps. The code I require is:
<taskbar:DesktopApp DesktopApplicationLinkPath="%ALLUSERSPROFILE%\Microsoft\Windows\Start Menu\Programs\Google Chrome.lnk" />
<taskbar:DesktopApp DesktopApplicationLinkPath="%APPDATA%\Microsoft\Windows\Start Menu\Programs\System Tools\File Explorer.lnk" />
<taskbar:DesktopApp DesktopApplicationLinkPath="%ALLUSERSPROFILE%\Microsoft\Windows\Start Menu\Programs\Word.lnk" />
<taskbar:DesktopApp DesktopApplicationLinkPath="%ALLUSERSPROFILE%\Microsoft\Windows\Start Menu\Programs\Outlook.lnk" />
Let’s see how that looks in my start menu XML file.

Finally, I want make sure that the start menu is locked so users cannot change the sections of start menu I have defined. They will be able to add in further shortcut customisations but not replace the ones I have locked.
To do this I need to add the code Add
LayoutCustomizationRestrictionType="OnlySpecifiedGroups"
to the <DefaultLayoutOverride> tag.

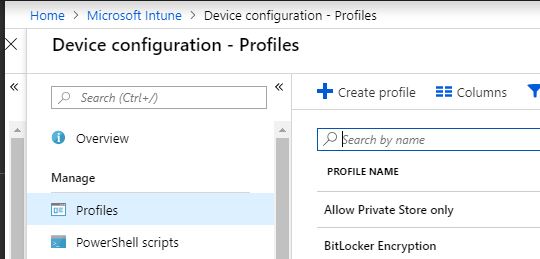
With my start menu defined, head over to the Azure portal and navigate to Intune>Device Configuration>Profiles. Click Create Profile.
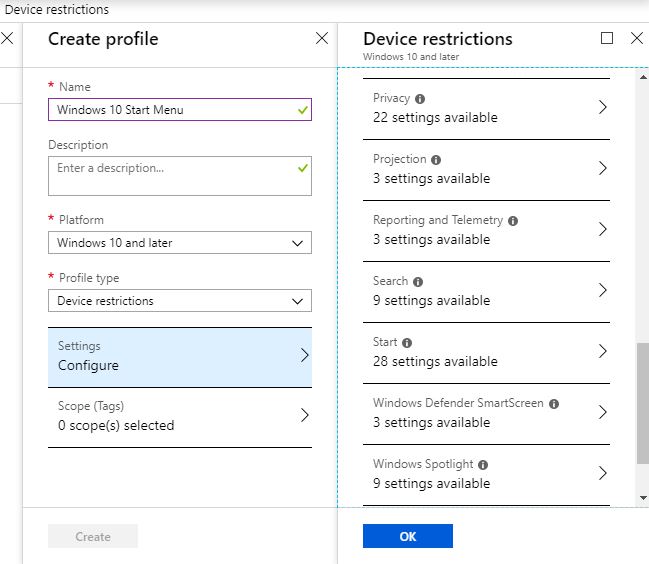
Enter a Name for the profile, a Description choose Windows 10 and later for the Platform and select Device restrictions for the Profile type. Scroll down the Device restrictions blade and select Start.
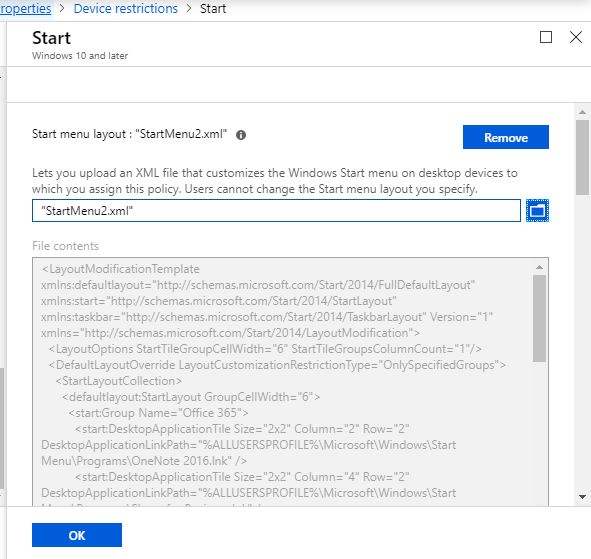
Select your customised start menu xml file from your device and click OK, OK and then Create.
With the Start Menu device configuration defined, assign it to the relevant Intune group of devices.
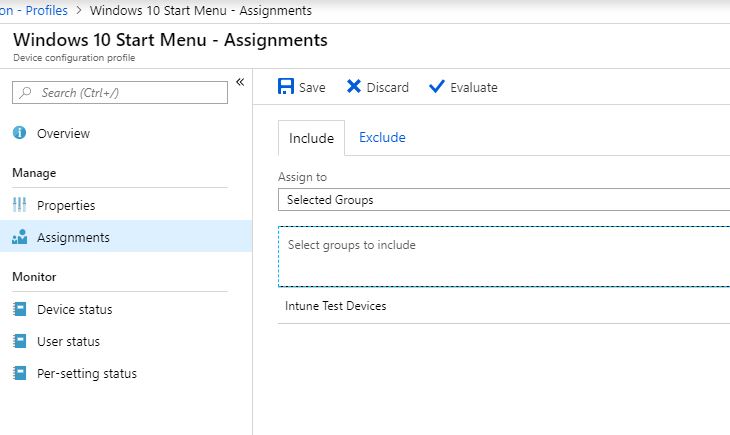
With a device in the targeted group sync’ed the customised start menu will deploy. Funnily enough for my demo the Internet and Other Stuff groups have appeared the wrong way round and the Chrome pinned item should appear before File Explorer. I’m not sure why that has happened but one to take a look at another day as it’s New Year’s Eve and time to wish everyone a Happy New Year and all the best for 2019. Look out for more in the Keep it Simple with Intune series soon.
** Update **
When I logged on as another user all was fine and the icons were as expected.

Sometimes a few shortcuts never appear, sometimes they do… I have been trying this for months, it is not reliable at all, even on 1809
The main thing I find is the apps have to be there before the policy applies. If I apply the policy again later the menu will update will all the icons.
This is working great for my start menu, but I’ve copied your xml exactly and my taskbar is not being set… Any advice?
Do any of the icons get pinned?
I have the same problem, Start Menu works, taskbar has zero apps pinned. Removes the apps that are there by default though.
If you apply the start menu manually to a device and test it do the taskbar items appear OK?
Hi,
This step by step guide is excellent and is very clear to follow. I have my custom start menu and pinned taskbar icons. I have noticed however that I can’t pin any other apps to the taskbar, I can pin items to the Start Menu and create new groups but there is no option on an app (Adobe Reader for example) where I can select ‘Pin to Taskbar’.
Any suggestions as to why no additional apps can be pinned to the taskbar by the user? I don’t believe I have missed anything out.