In this blog post, part 14 of the Keep it Simple with Intune series, I will show you how you can enable Credential Guard on you Windows 10 Intune managed devices.
Credential Guard, introduced with Windows 10, uses virtualization-based security to isolate secrets so that only privileged system software can access them. Credential Guard protects against credential harvesting by running LSASS in a separate virtual machine on the client. All NTLM and Kerberos hashes are stored in the LSAISO process running in the secure virtual machine, separate from the running operating system. This provides protection of the password secrets even at the kernel level because the secrets are not stored there.
This is a security feature you should just be enabling period.
There are software and hardware requirements and Microsoft list them as so:
- Support for Virtualization-based security (required)
- Secure boot (required)
- TPM 1.2 or 2.0 (preferred – provides binding to hardware), either discrete or firmware
- UEFI lock (preferred – prevents attacker from disabling with a simple registry key change.
The Virtualization-based security element of Credential Guard requires:
- 64-bit CPU
- CPU virtualization extensions plus extended page tables
- Windows hypervisor (does not require Hyper-V Windows Feature to be installed)
Full details are here.
There are two ways to implement Credential Guard from within Intune. One way is by implementing the Windows Security Baselines. Under the Device Guard section you’ll see the following.

This is Credential Guard in it’s most secure configuration with UEFI lock enabled. Note that if you enable with lock then you can’t remotely disable and physical intervention is needed. You might want to start initially rolling out Credential Guard without lock to test devices are happy running the feature.
I’ve seen Credential Guard cause problems and completely lock out a device from booting into Windows. Best to start slowly and implement UEFI with lock when you are confident that no issues will arise.
With that in mind, I’m going to show you the other method to deploy Credential Guard, via a configuration profile – just in case you aren’t using those Sec Baselines as yet – and we are going to be cautious with our initial approach and implement UEFI without lock.
As stated, UEFI without lock, means that someone could turn off Credential Guard remotely by switching off the feature via the registry. Here’s the keys which are enabled when turning on Credential Guard and the ones to be aware of.
- HKEY_LOCAL_MACHINE\System\CurrentControlSet\Control\DeviceGuard\EnableVirtualizationBasedSecurity – DWORD Value 1
- HKEY_LOCAL_MACHINE\System\CurrentControlSet\Control\DeviceGuard\RequirePlatformSecurityFeatures – DWORD Value 1 – for SecureBoot or 3 – for SecureBoot and DMA
- HKEY_LOCAL_MACHINE\System\CurrentControlSet\Control\LSA – DWORD Value 1 – for UEFI with Lock or 2 – for UEFI without Lock
Let’s enable Credential Guard
In the MEM Admin Center
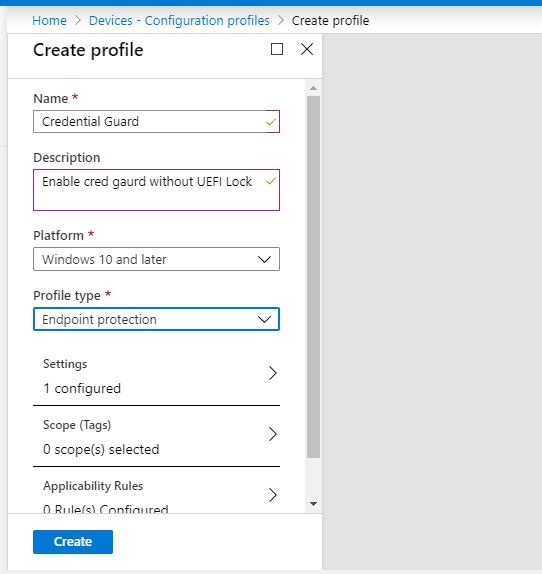
In the MEM admin center, select Devices\Configuration profiles. Click the Create Profile link.

Enter a Name for the profile and an optional Description. Select Windows 10 and later as the Platform and then choose Endpoint Protection from the Profile Type.

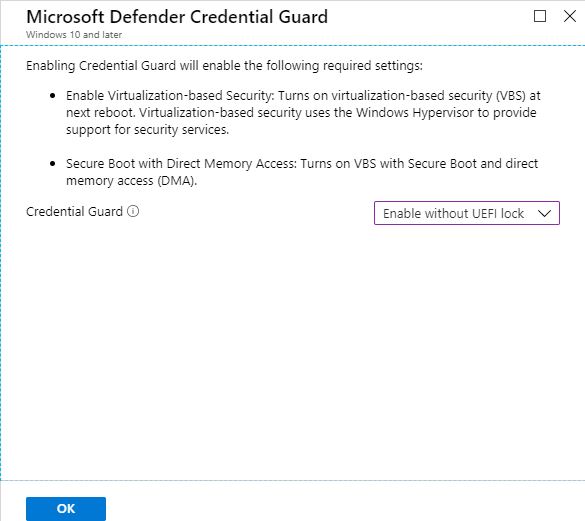
Scroll down to Microsoft Defender Credential Guard and click to select. There’s only one setting available to us, nice and simple. We have the choice to Disable, Enable with or without UEFI lock.

As mentioned, I am configuring Enable without UEFI lock for this demo. Click OK twice.
With the profile configured click the Create button.
Next up, we need to assign out the profile. You should hopefully becoming familiar with this process. Look at older posts in the series if you need to refresh your memory. I’ve clicked the Assignments link and pushed out to some test devices. A wise choice when enabling Credential Guard.

On the endpoints
You can check the status of Credential Guard by running System Information (just type in msinfo32 in the search bar). Here’s one of my test devices which doesn’t have Credential Guard enabled.

After the device syncs and the profile is pushed to the device I now see the following. Do make sure that Credential Guard is in a Running state for it to be fully operational.

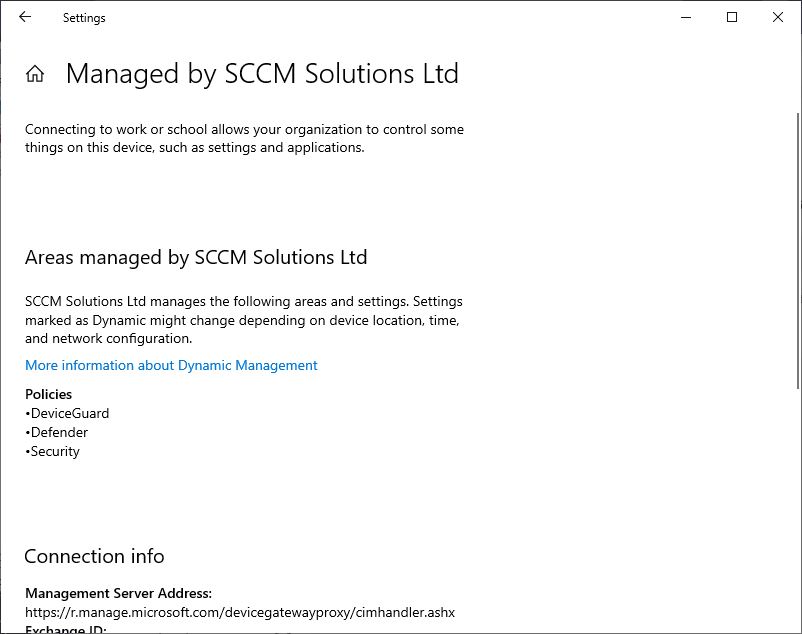
In the Settings app I can see that the DeviceGuard policy has been applied

The event viewer gives me more information. Under Applications and Services Logs\Microsoft\Windows\DeviceGuard\Operational I can see, after an initial moan, that Credential Guard is enabled – no reboot is required.

In the DeviceManagement-Enterprise-Diagnostics-Provider\Admin log I can see each of the registry keys being enabled.
Here’s the LsaCfgFlags key

Here’s the EnableVirtualizationBasedSecurity key.

And finally, the RequirePlatformSecurityFeatures key.

I hope that gets you up and running quickly with Credential Guard.
Be sure to take a look at the other blog posts in the series:
- #1 Enable password reset for users
- #2 Push out your customised Start Menu
- #3 Disk Encryption
- #4 Deploying a Win32 app
- #5 Intune session from Charlotte Systems Management User Group
- #6 Configure OneDrive and KFR
- #7 Deploying the Edge Browser
- #8 Introduction to Device Restrictions
- #9 Manually enrolling a Windows 10 device into Intune
- #10 Applying App Protection
- #11 Deploying a PowerShell script
- #12 Deploying Microsoft Edge Stable via the MEM Admin Center
- #13 Uninstalling Microsoft Edge Beta

6 comments