
In this latest addition to the Keep it Simple with Intune series, I’m introducing the concept of Device Restrictions. Device restrictions are the ability to allow or disable settings within our operating system. These settings use the Policy configuration service provider, more commonly referred to as the Policy CSP. As with GPO, policy scope can be applied at device or user level. For a more detailed breakdown on Policy CSP I recommend you take a look at the TechNet documentation here.
Via Intune, we have direct access to some of these Policy CSPs when creating a device configuration. For this simple demo, we are going to manipulate the Policy CSP – Start to configure the appearance of items on the Start Menu. A full list of the Policy CSP – Start settings and which edition and versions support the settings is documented here and it’s always recommended to confer with the documentation. If you find anything wrong or amiss the documentation is editable via GitHub and you can create a fork, edit, submit for approval, at which point Microsoft will validate and action accordingly.
Anyway, onto our intro to Device Restrictions.
In the MEM Admin Center
So far, in this series, I’ve been using the Azure Portal to configure and deploy. With this blog post, I’m switching to the Microsoft Endpoint Manager Admin Center which is available at the URL https://devicemanagement.portal.azure.com. You’ll notice this is a device management friendly interface, removing all the unnecessary noise associated with the Azure Portal which isn’t relevant to administrators of endpoints. As always, these portals are subject to change.
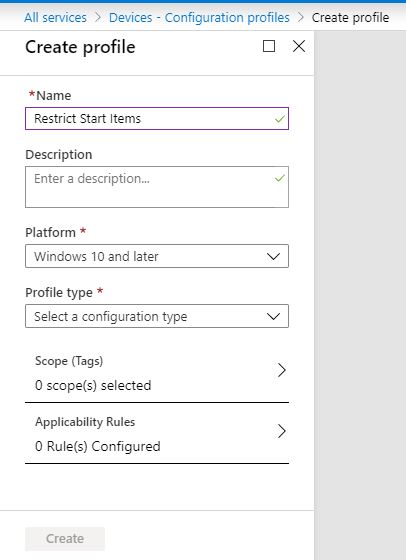
Click All Services\Devices\Configuration profiles then Create profile.

Enter a Name for the profile and a Description (optional). Select Windows 10 and later for the Platform.
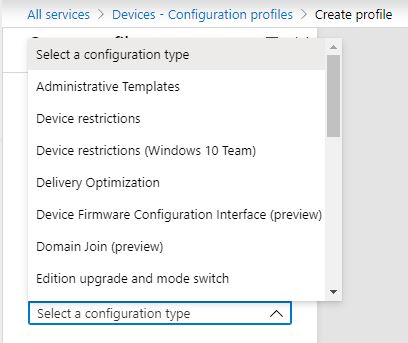
Now select the Profile type and choose Device restrictions.
We are now presented with the Device restriction categories available to us. We are going to select the Start settings and you’ll note we have 28 settings available to us to choose from.
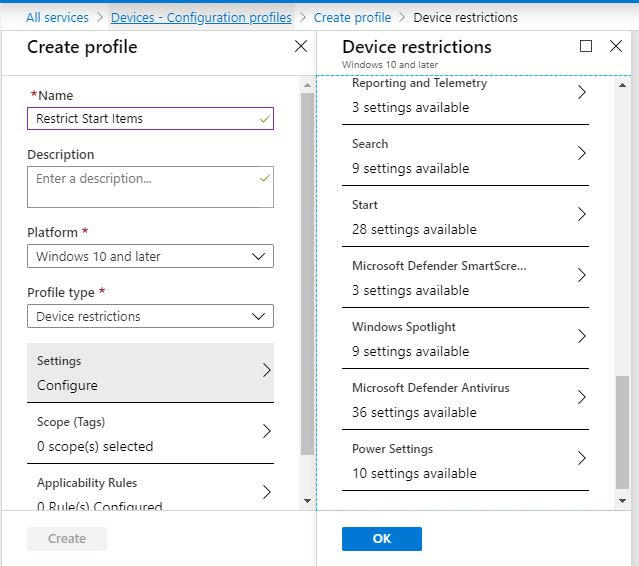
If you’ve been following the Keep it Simple with Intune series, you’ll note that we’ve used Device restrictions before when we applied the Start Menu layout. Scroll down further (depending on your screen size!) and you see other settings are available.
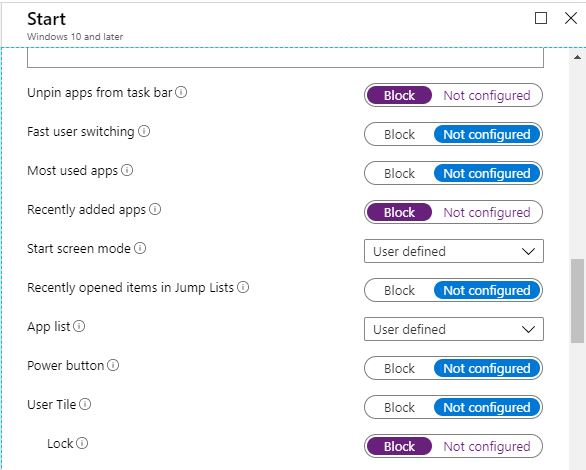
Note that if you aren’t sure what a setting does you can hover over the information icon to get more detail.

I’m going to select a few here to show you the impact. Here are the settings applied
- Unpin apps from task bar – Block
- Recently added apps – Block
- User Tile\Lock- Block
- Documents on Start – Hide
- Pictures on Start – Hide
- Settings on Start – Hide

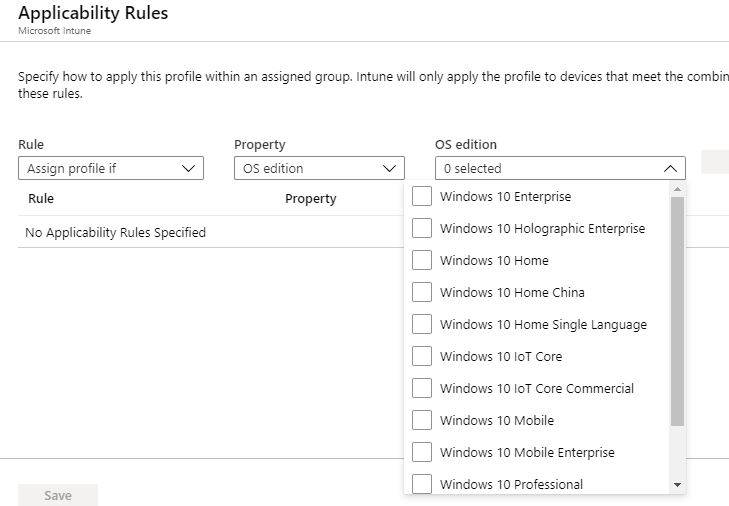
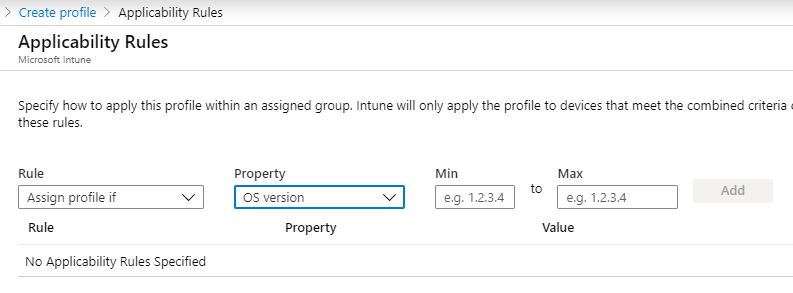
After clicking OK a couple of times, we can then set any Scope Tags or Applicability Rules. Applicability Rules allow you apply (or not assign) the settings to specific OS editions.
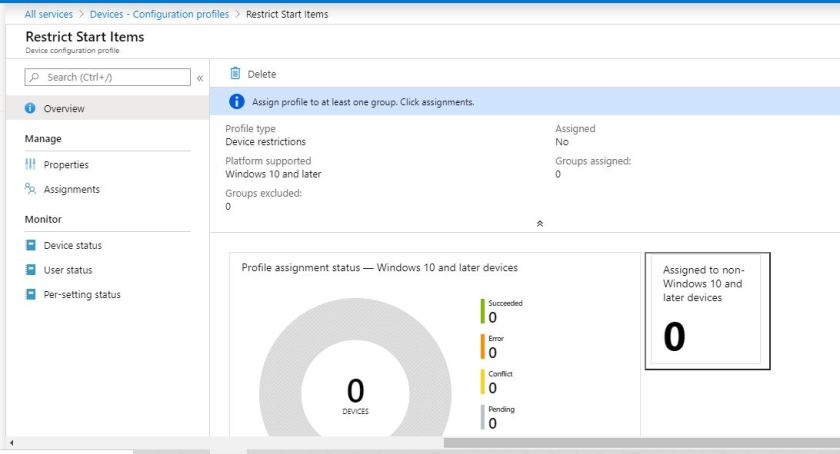
I’m going to leave these settings for now, and just Create the profile. You’ll notice that Intune tells me I have 6 configured settings in total

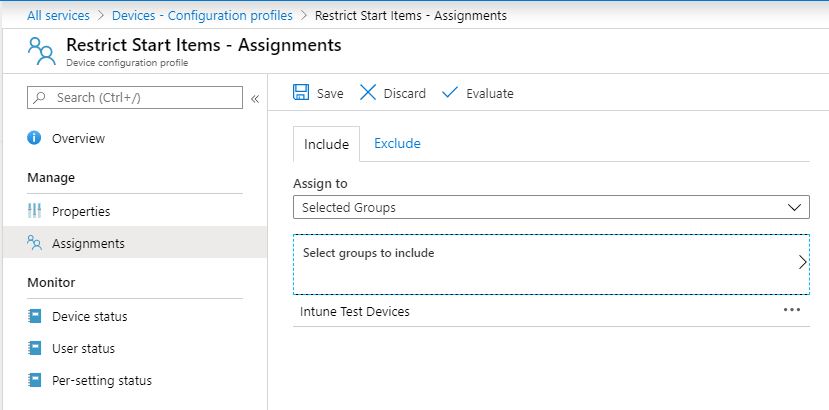
With the profile created, the next step is to assign it by clicking the Assignments link.
I’ve selected my Intune Test Devices group to push this profile out to.
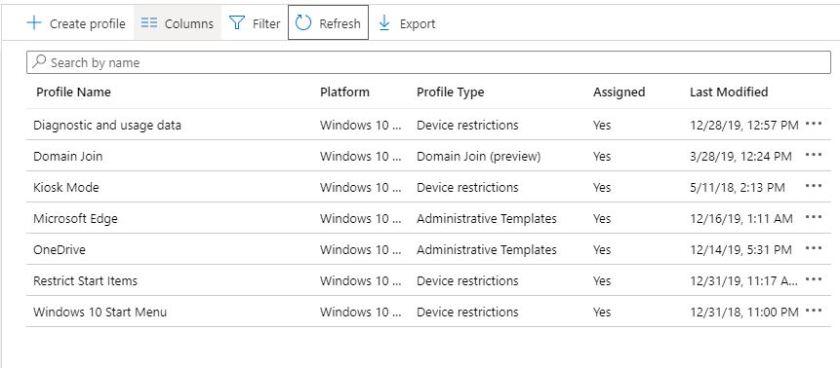
A quick refresh of my configured profiles shows my Restrict Start Items profile as Assigned.
On the endpoints
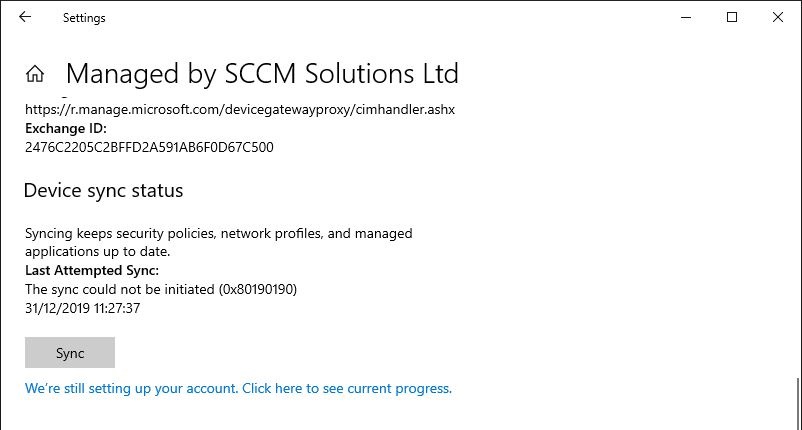
The devices need to sync with Intune. This can be forced from the Settings app\Accounts\Access work or school and then choosing Info.

Next, scroll to the Device sync status section and click Sync.
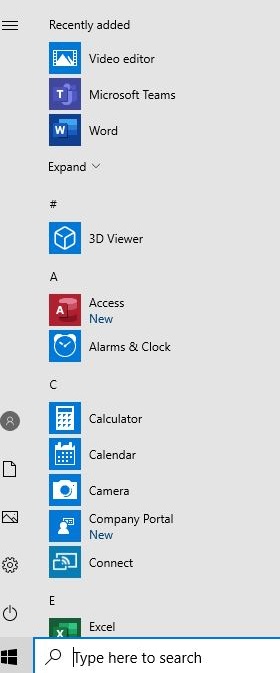
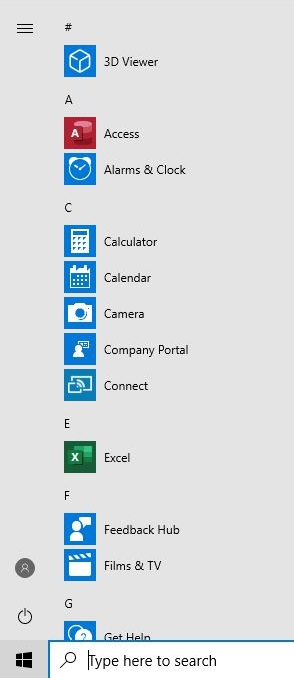
With the policies applied we can see the changes the Start policies have made.
The following have taken effect here
- Documents on Start – Hide
- Pictures on Start – Hide
- Settings on Start – Hide
- Recently added apps – Block
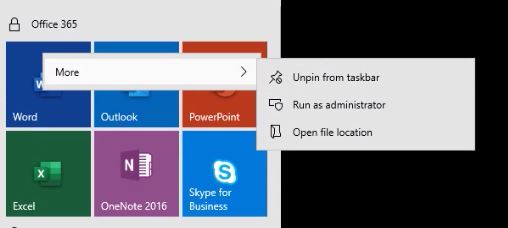
Before: After:
The following has taken effect here:
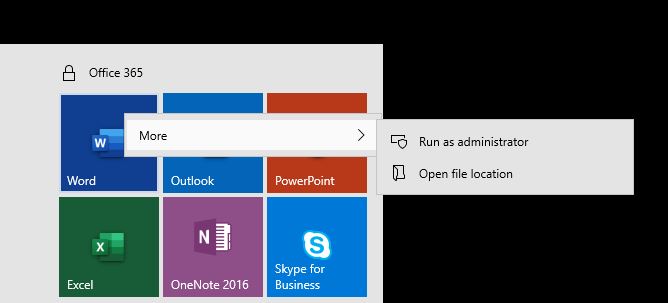
- Unpin apps from task bar – Block
Before:
After:
and finally, the following has taken effect here:
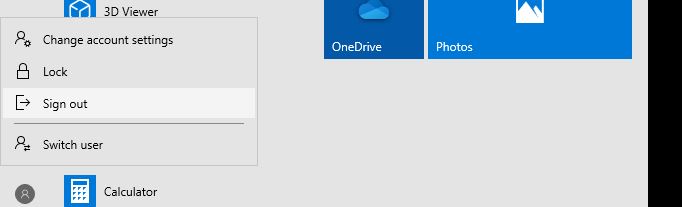
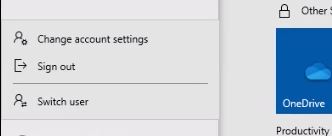
- User Tile\Lock- Block
Before:
After:
Be sure to take a look at the other blog posts in the series:

12 comments